In 2020 I started going back to school at the University of New Mexico. I was living in Central Minnesota and I decided to convert a bus to stay in, instead of renting an apartment.

It all started with a 40-foot 1997 Blue Bird TC-2000. I bought it at auction for $1550. A couple friends--one of which has his CDL-- and I road tripped to northern Iowa to pick it up. We did a quick photo shoot and then drove it home.

Luckily, my father was very patient and let me park it in his driveway while the construction was underway.

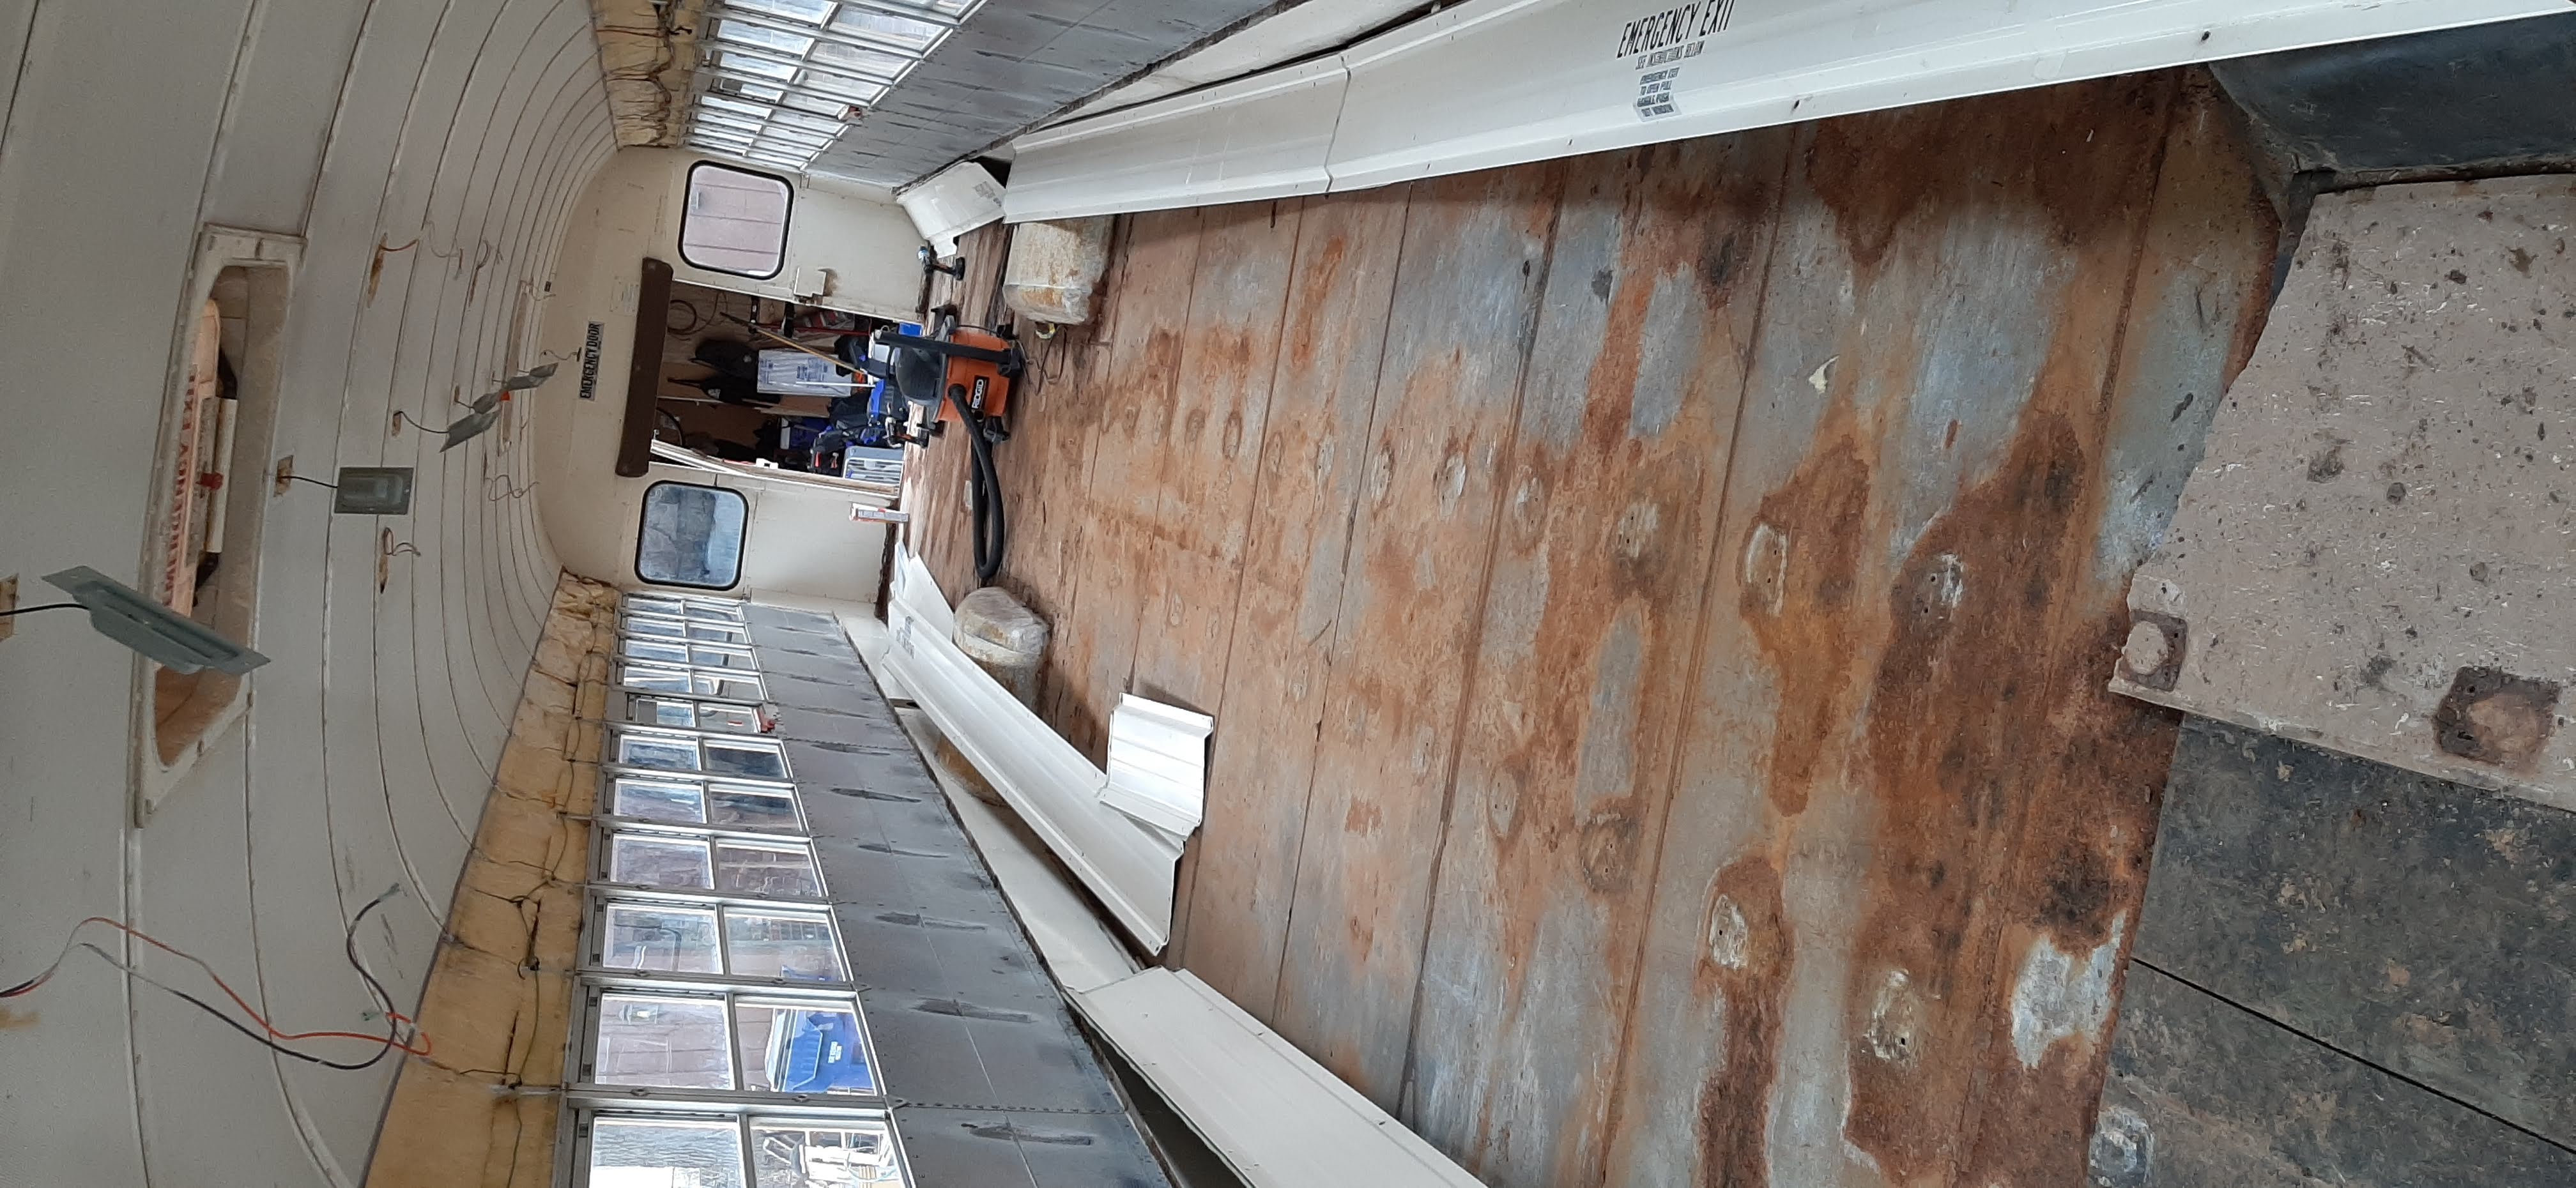
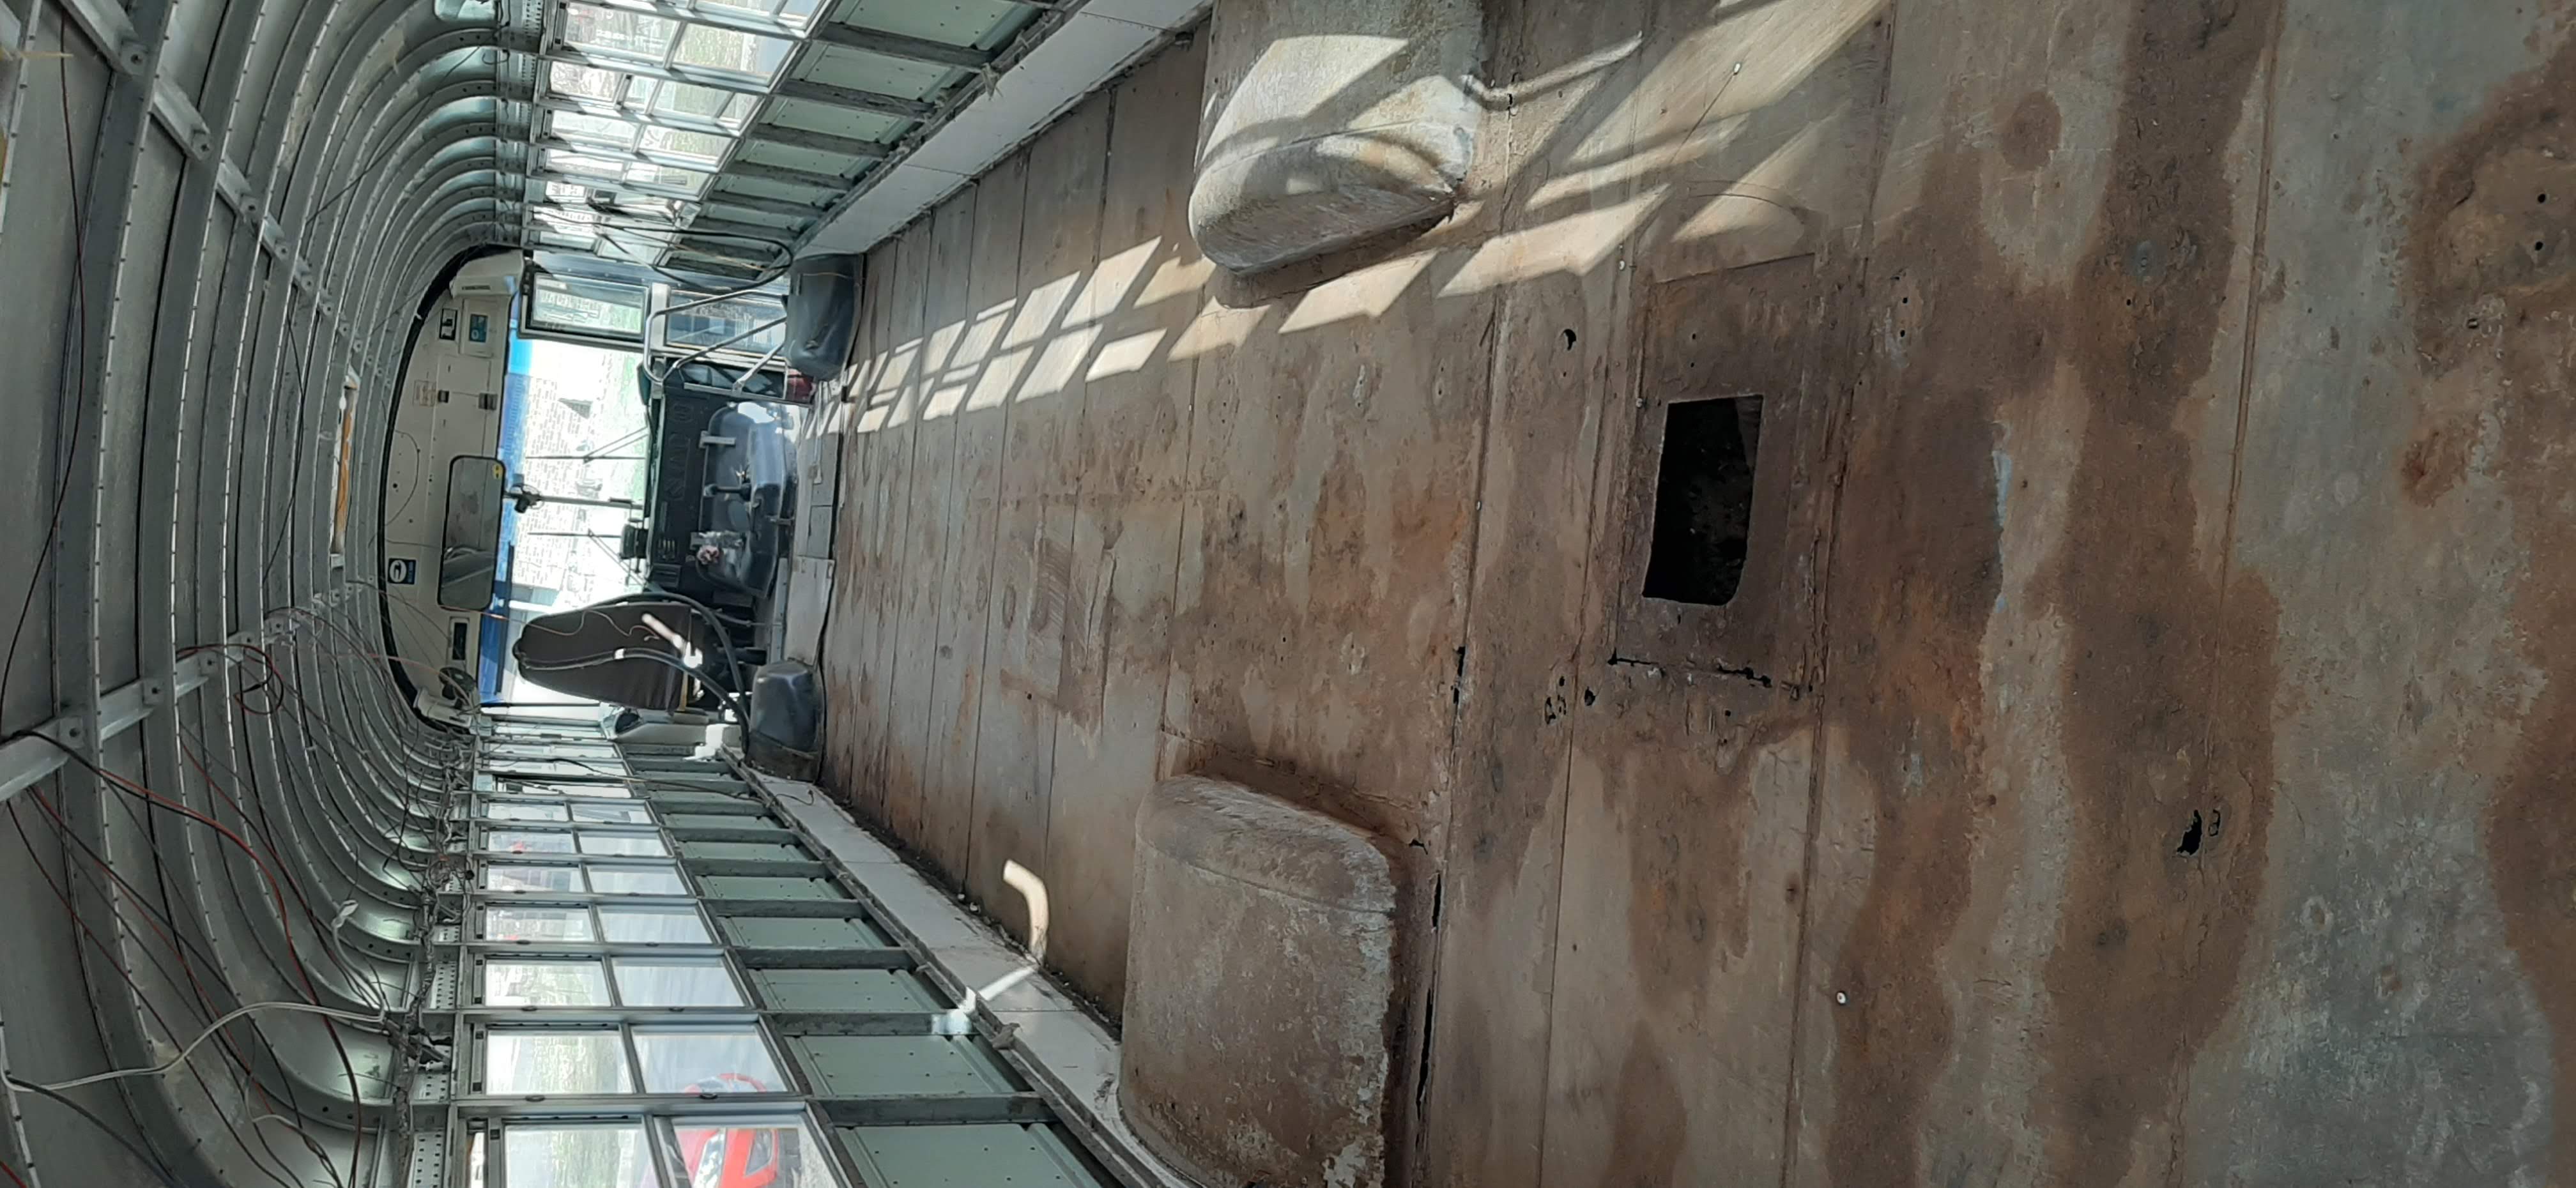
I started by removing the seats and subflooring. The seats were removed by using an angle grinder to remove the bolts on the floor, and a socket wrench to remove the wall attachment. The floor came out a lot easier than I was expecting. Typically, it seems that you have to really scrape the rubber flooring off and then pull out the old OSB, but my rubber flooring came out easily, and the OSB was old and rotting and came out easily.
Next, I removed the ceiling. I used an air hammer to remove the rivets. First, I used the punch attachment to punch out the center of the pop-rivet, and then used a sharpened chisel attachment to cut the head off each rivet. I had several chisel attachments that I had to be resharpened, at least once per day. I also removed all the old insulation. I used the stepladder to catch each ceiling panel.
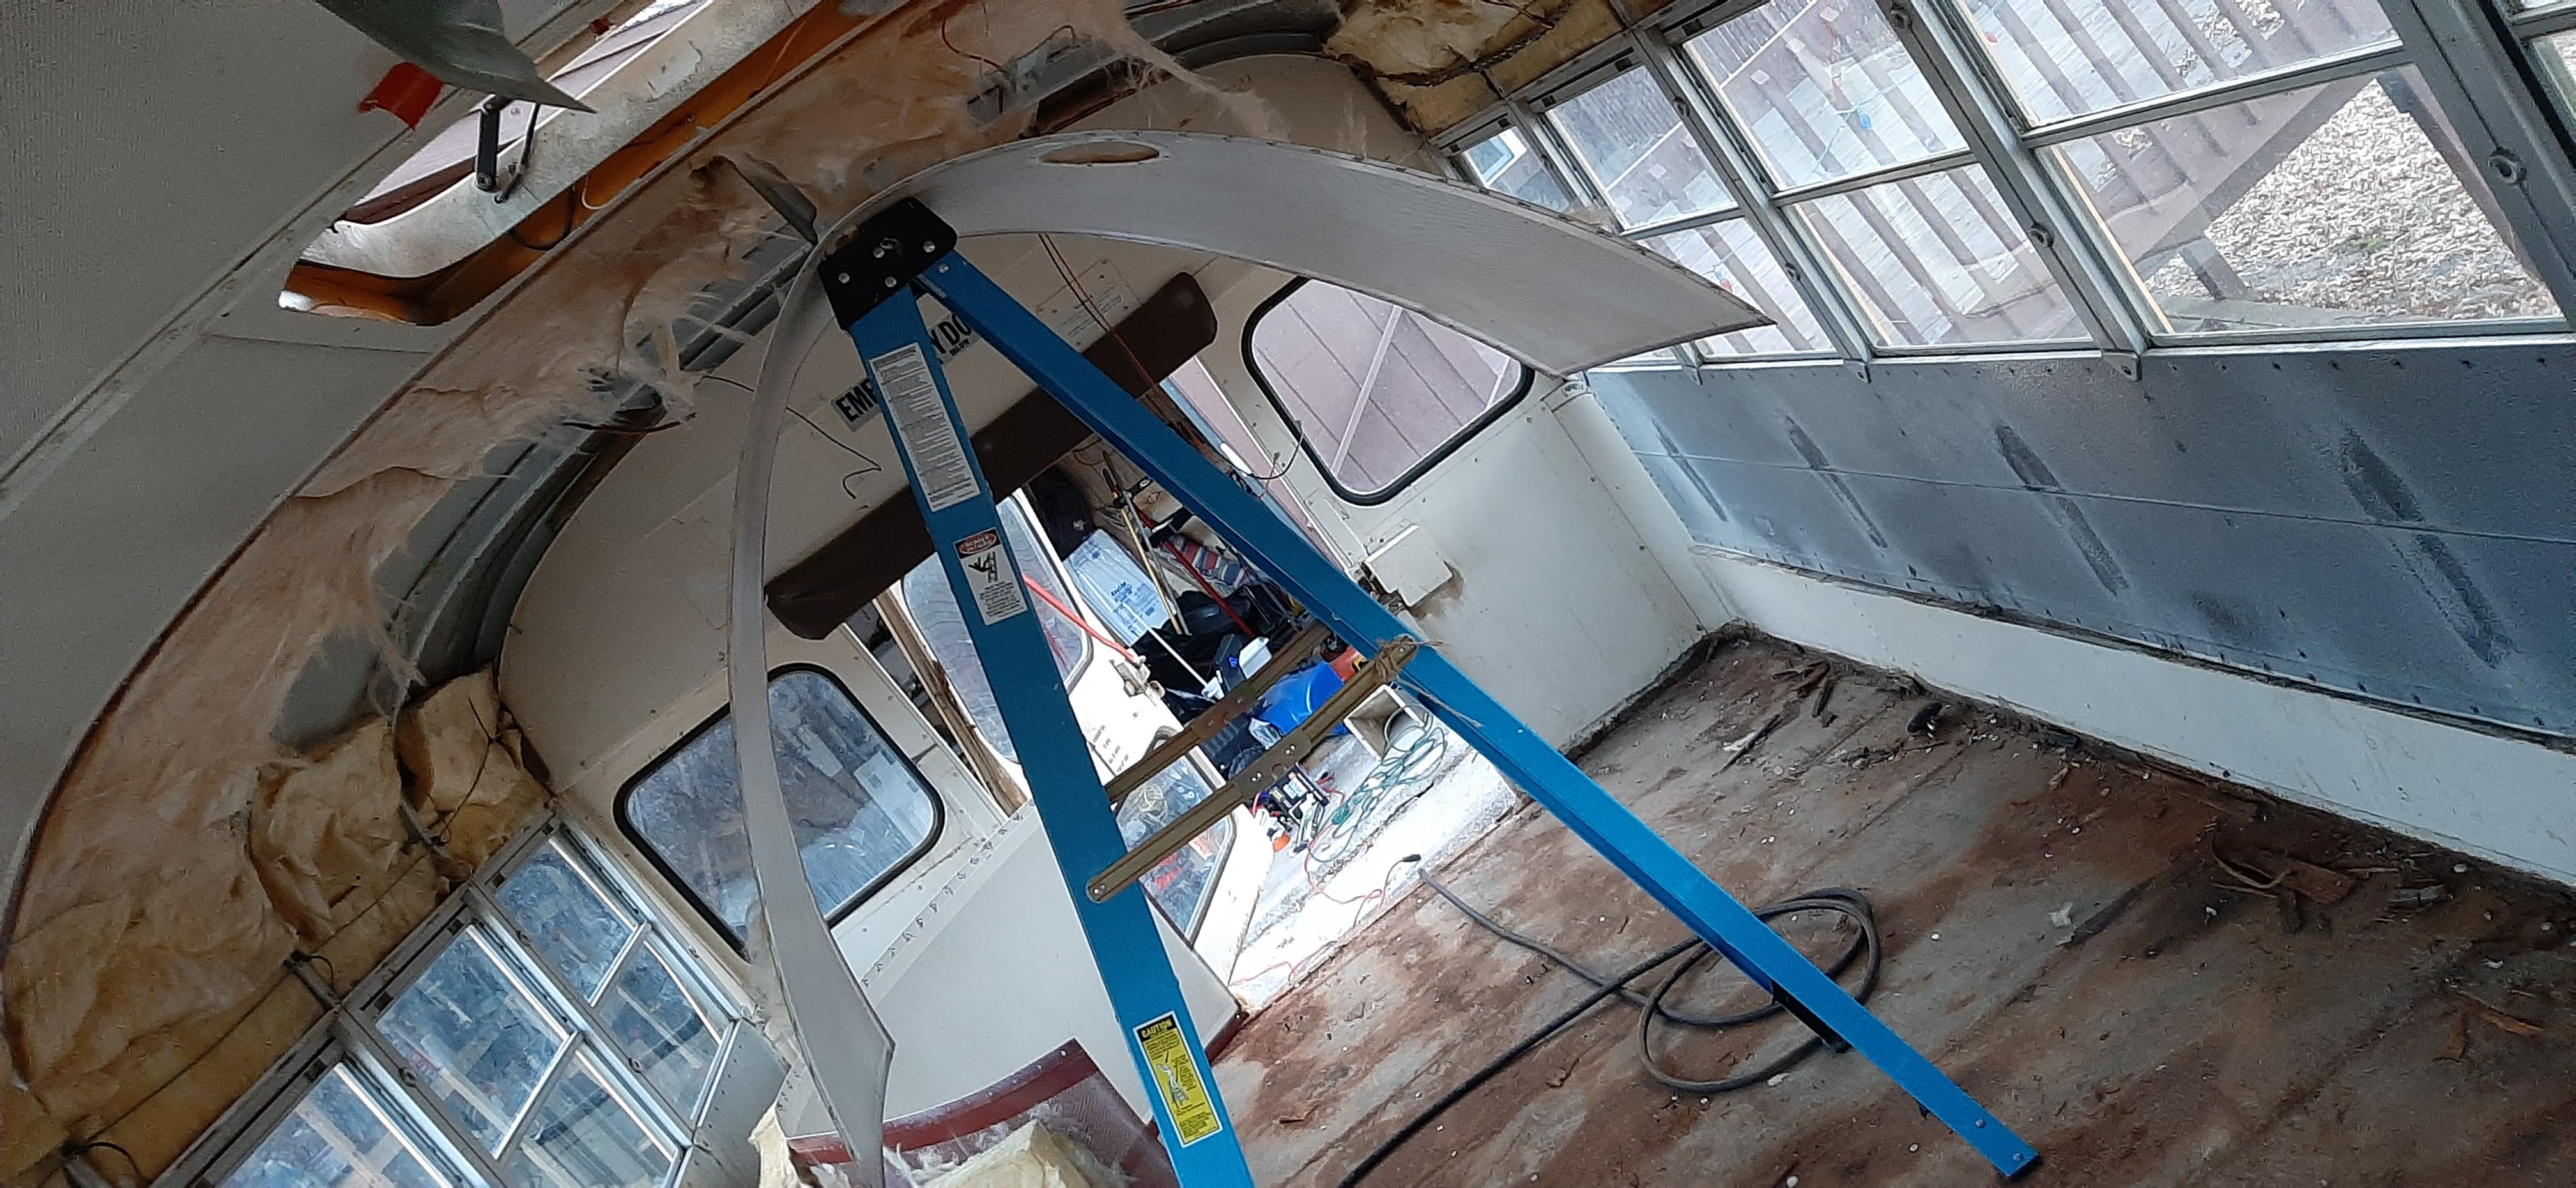
The process for removing the walls was identical to the ceiling.
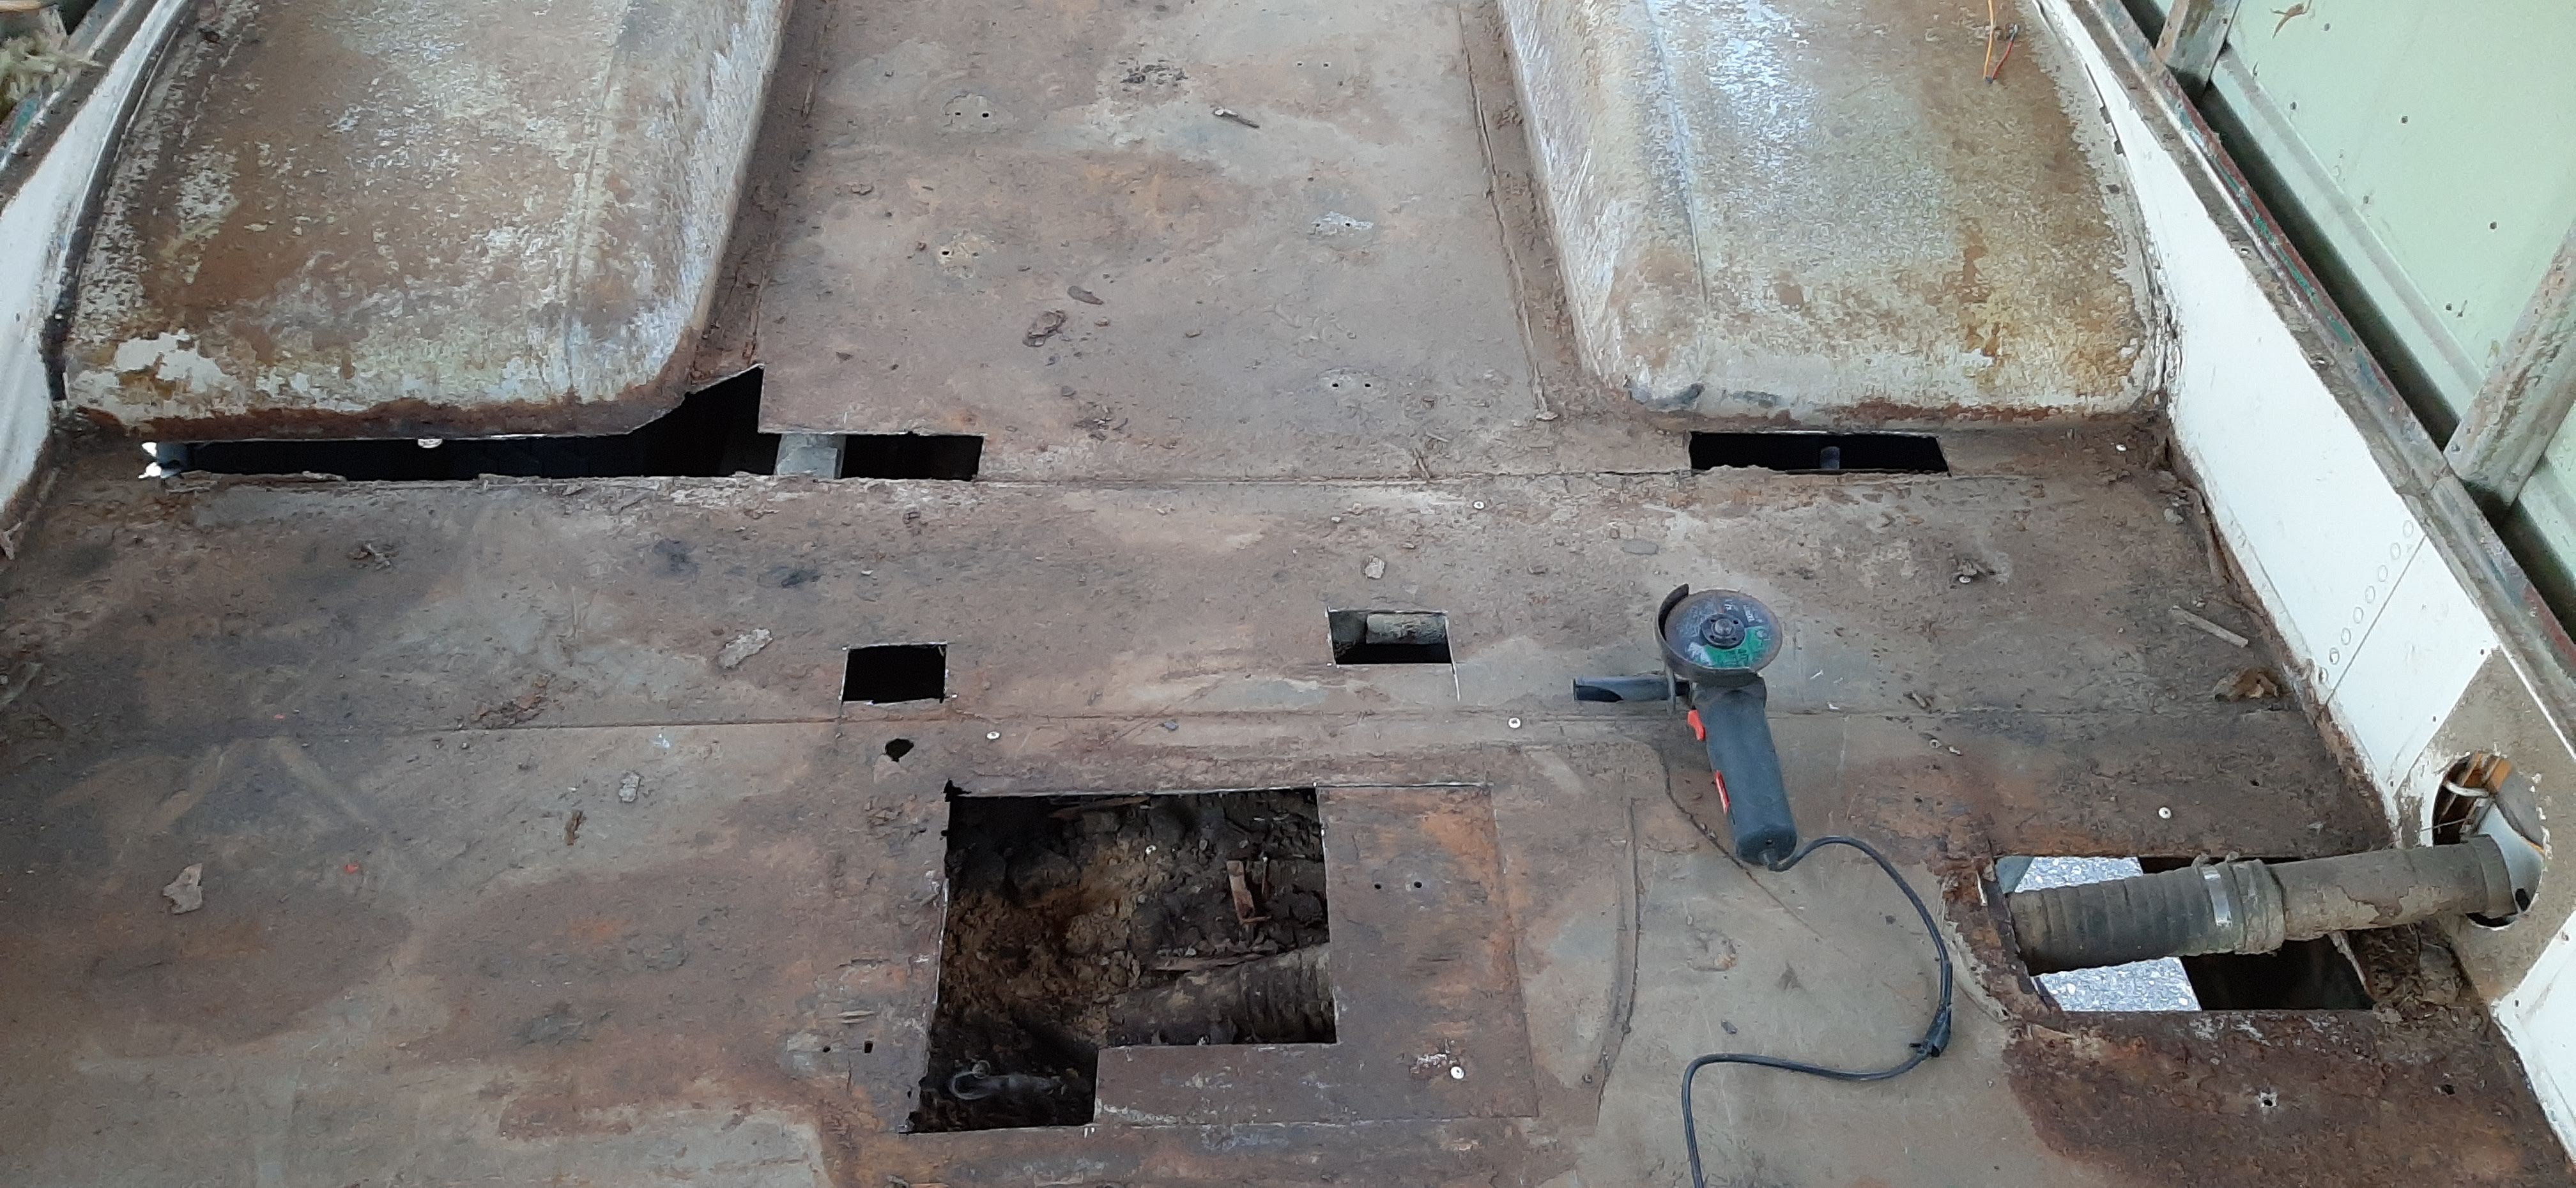
Next up was dealing with floor rust. Luckily it all seemed to be surface rust, with a few exceptions, that could be cleaned up. The following images are of the particularly bad spots.
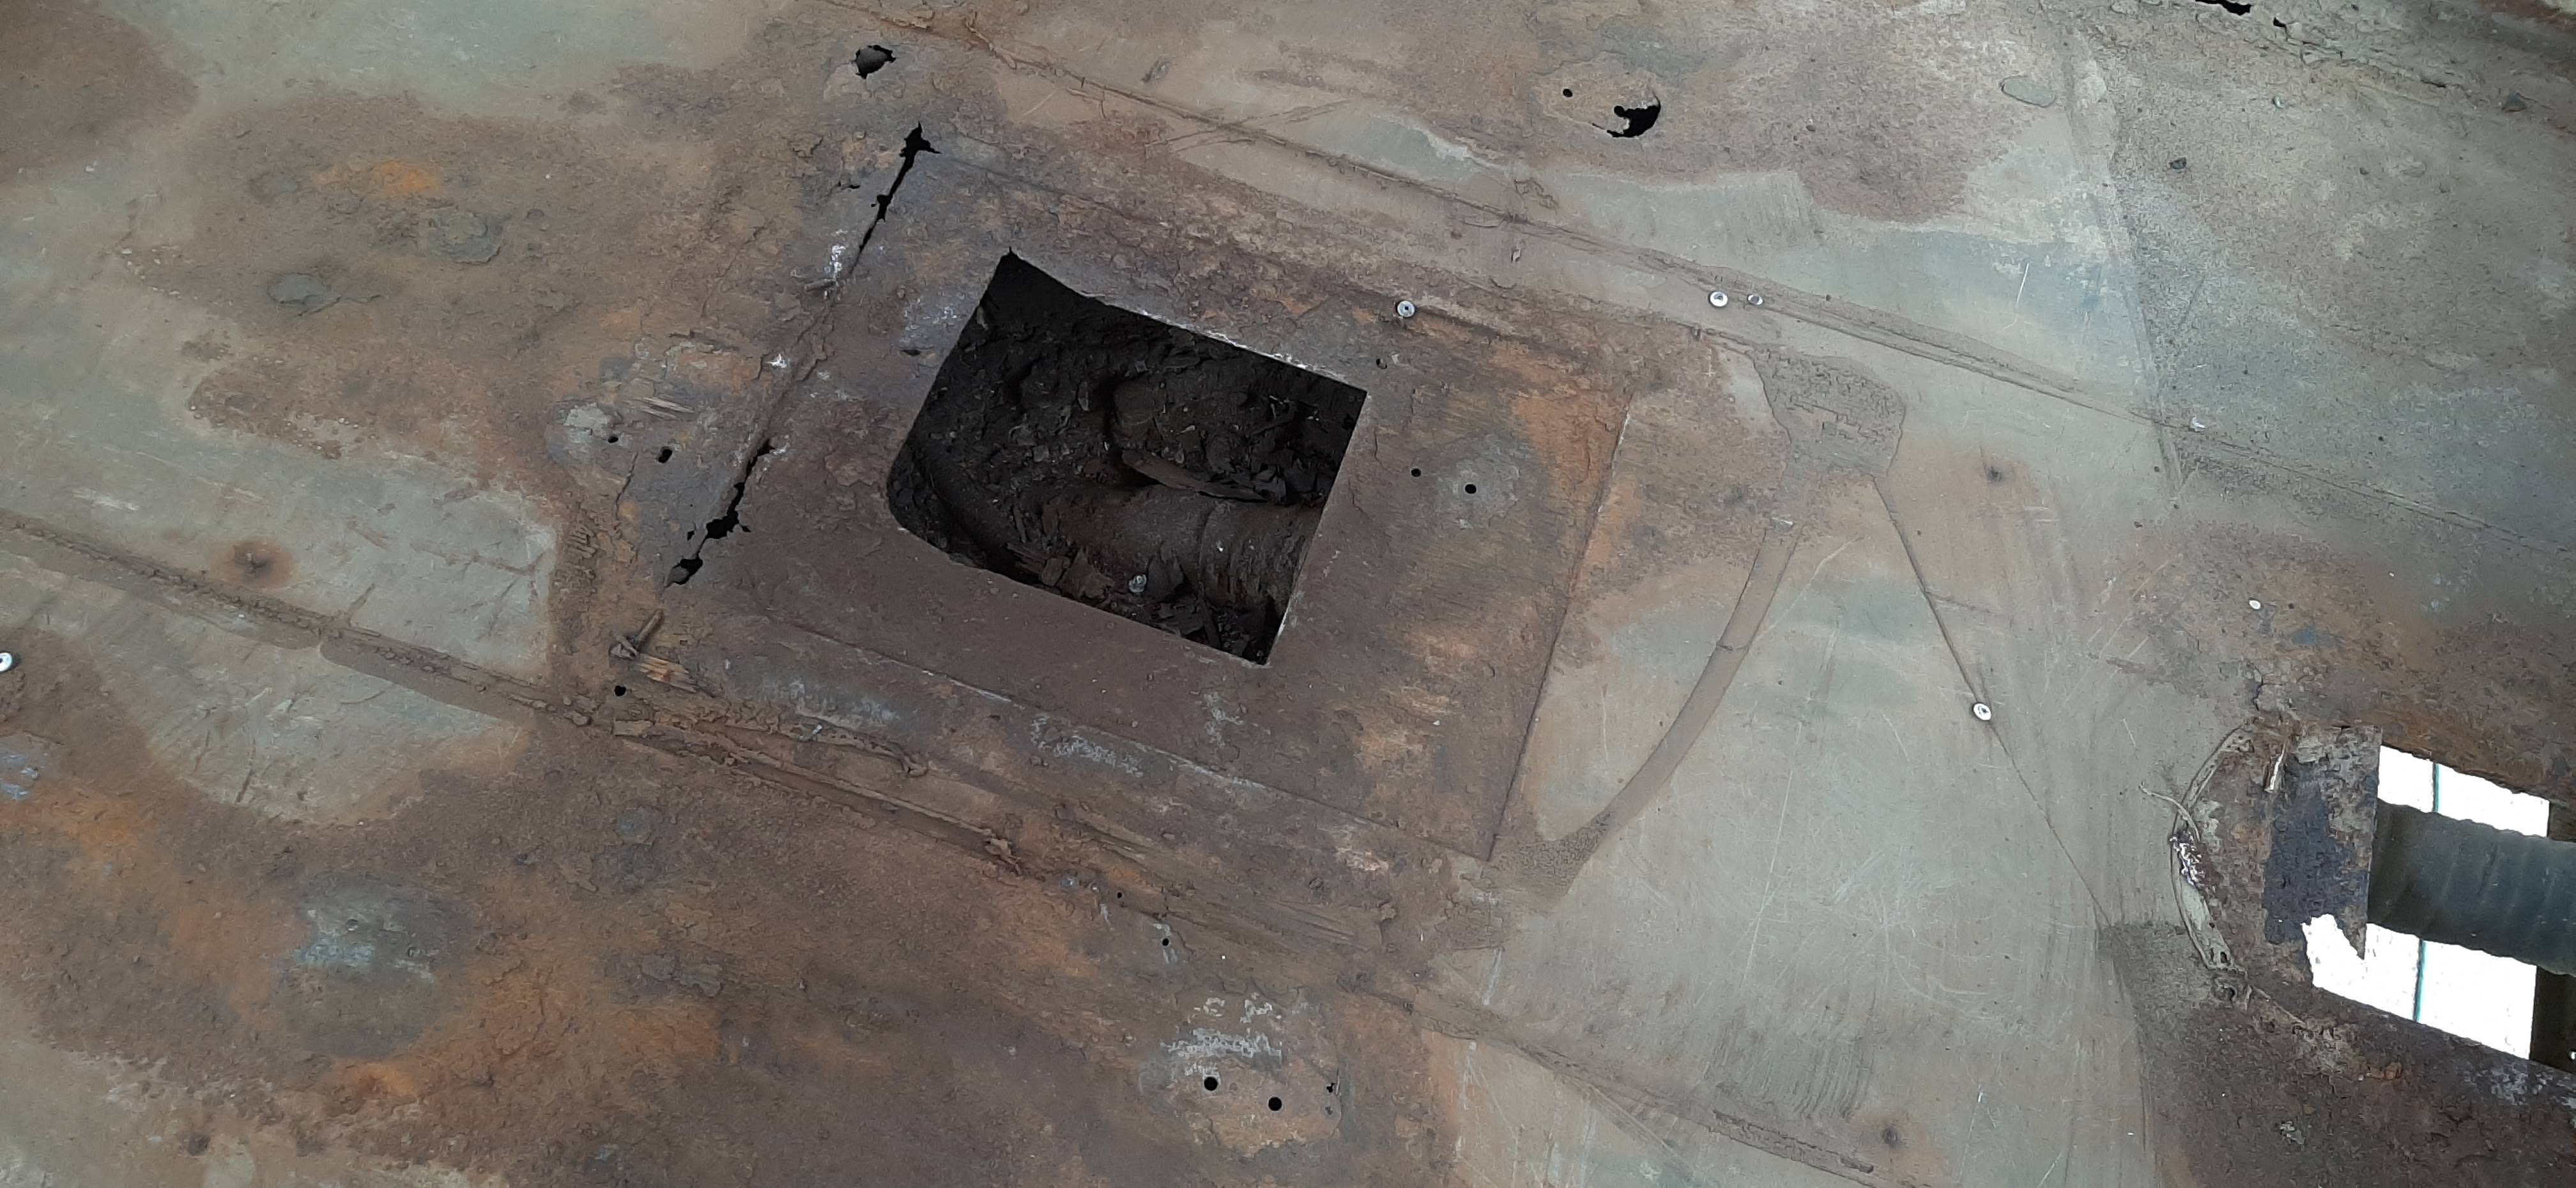
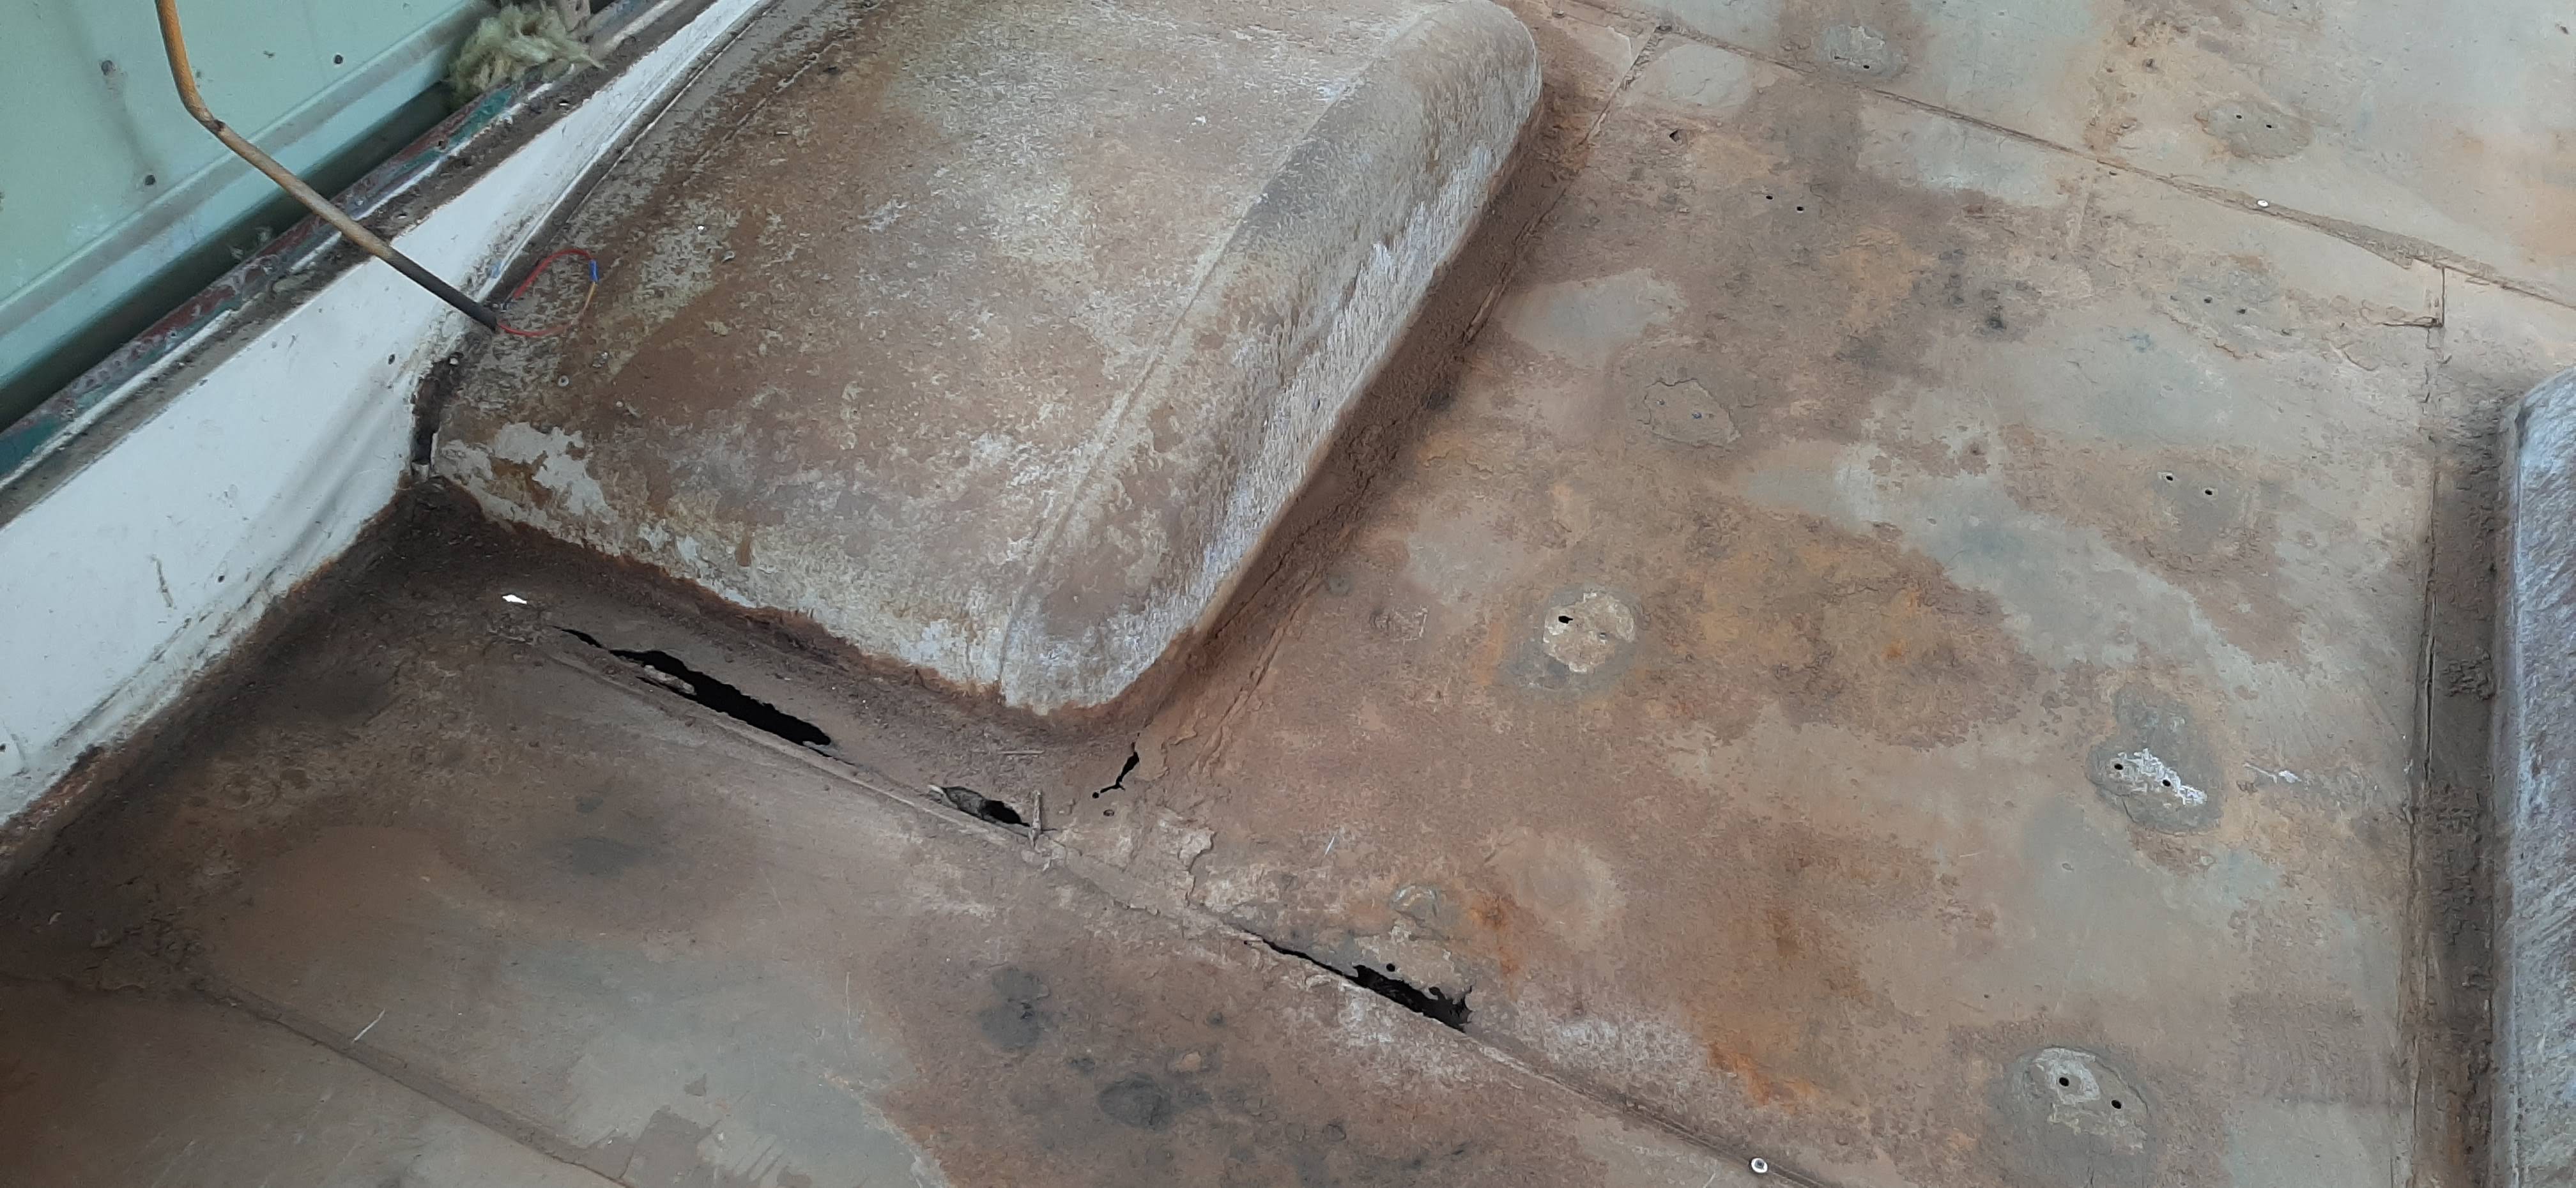
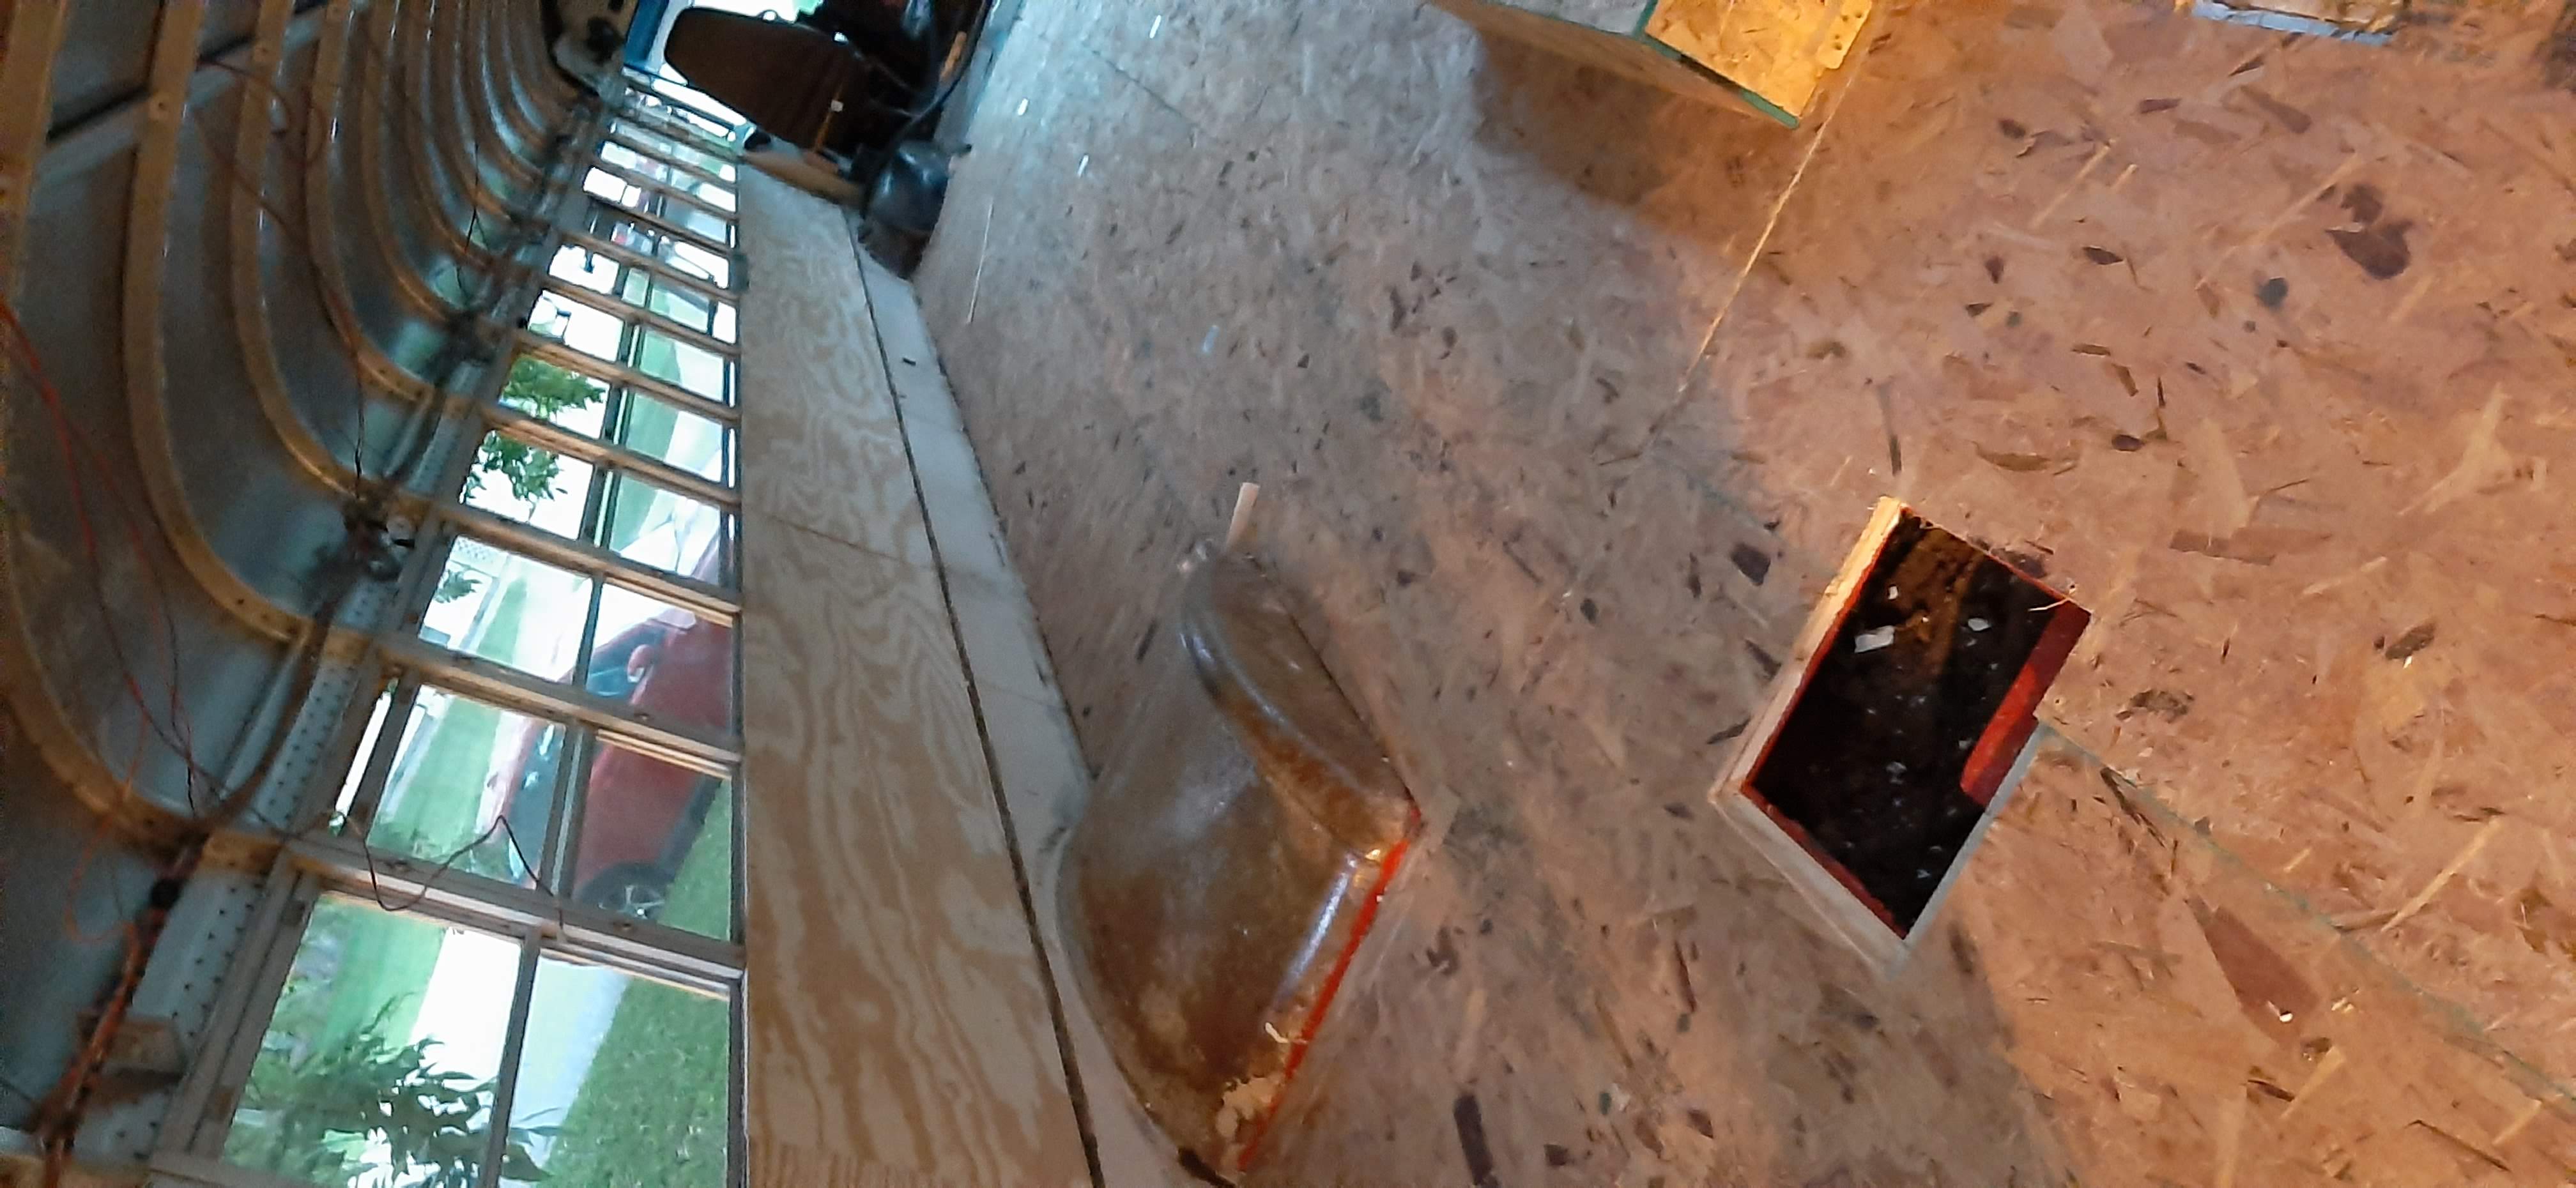
I used an angle grinder to cut away the worst of the rust and then bought new metal and welded over the holes. I left the large square hole in the center to maintain access to the fuel tank.
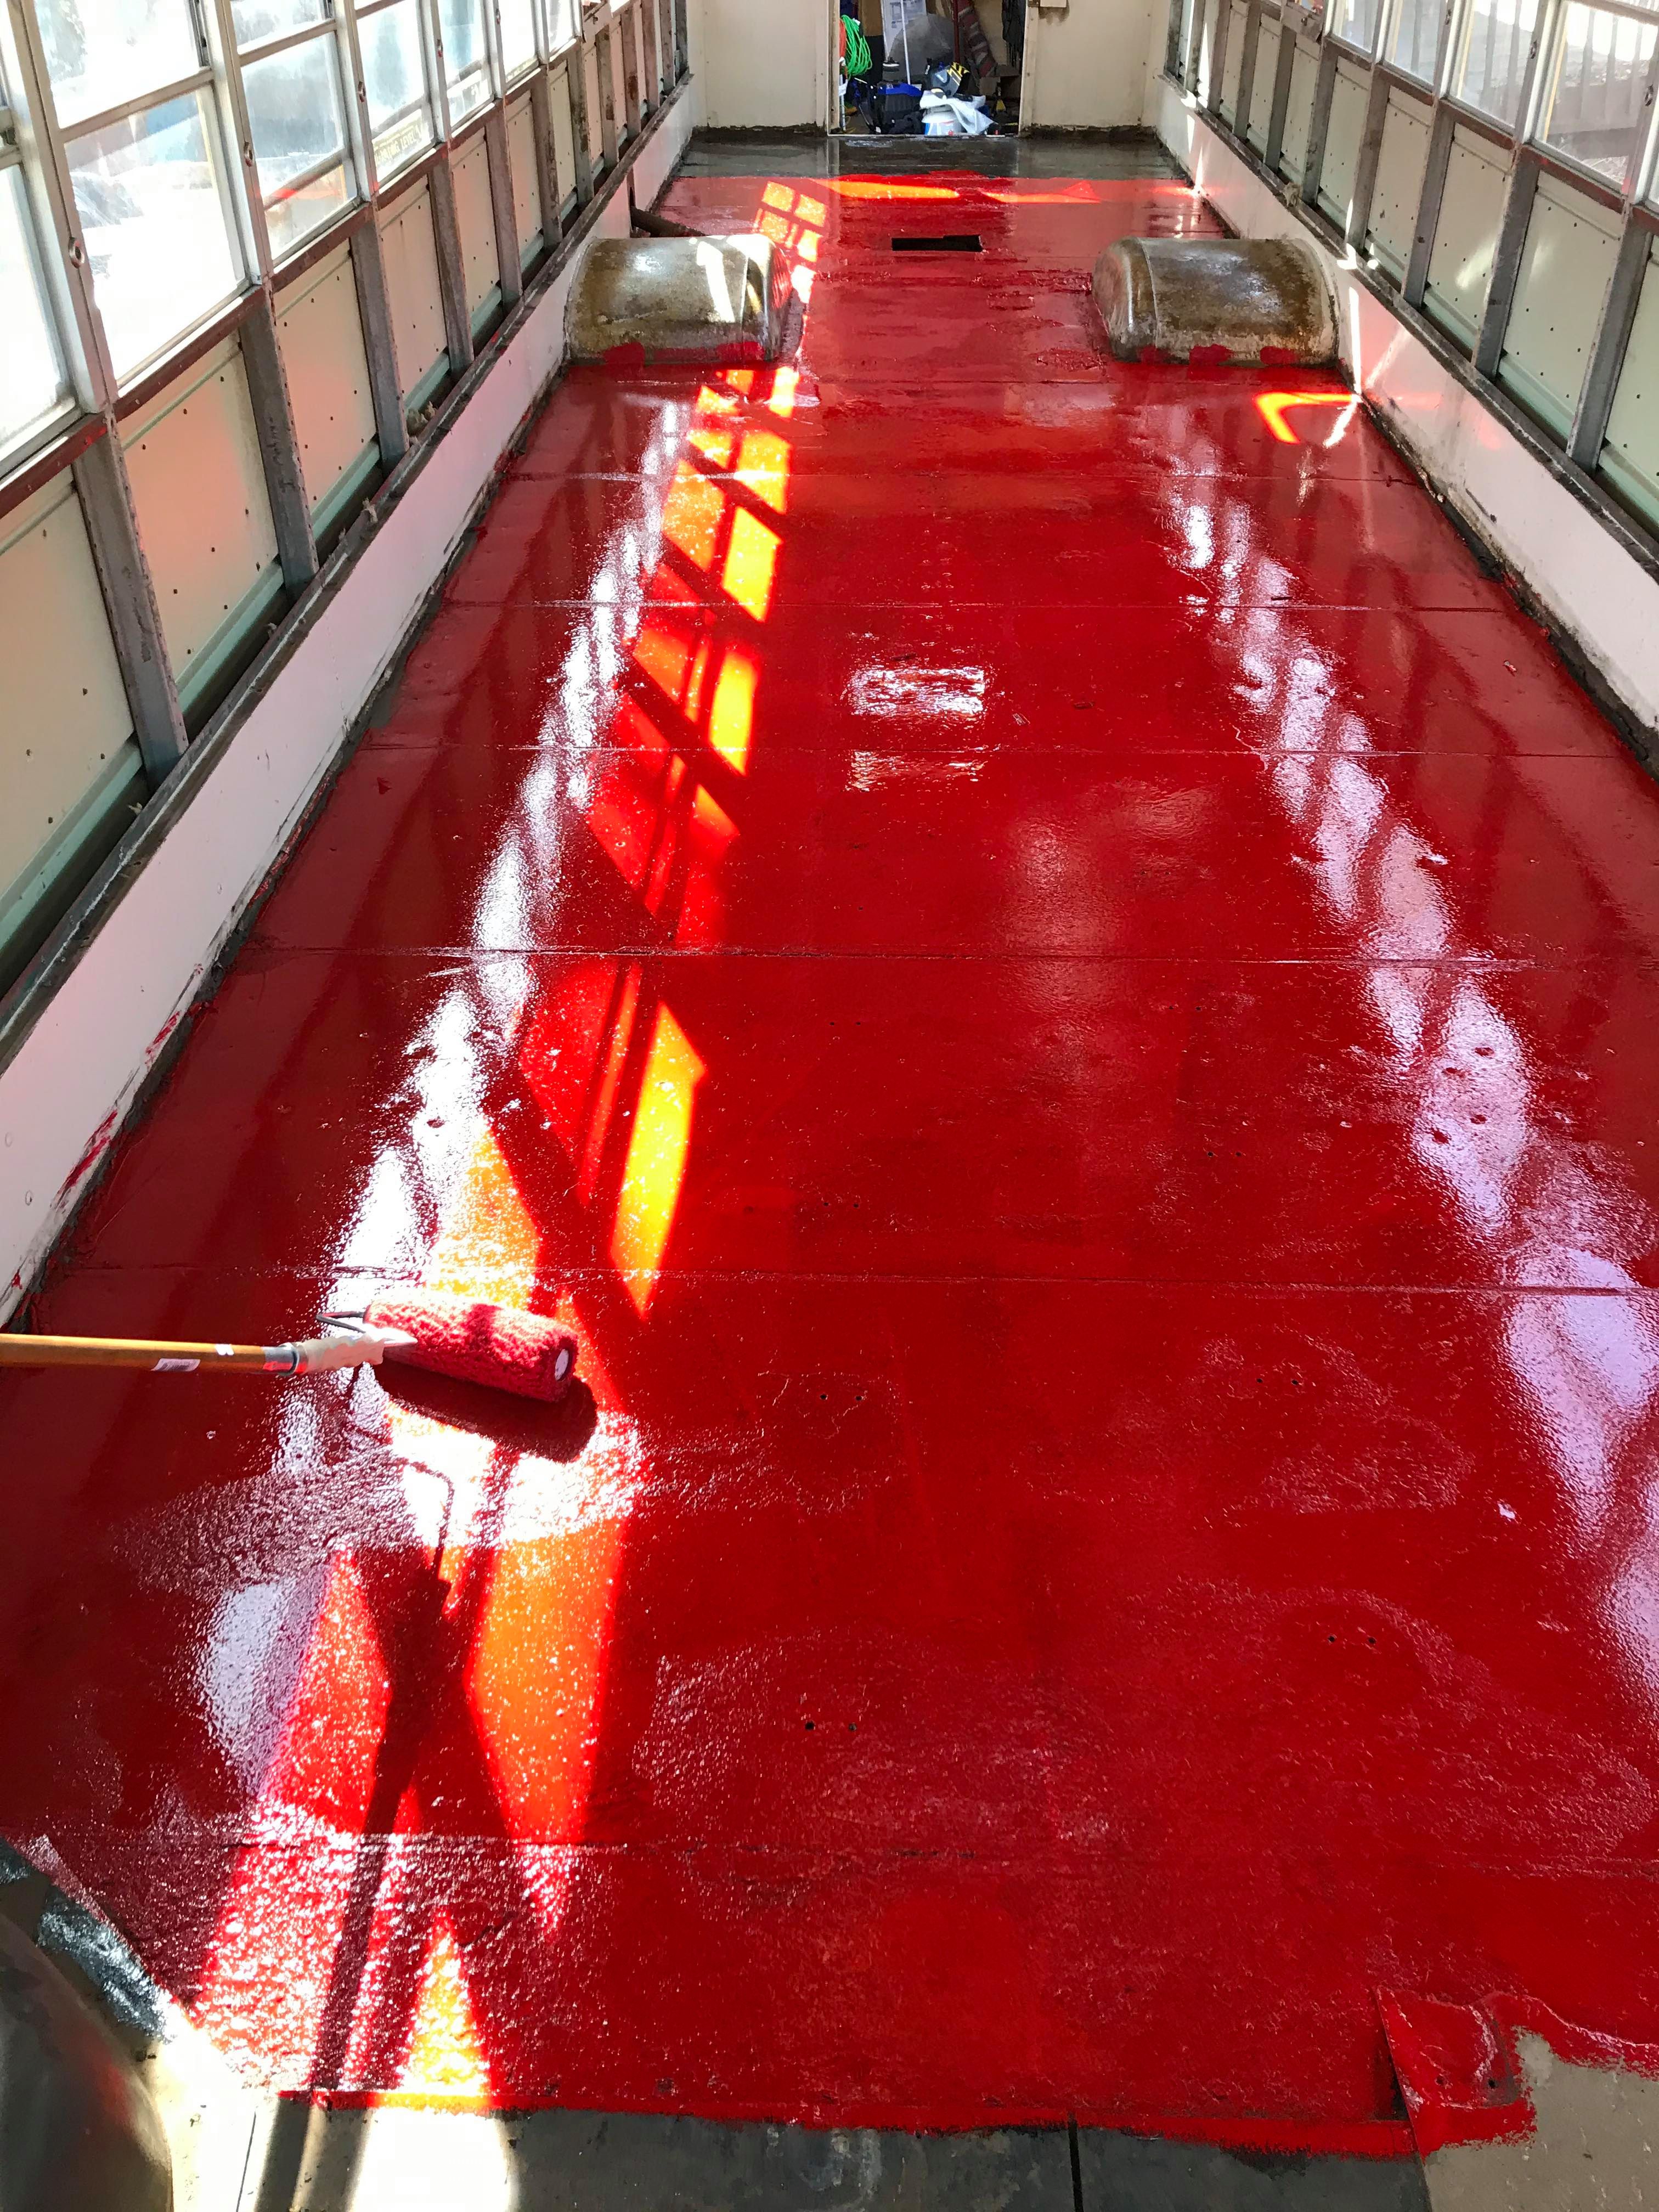
Next the floor was painted in two coats of rust-prevention paint.
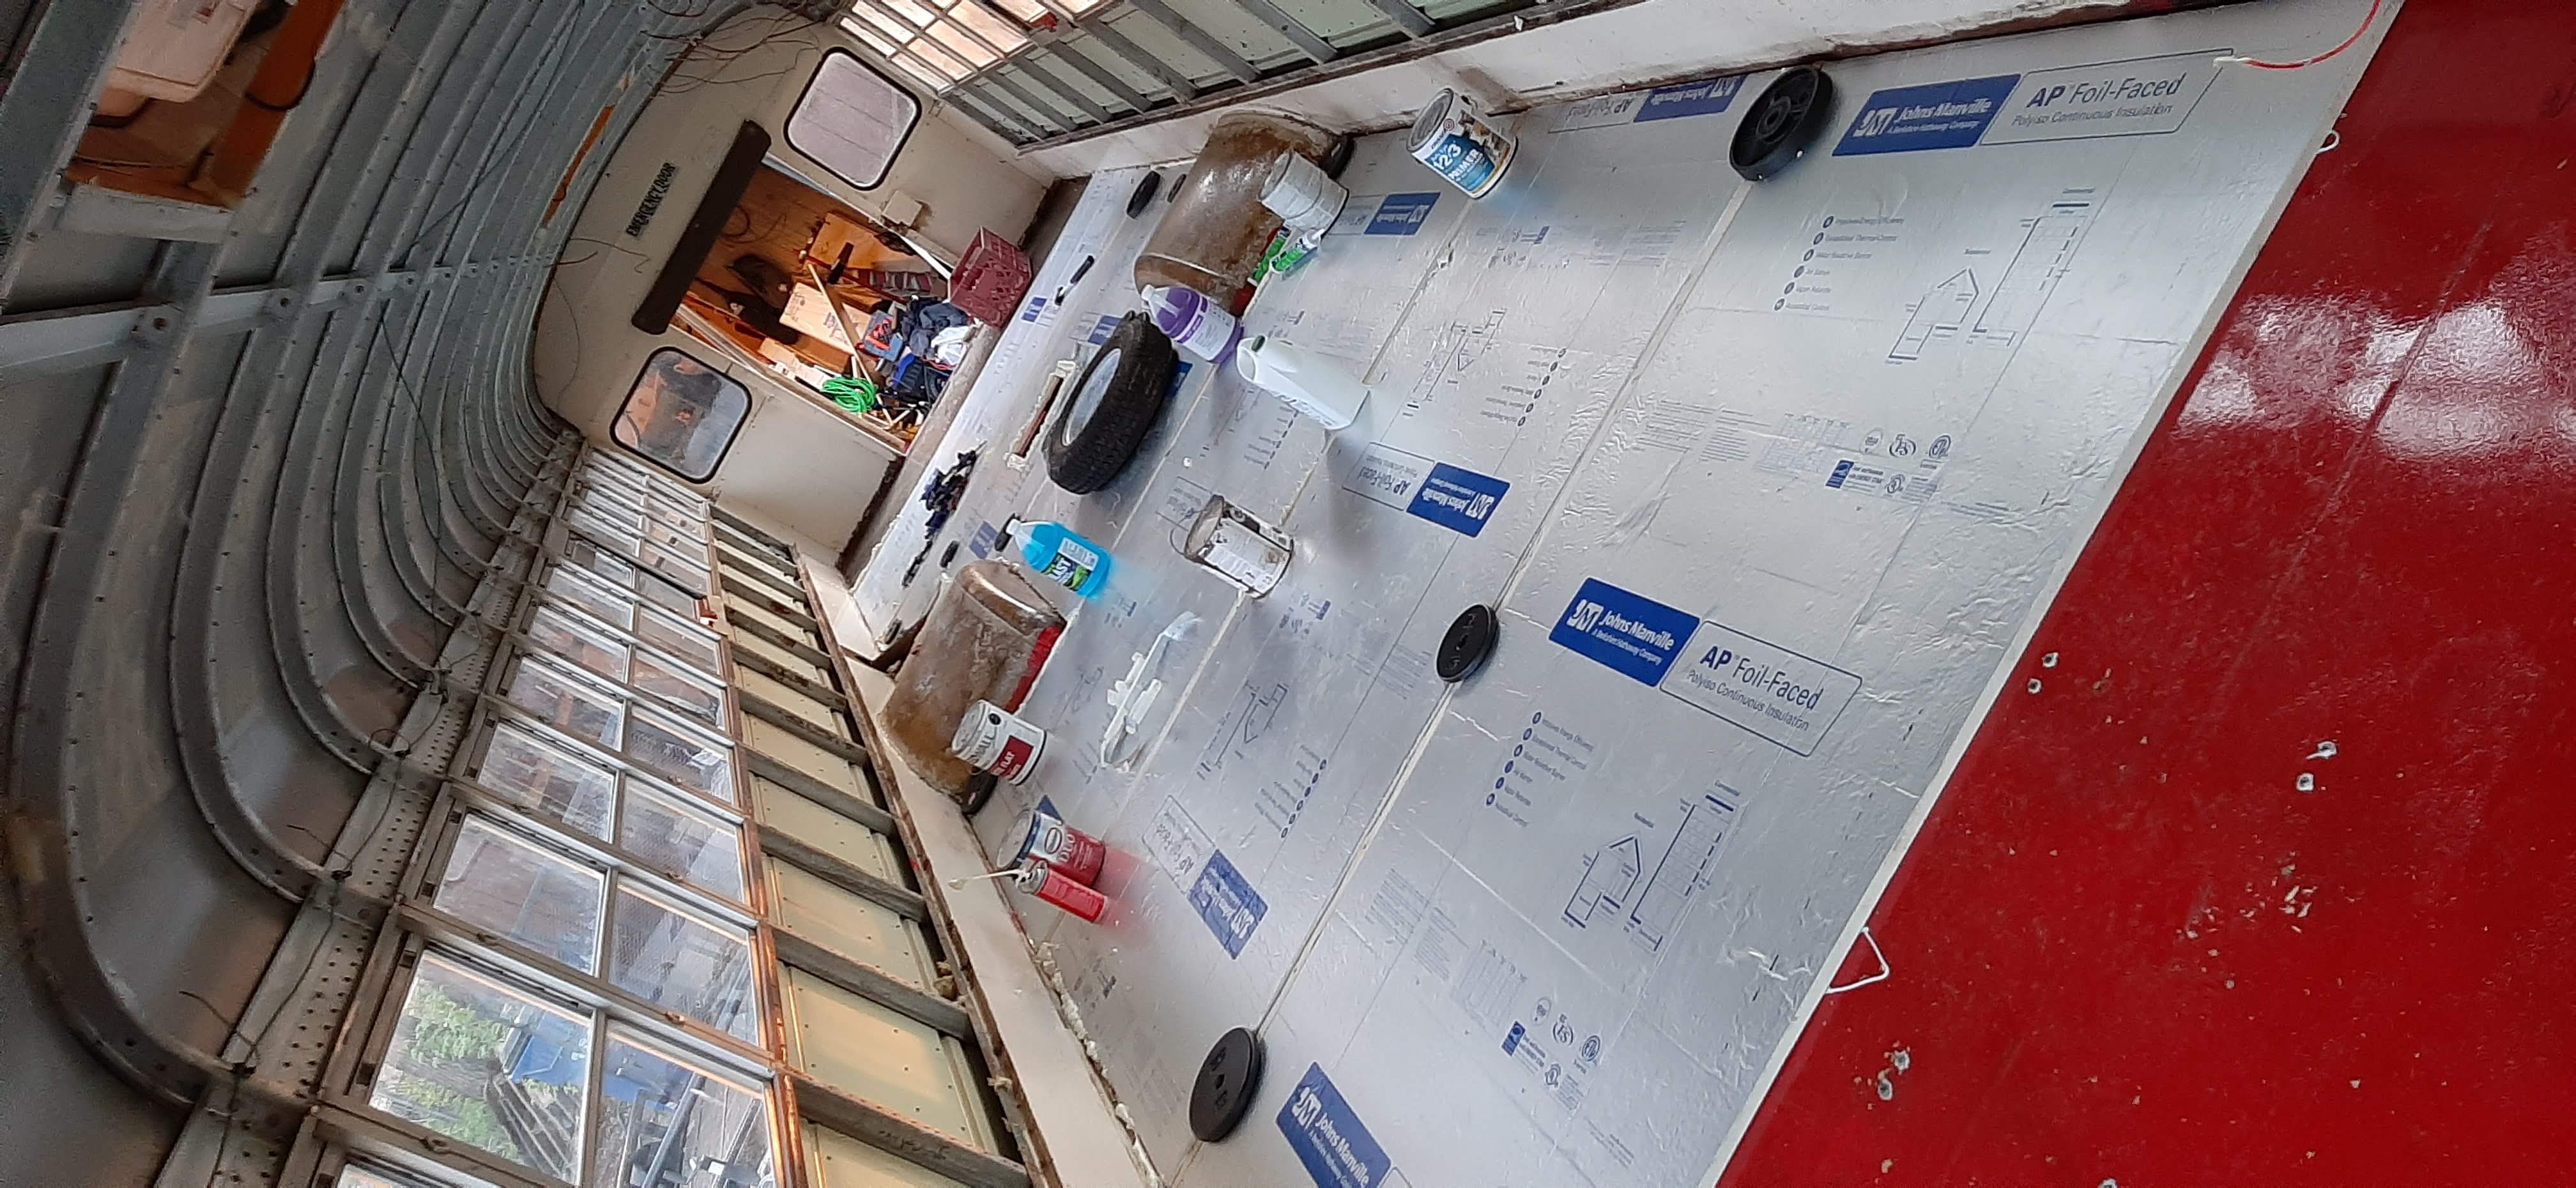
The flooring insulation is made up of half-inch closed cell foam insulation with a 1x2 framework. This was glued to the floor with Liquid Nails. The items in the image are for weight to assist with bonding. Additionally, each hole where a seat was bolted to the floor was filled with scrap hardware.
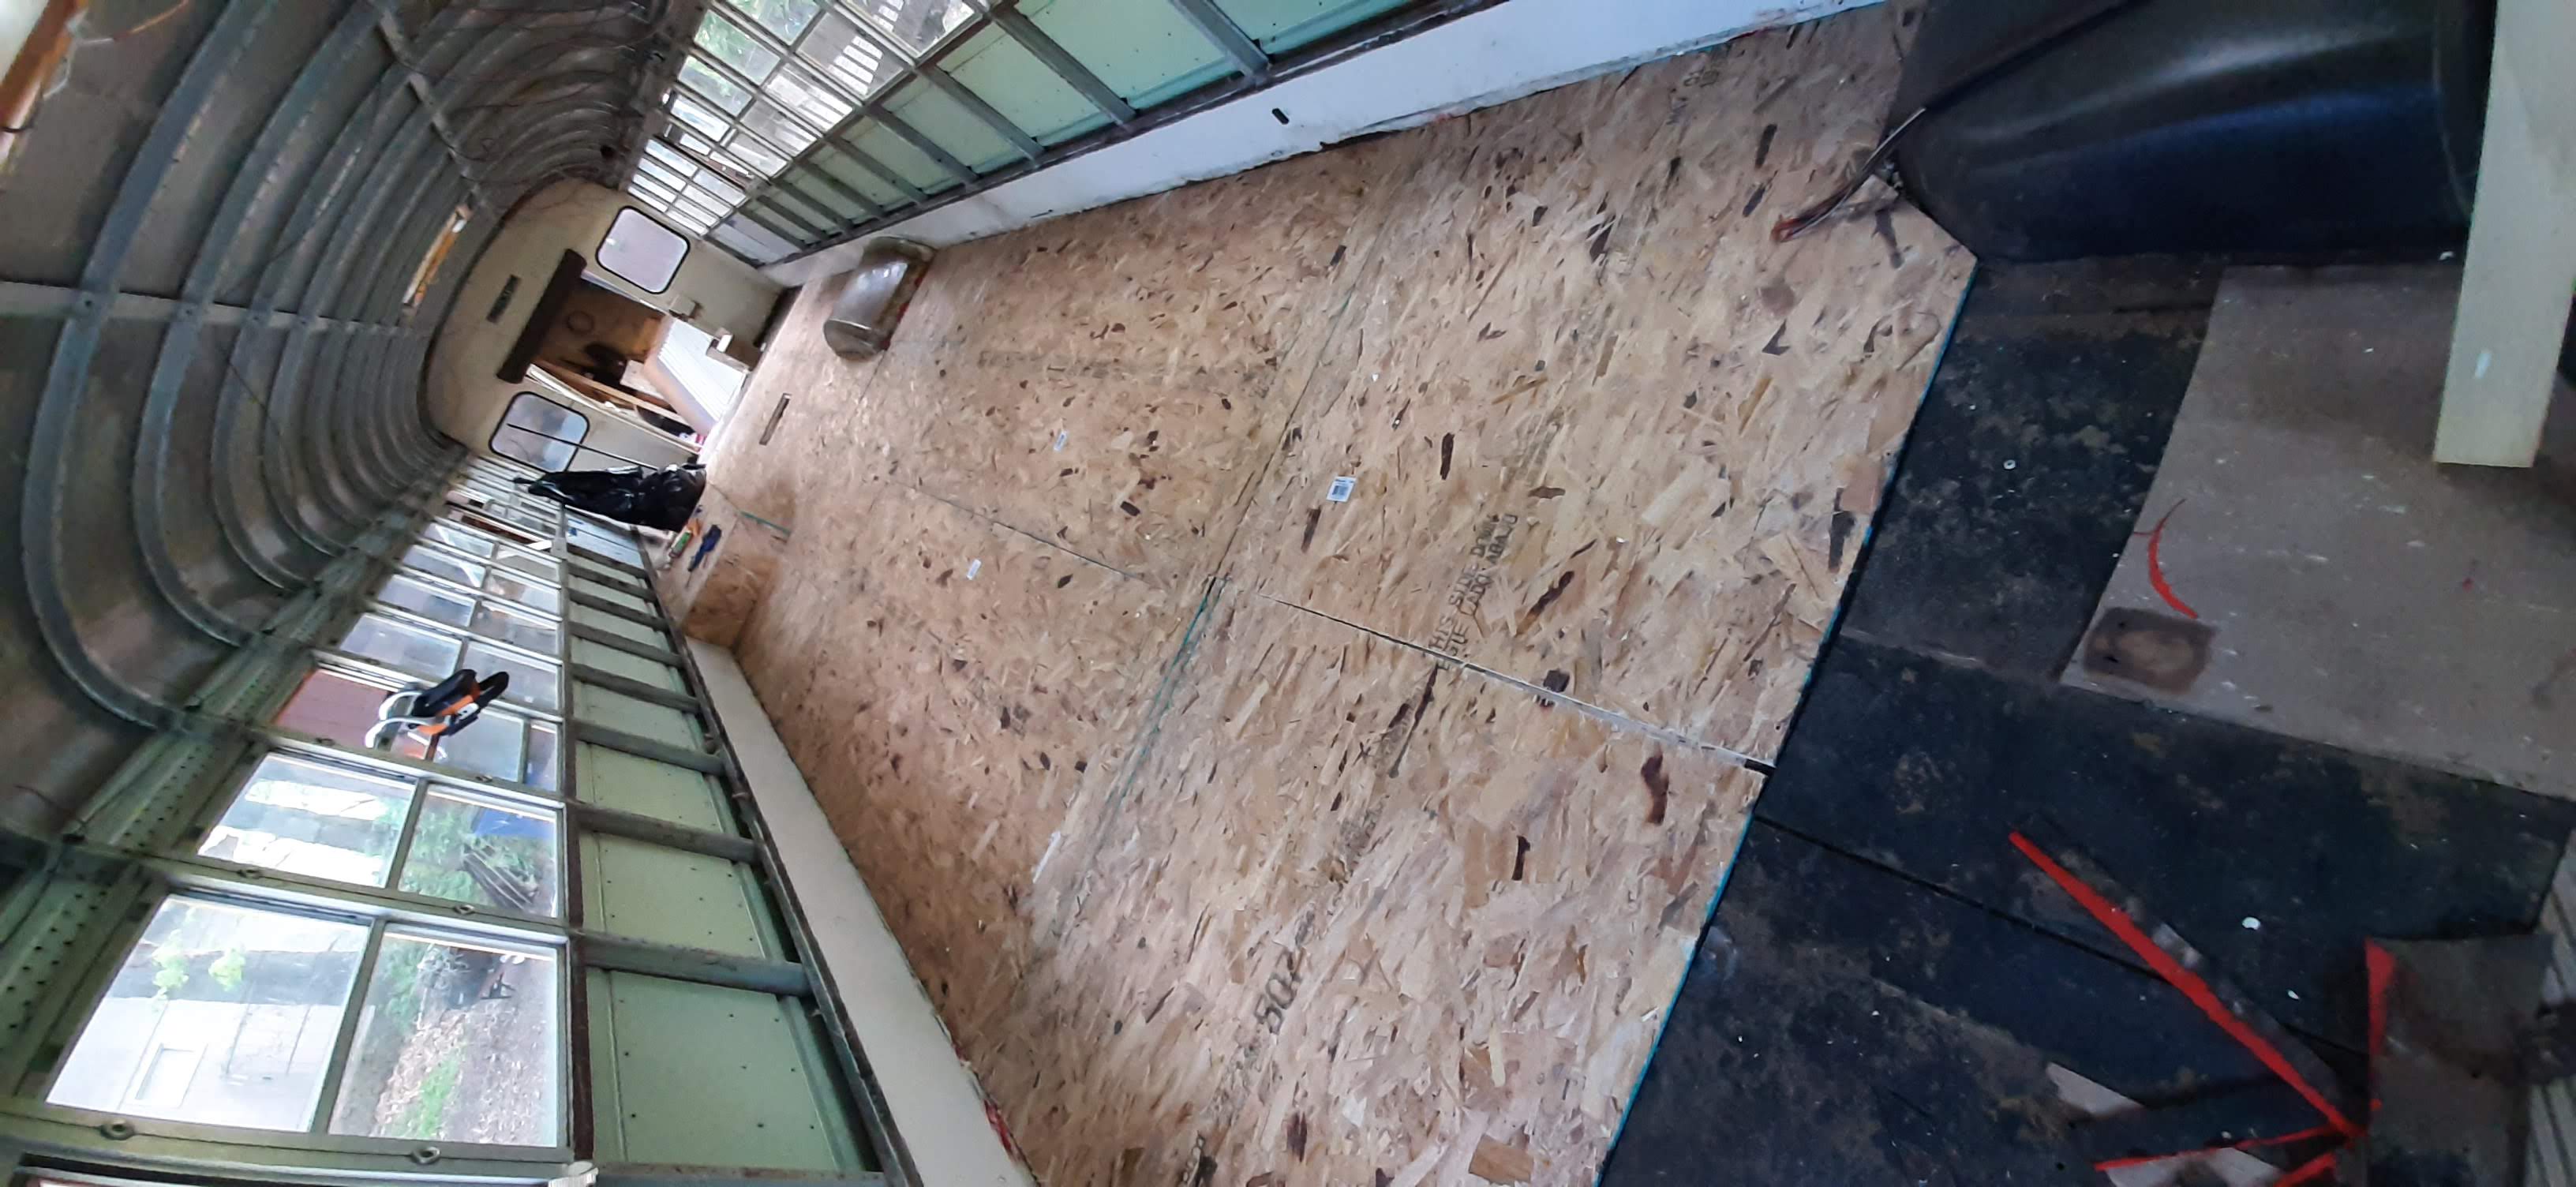
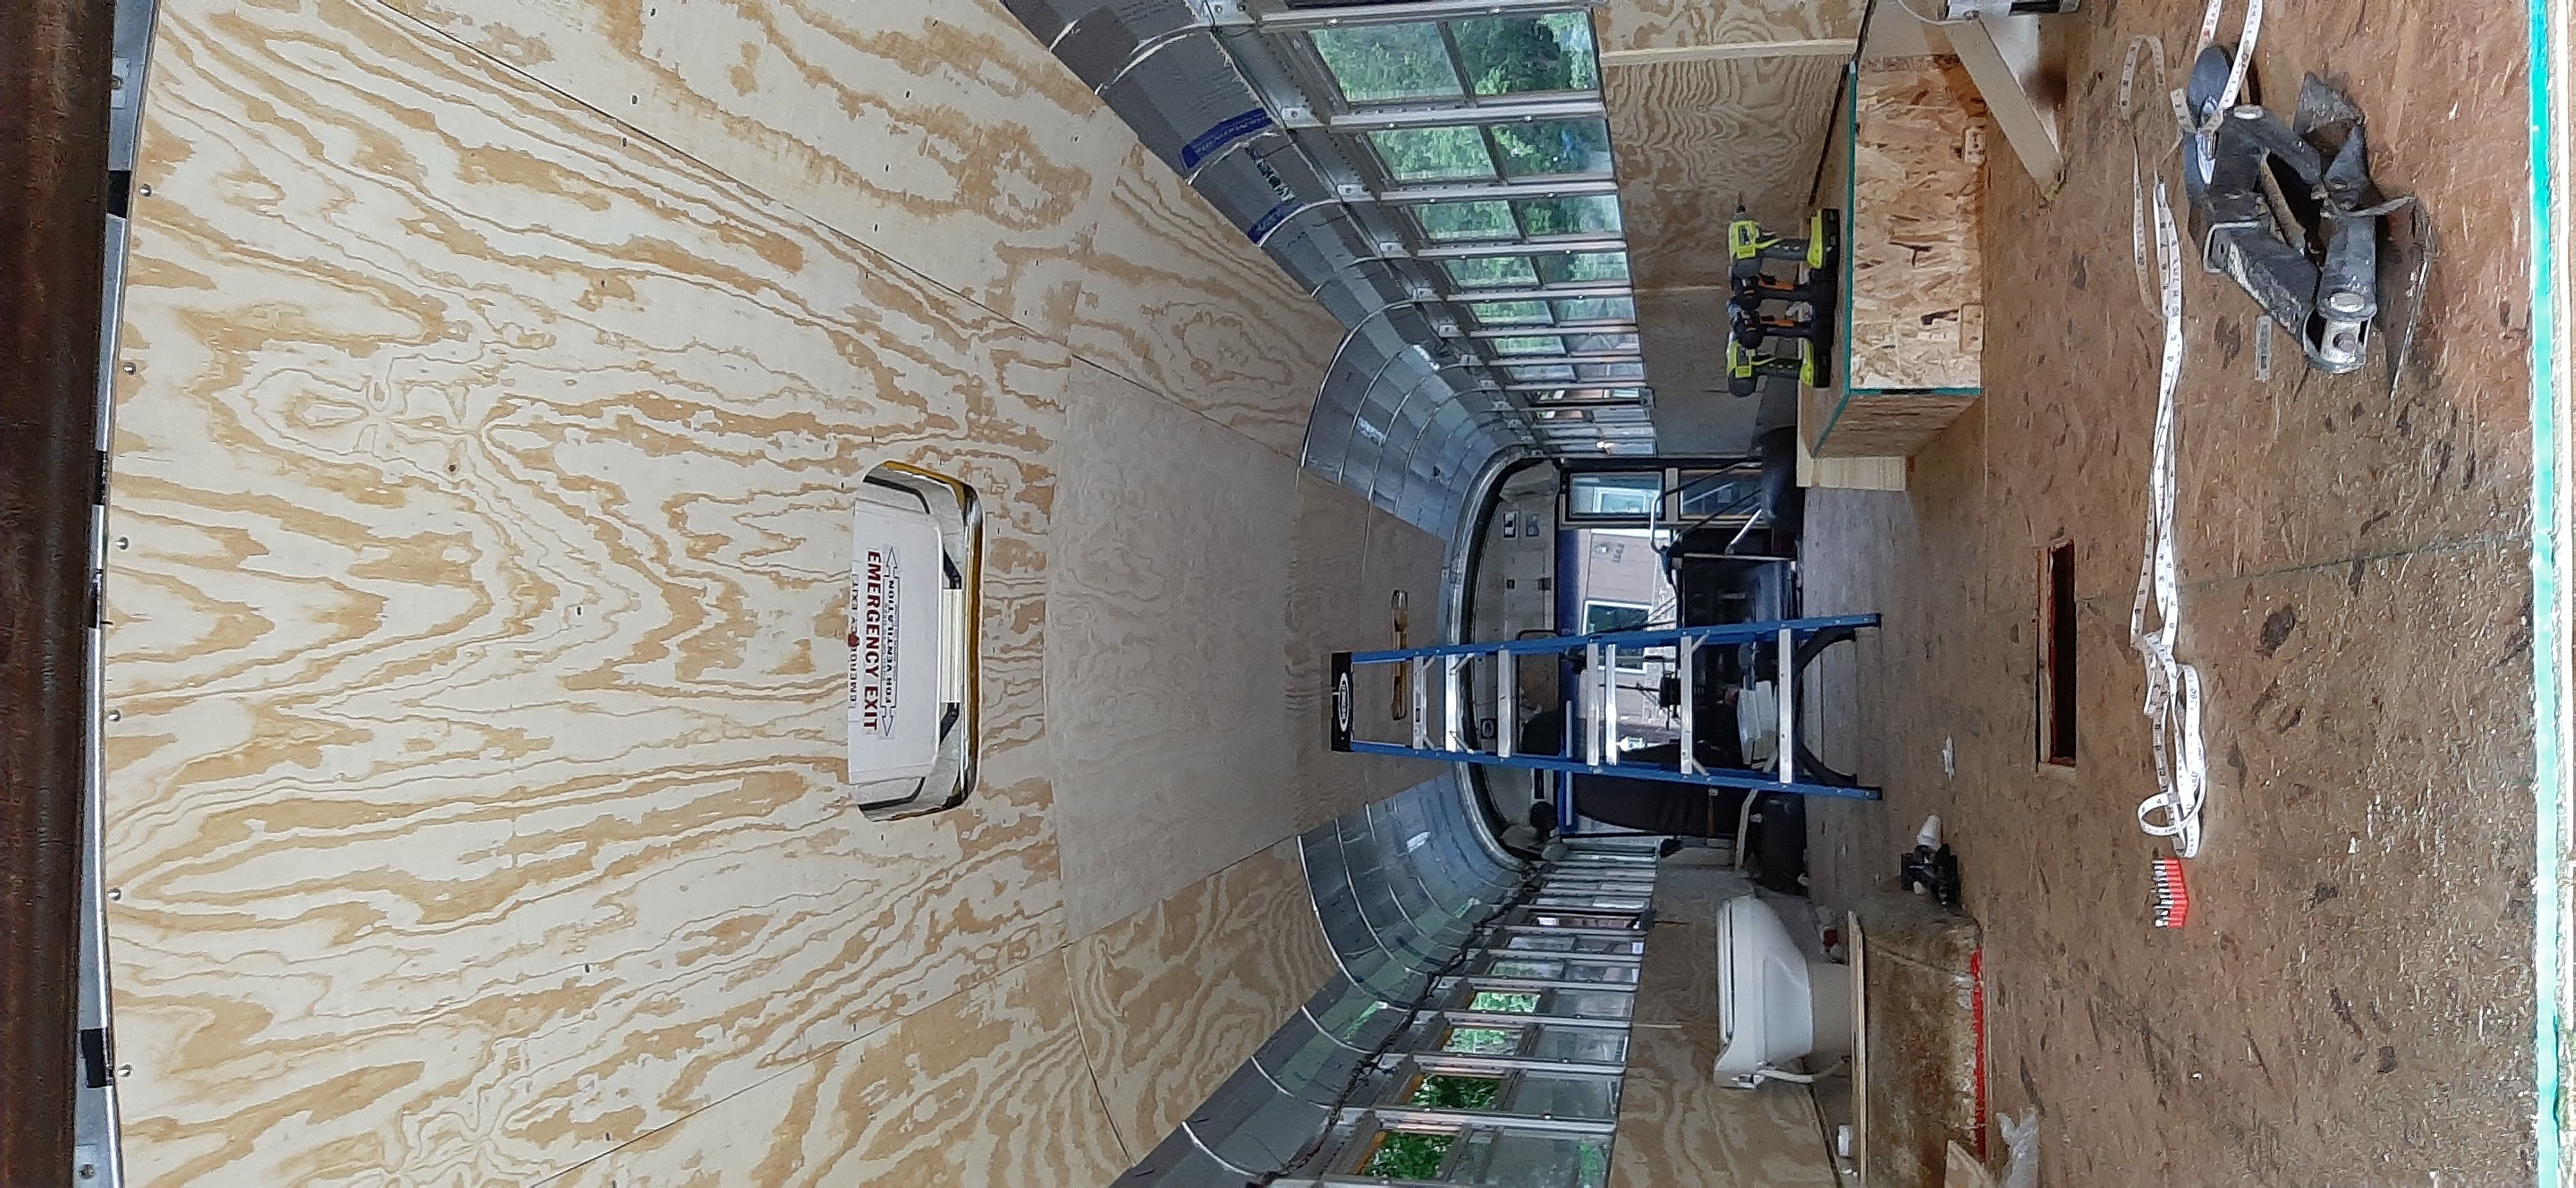
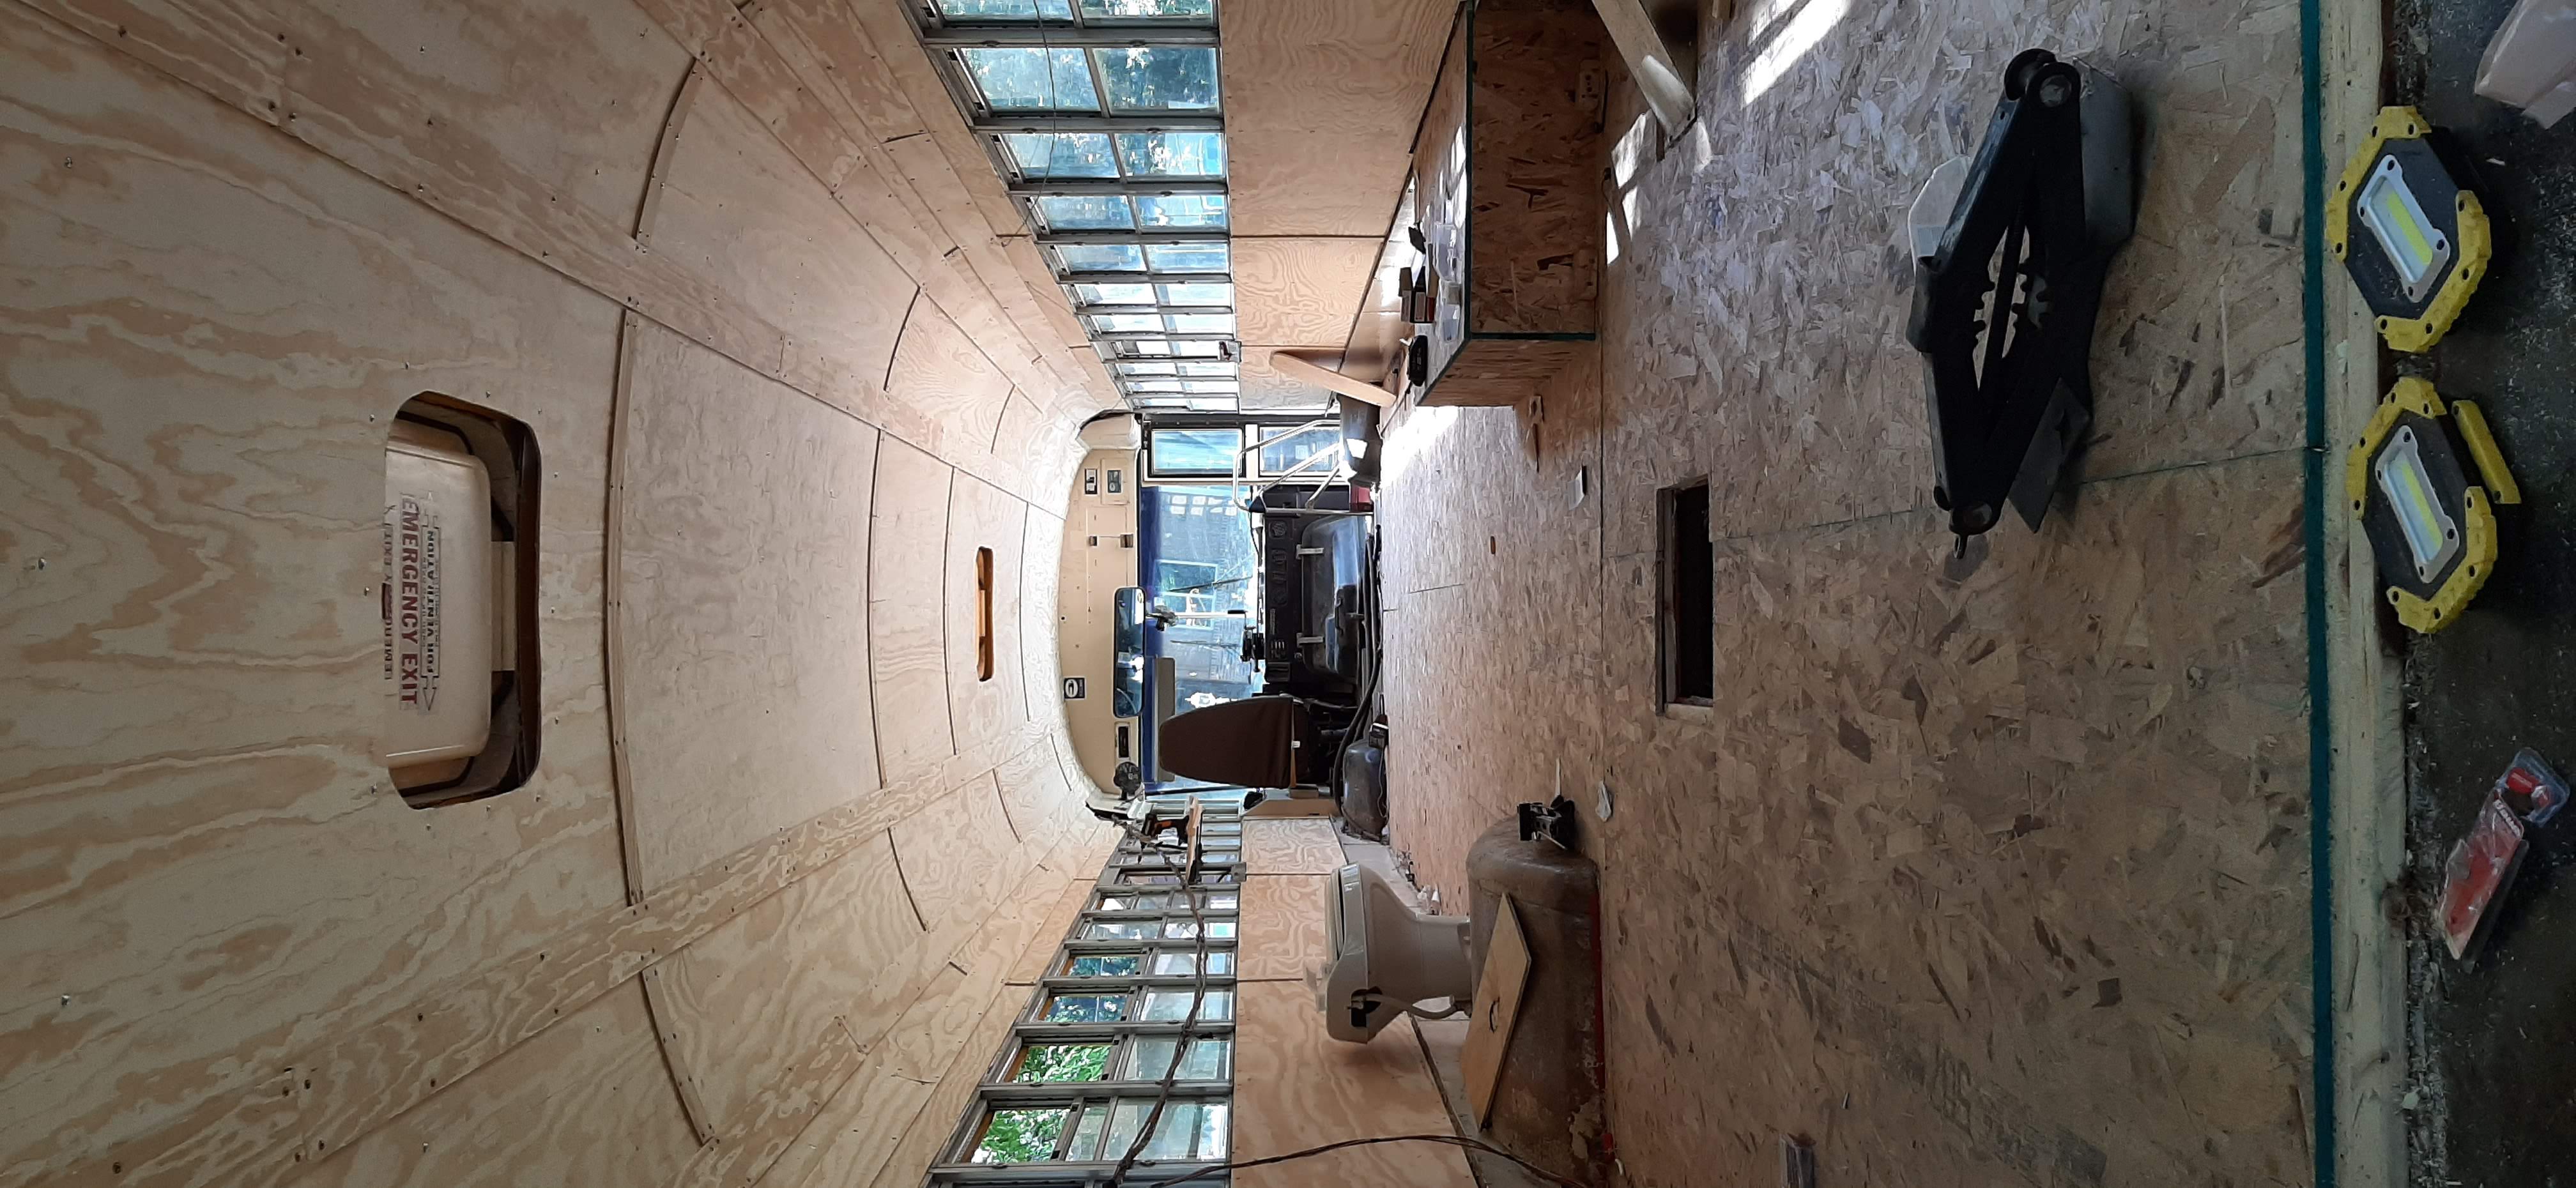
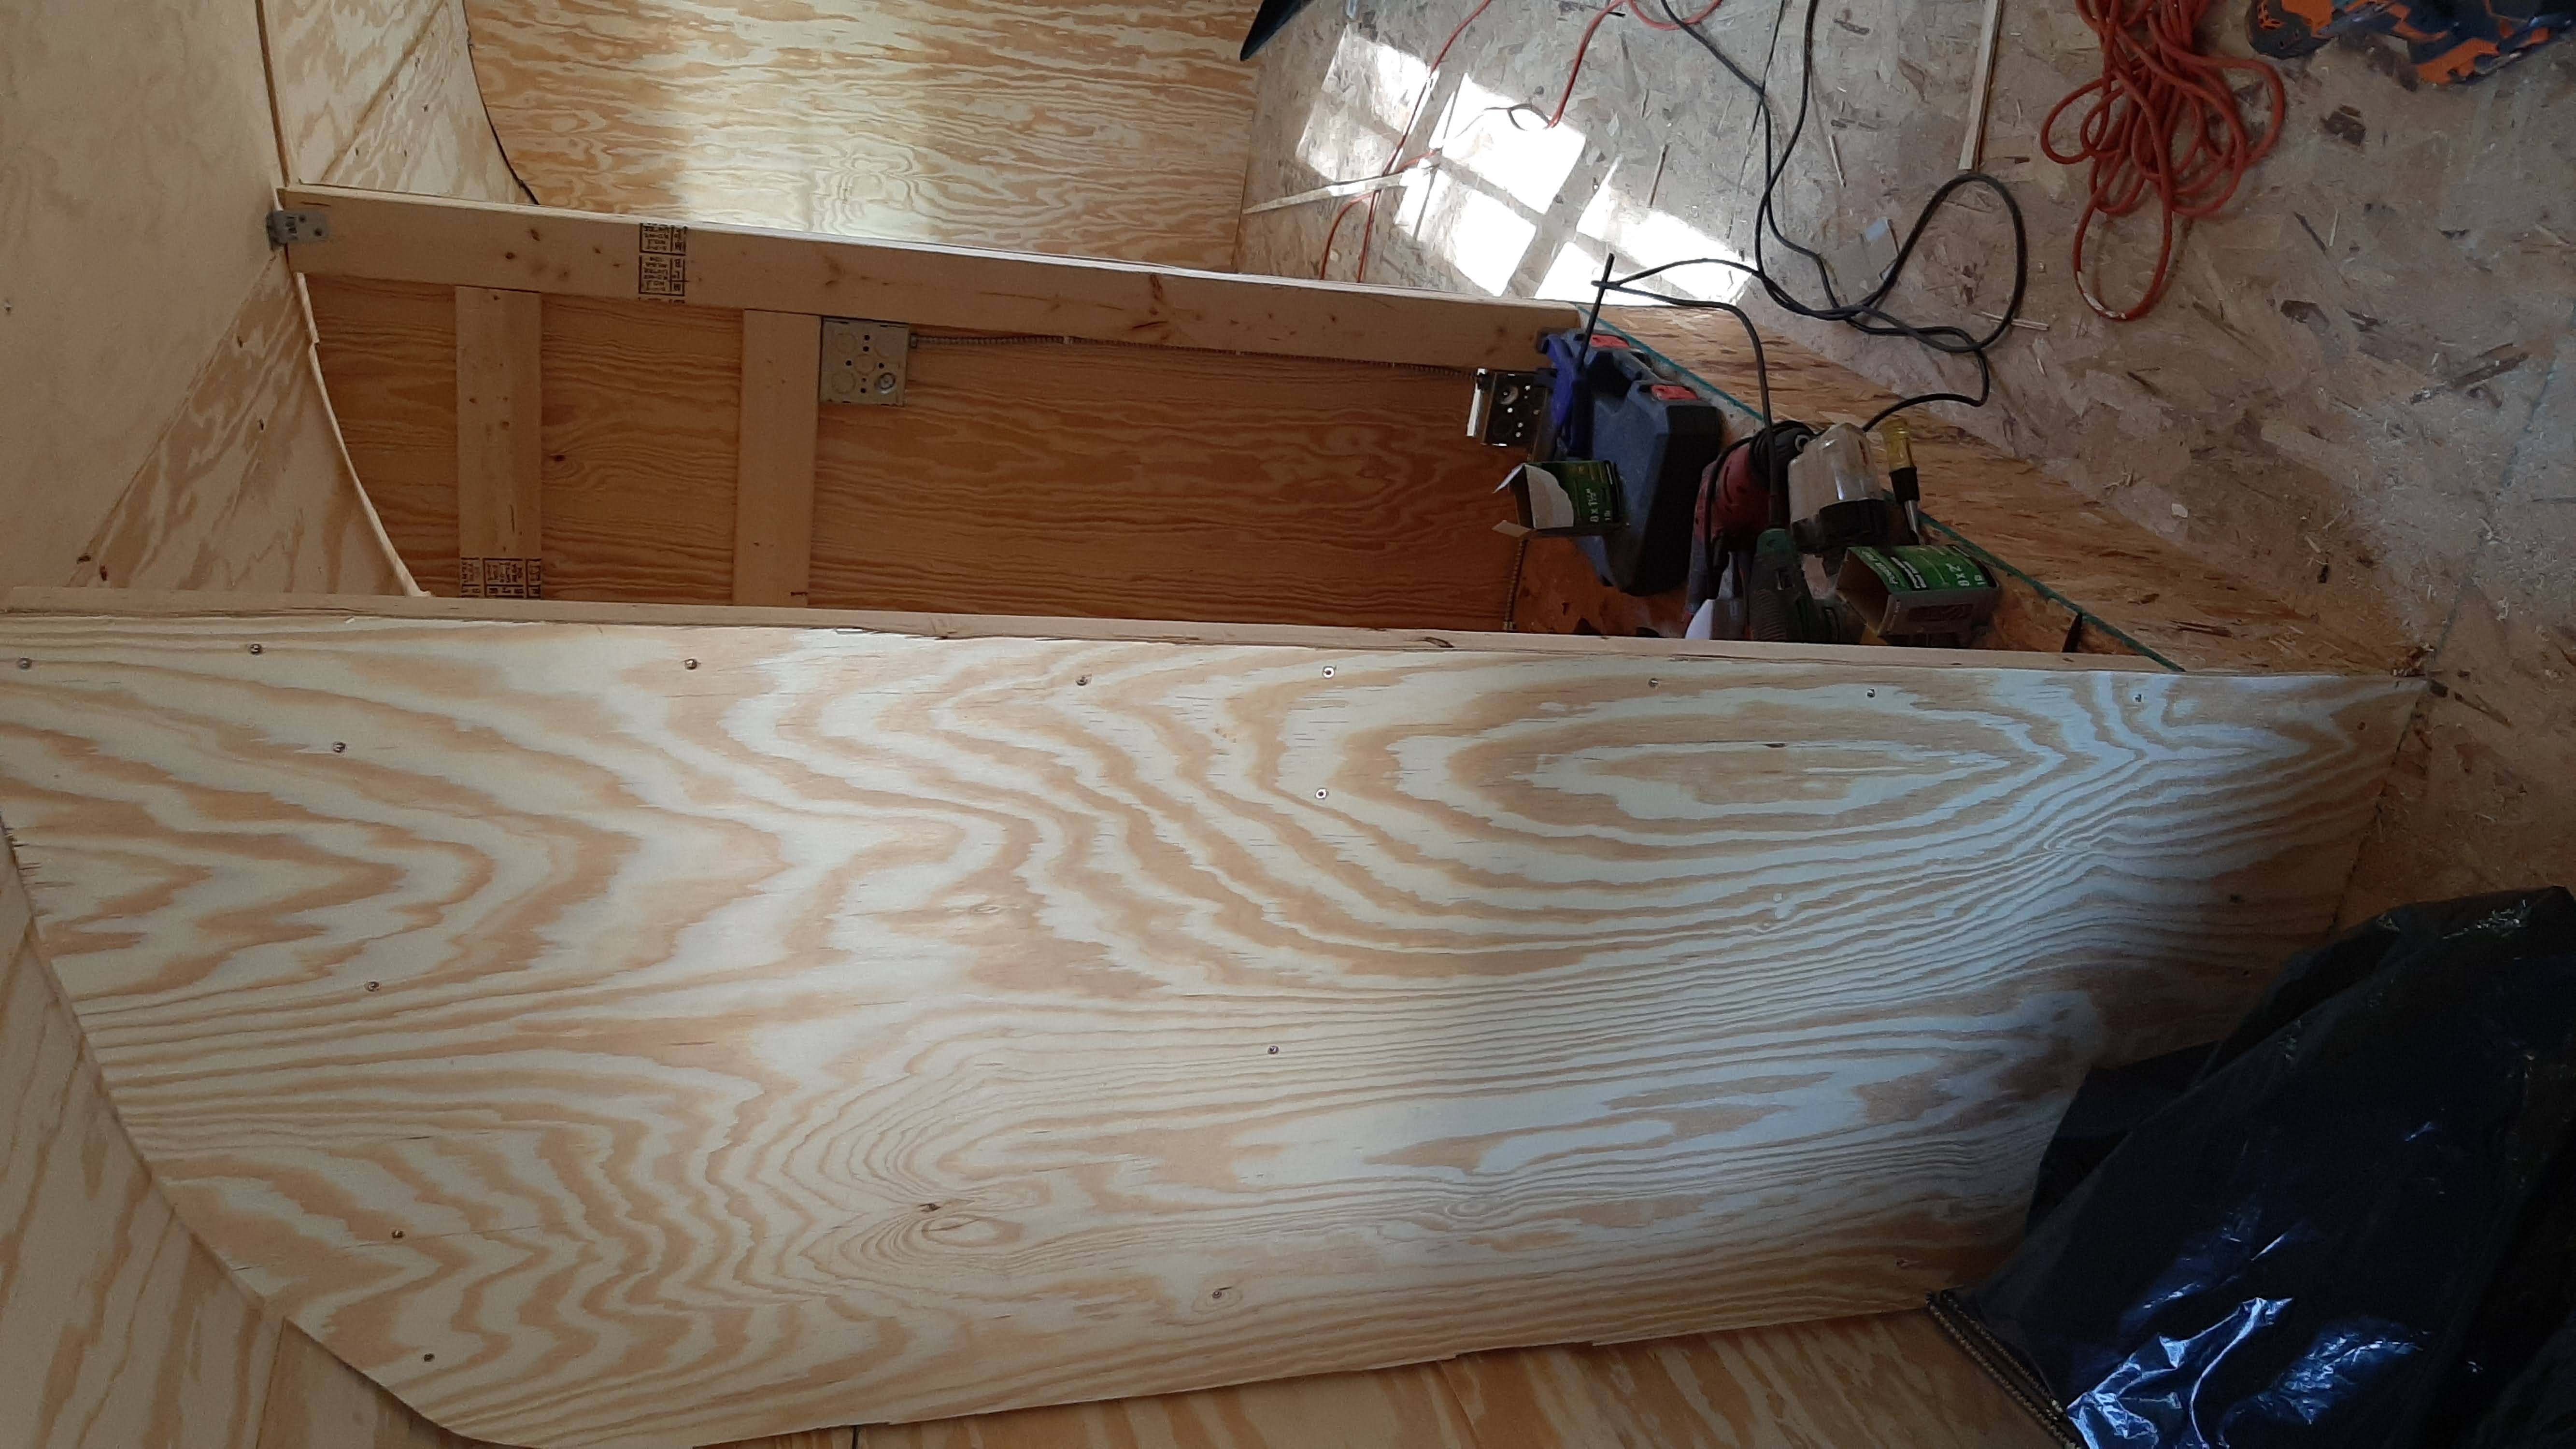
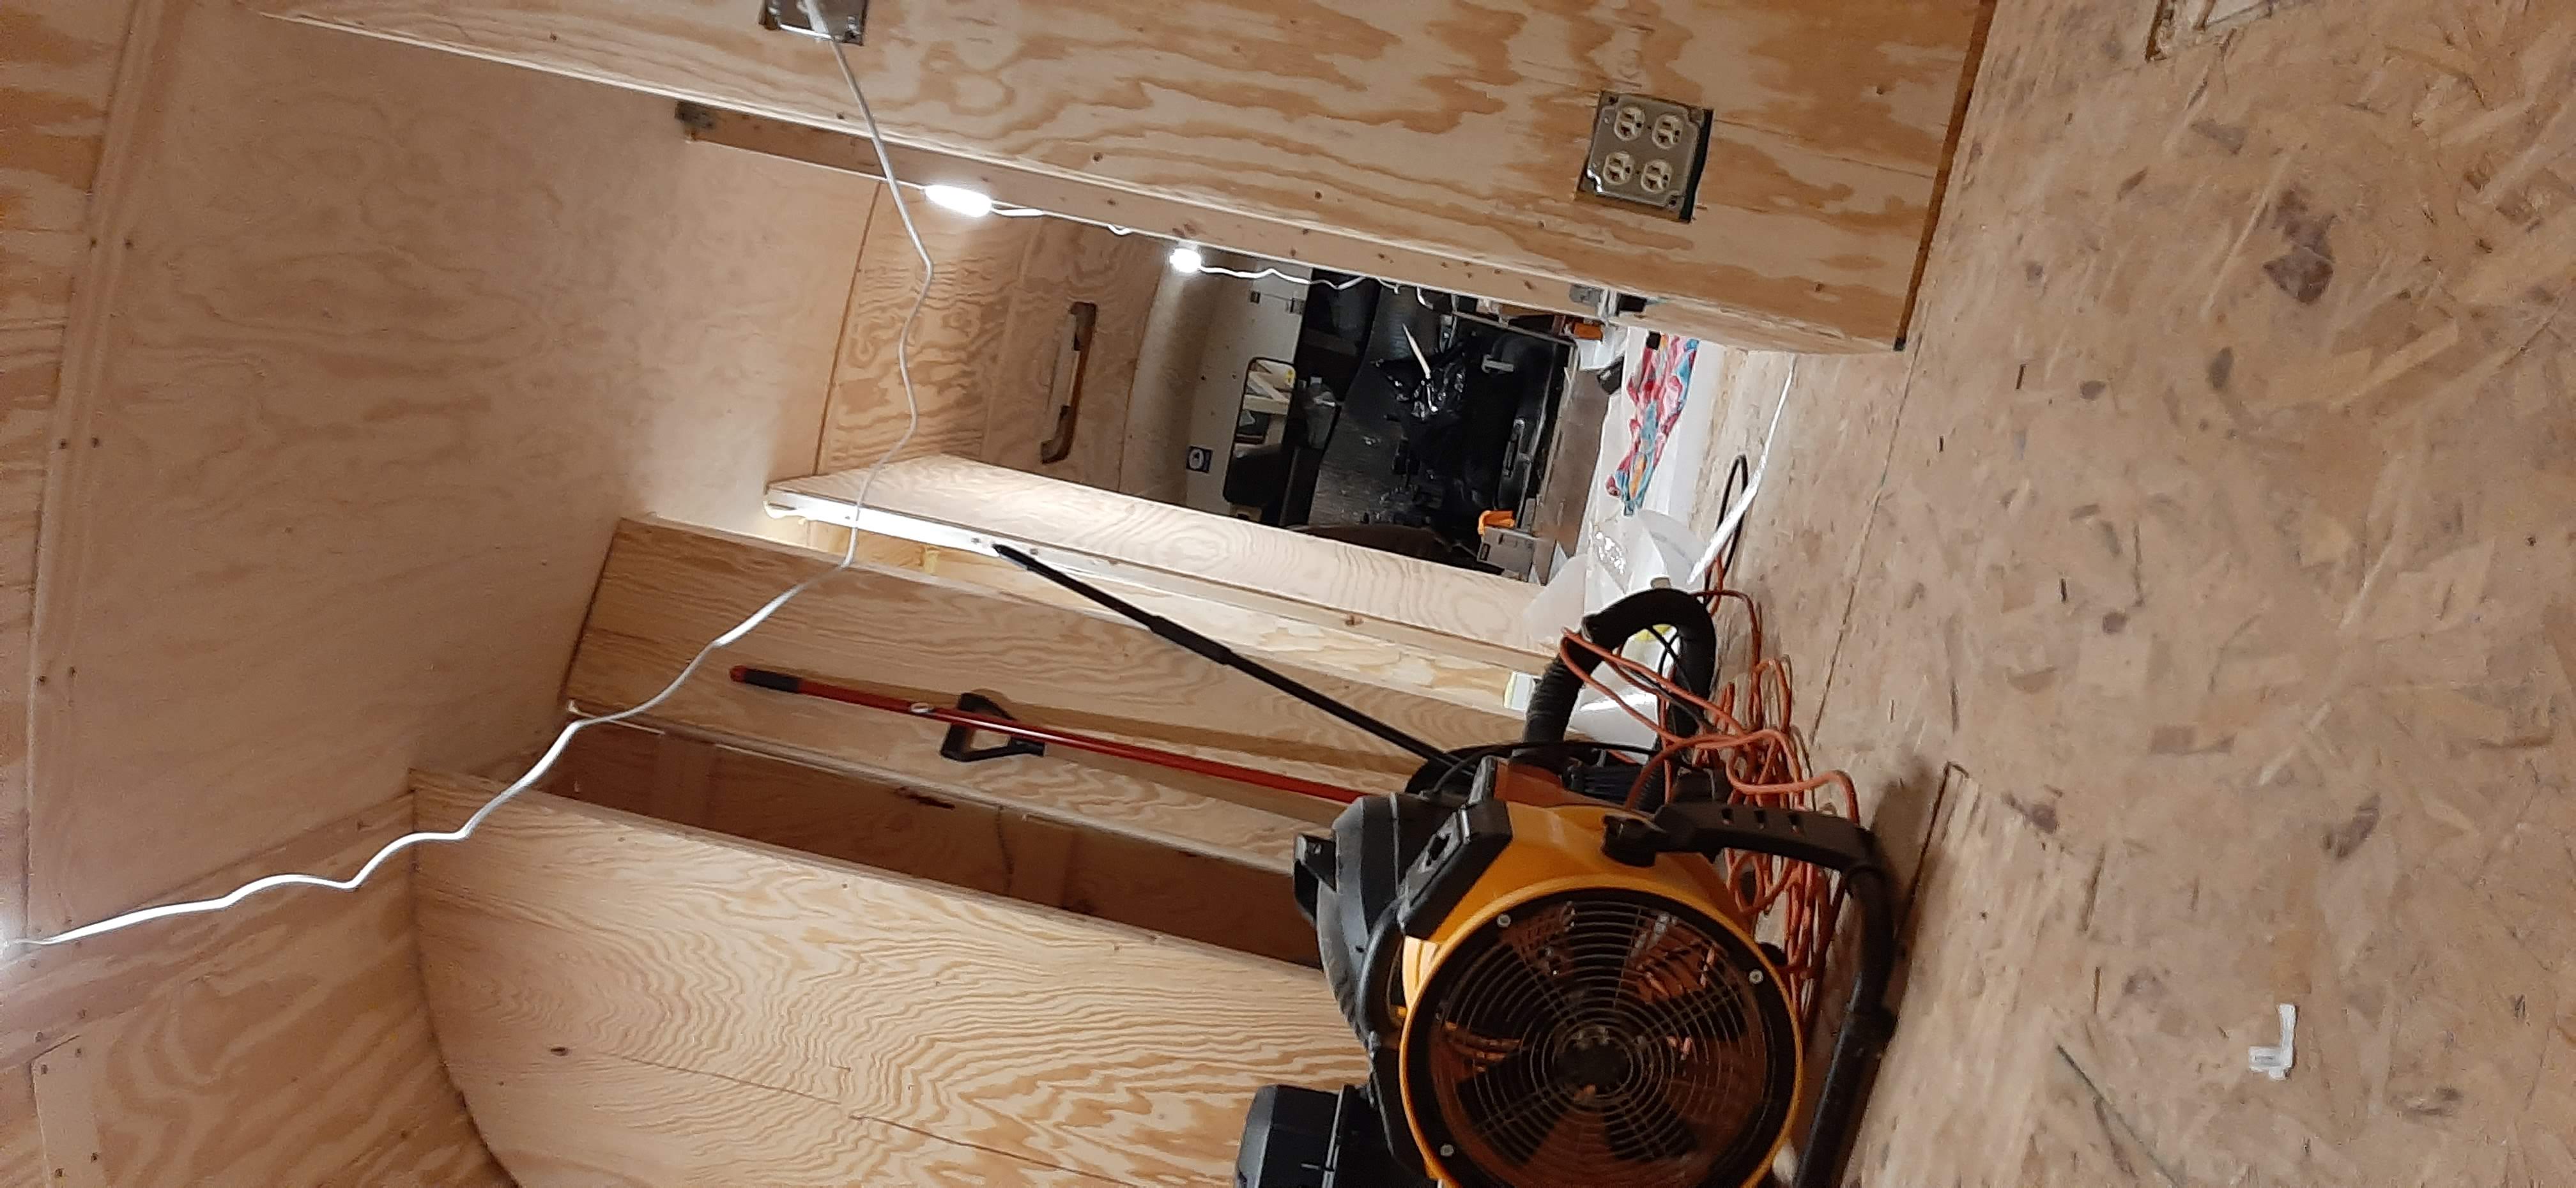
Next, I added a new 1/2-inch OSB subfloor and insulated and sheeted the walls. The walls and ceiling are insulated with 1.5inch closed cell foam board and then covered in ¼-inch plywood.
The ceiling was by far the most intimidating part of the build. I was worried about fitting the flat ¼-inch plywood against the curve of the ceiling. I was also worried about having large gaps between the plywood sheets. Luckily the plywood conformed very easily to the ceiling, and trim pieces covered the seams! You can tell the quality of a woodworker by how small their trim pieces are, mine are huge.

I’m very happy with the finished product.
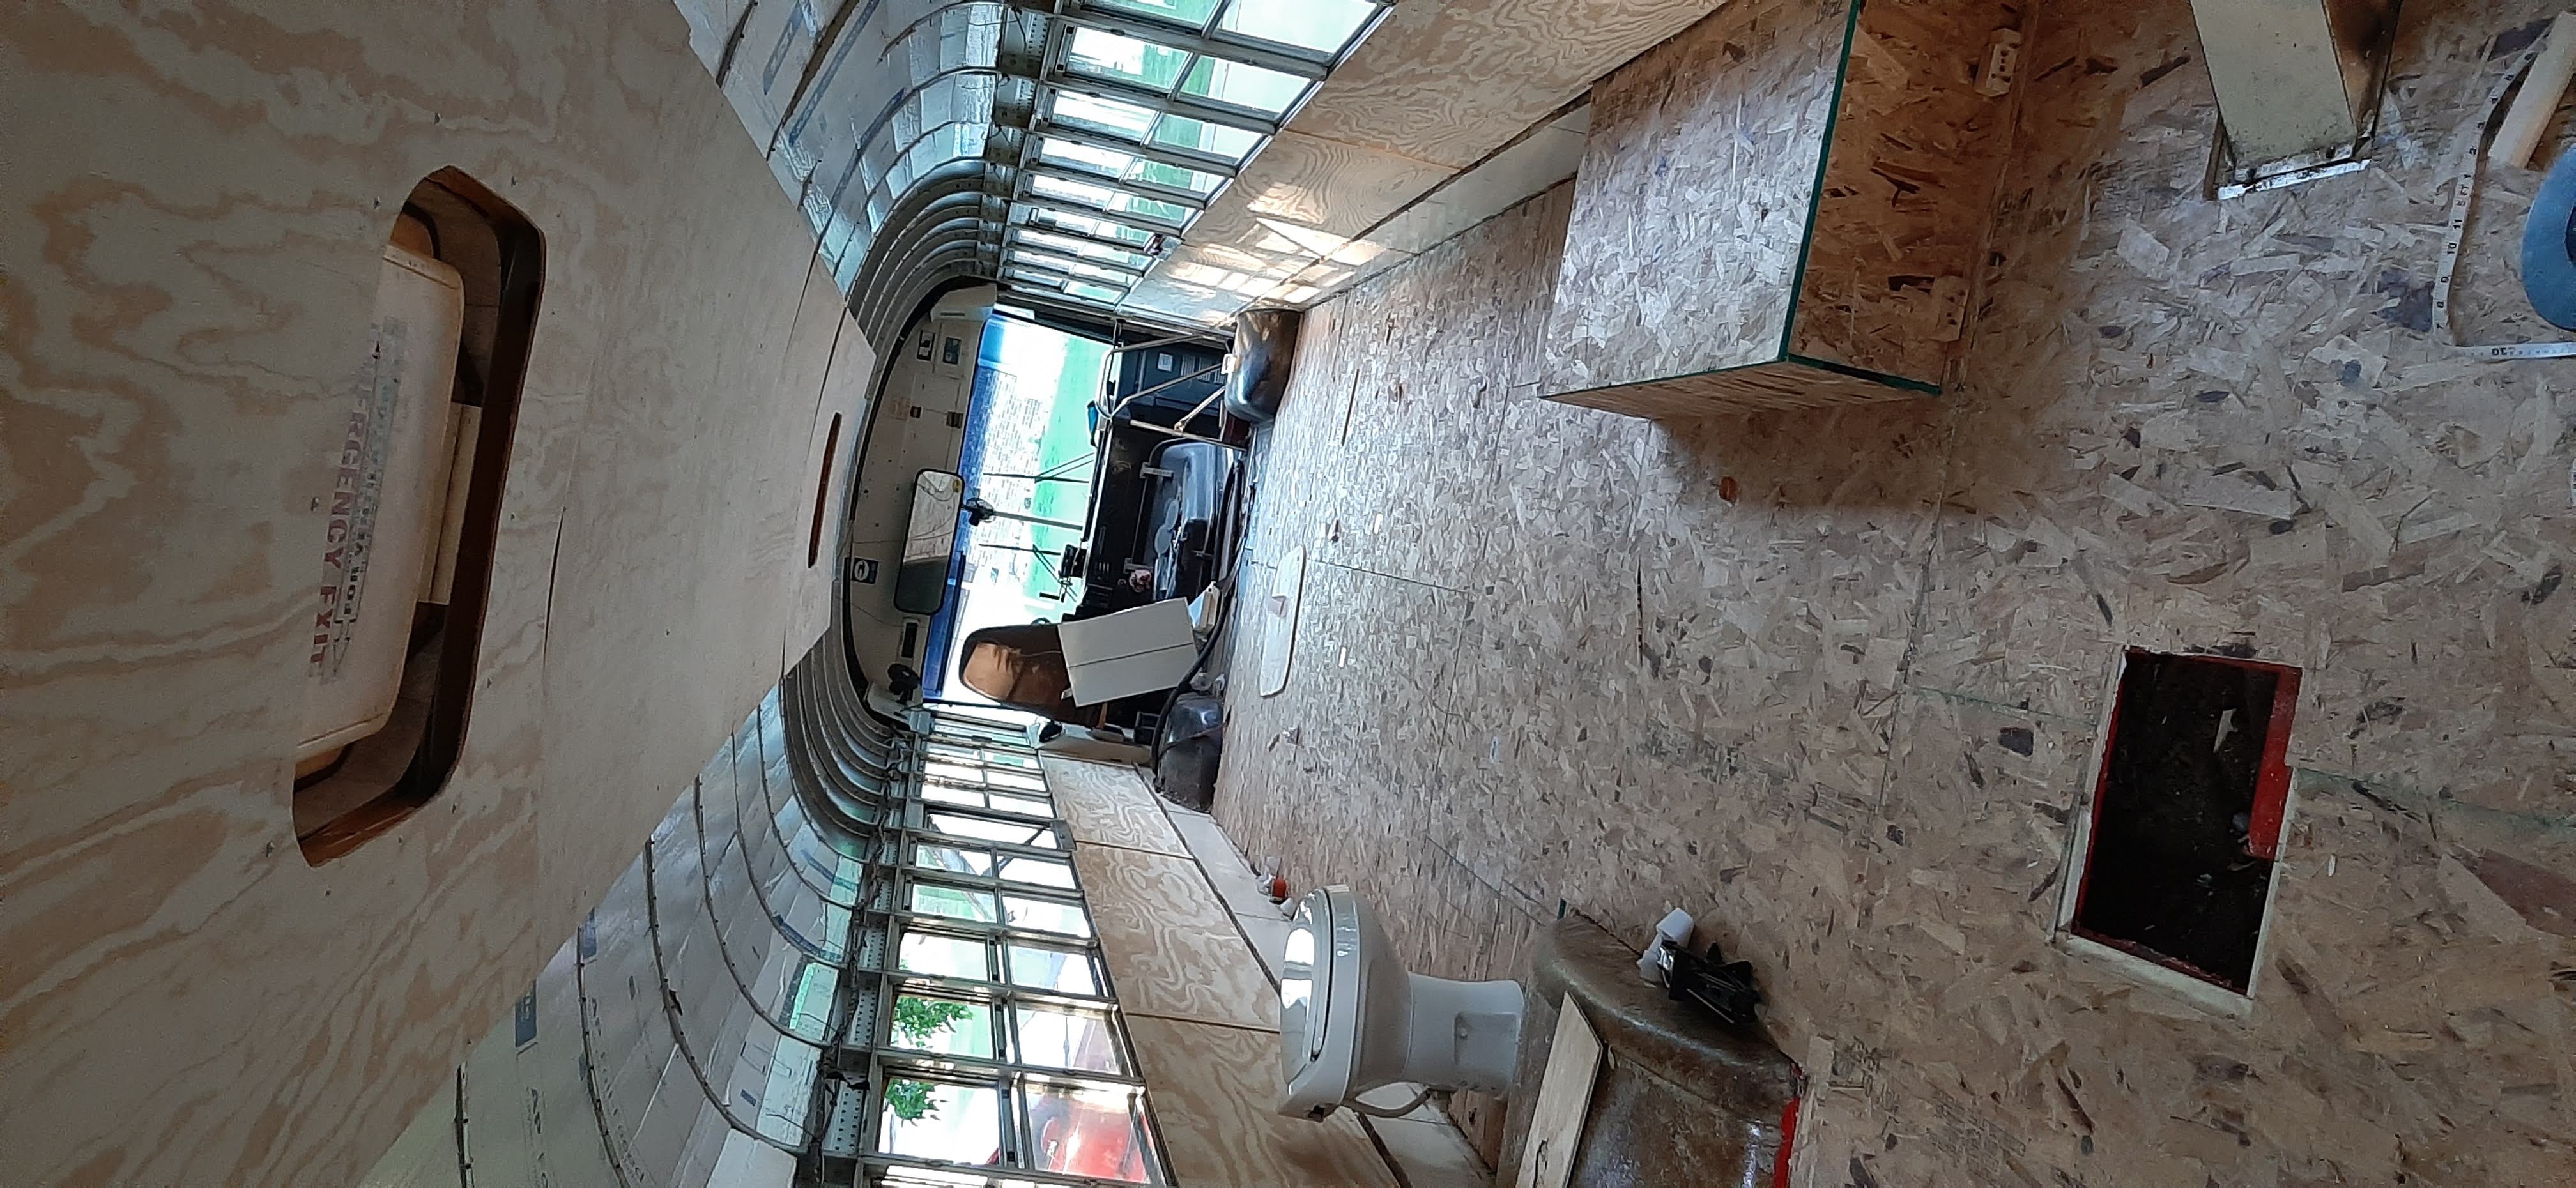
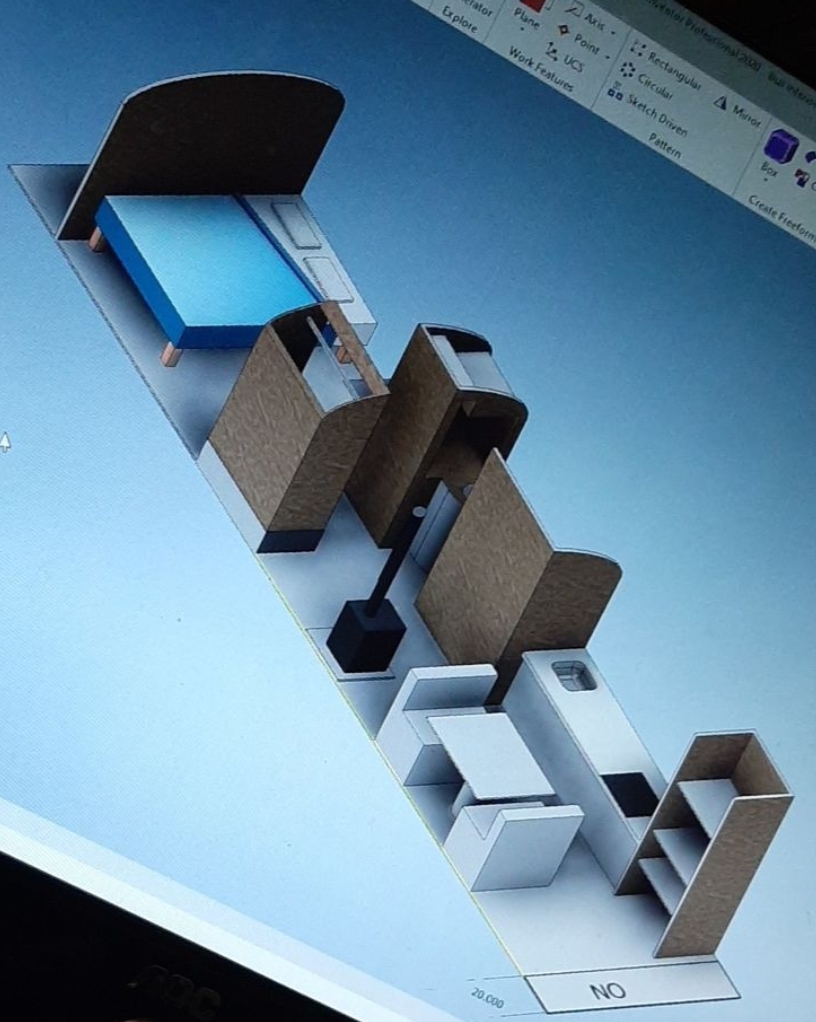
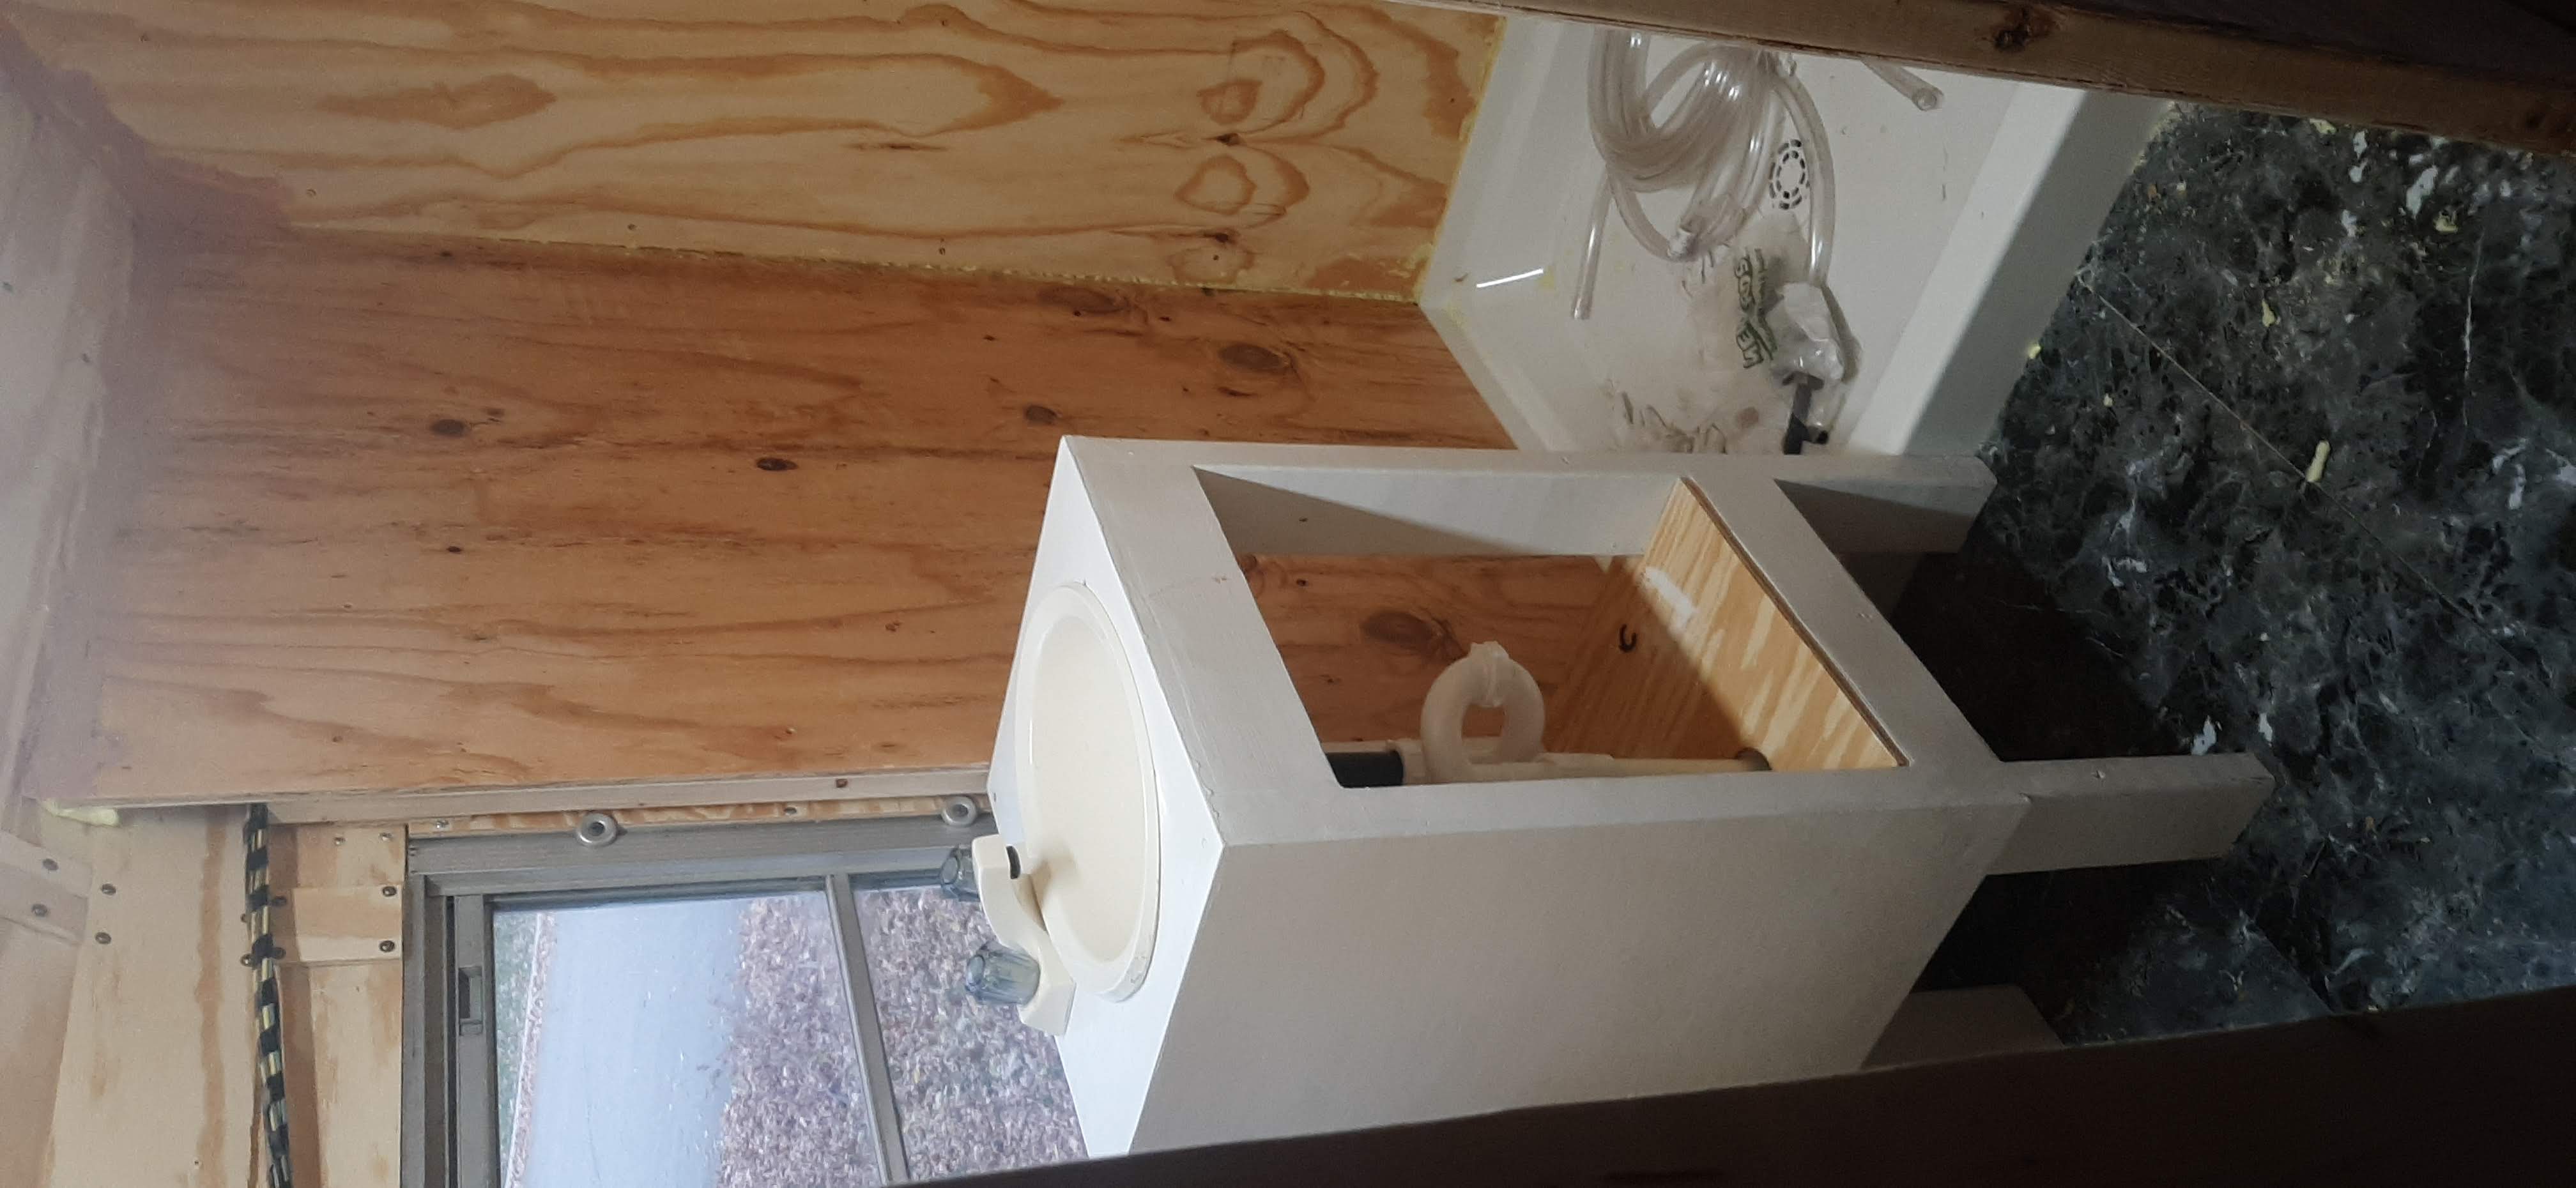
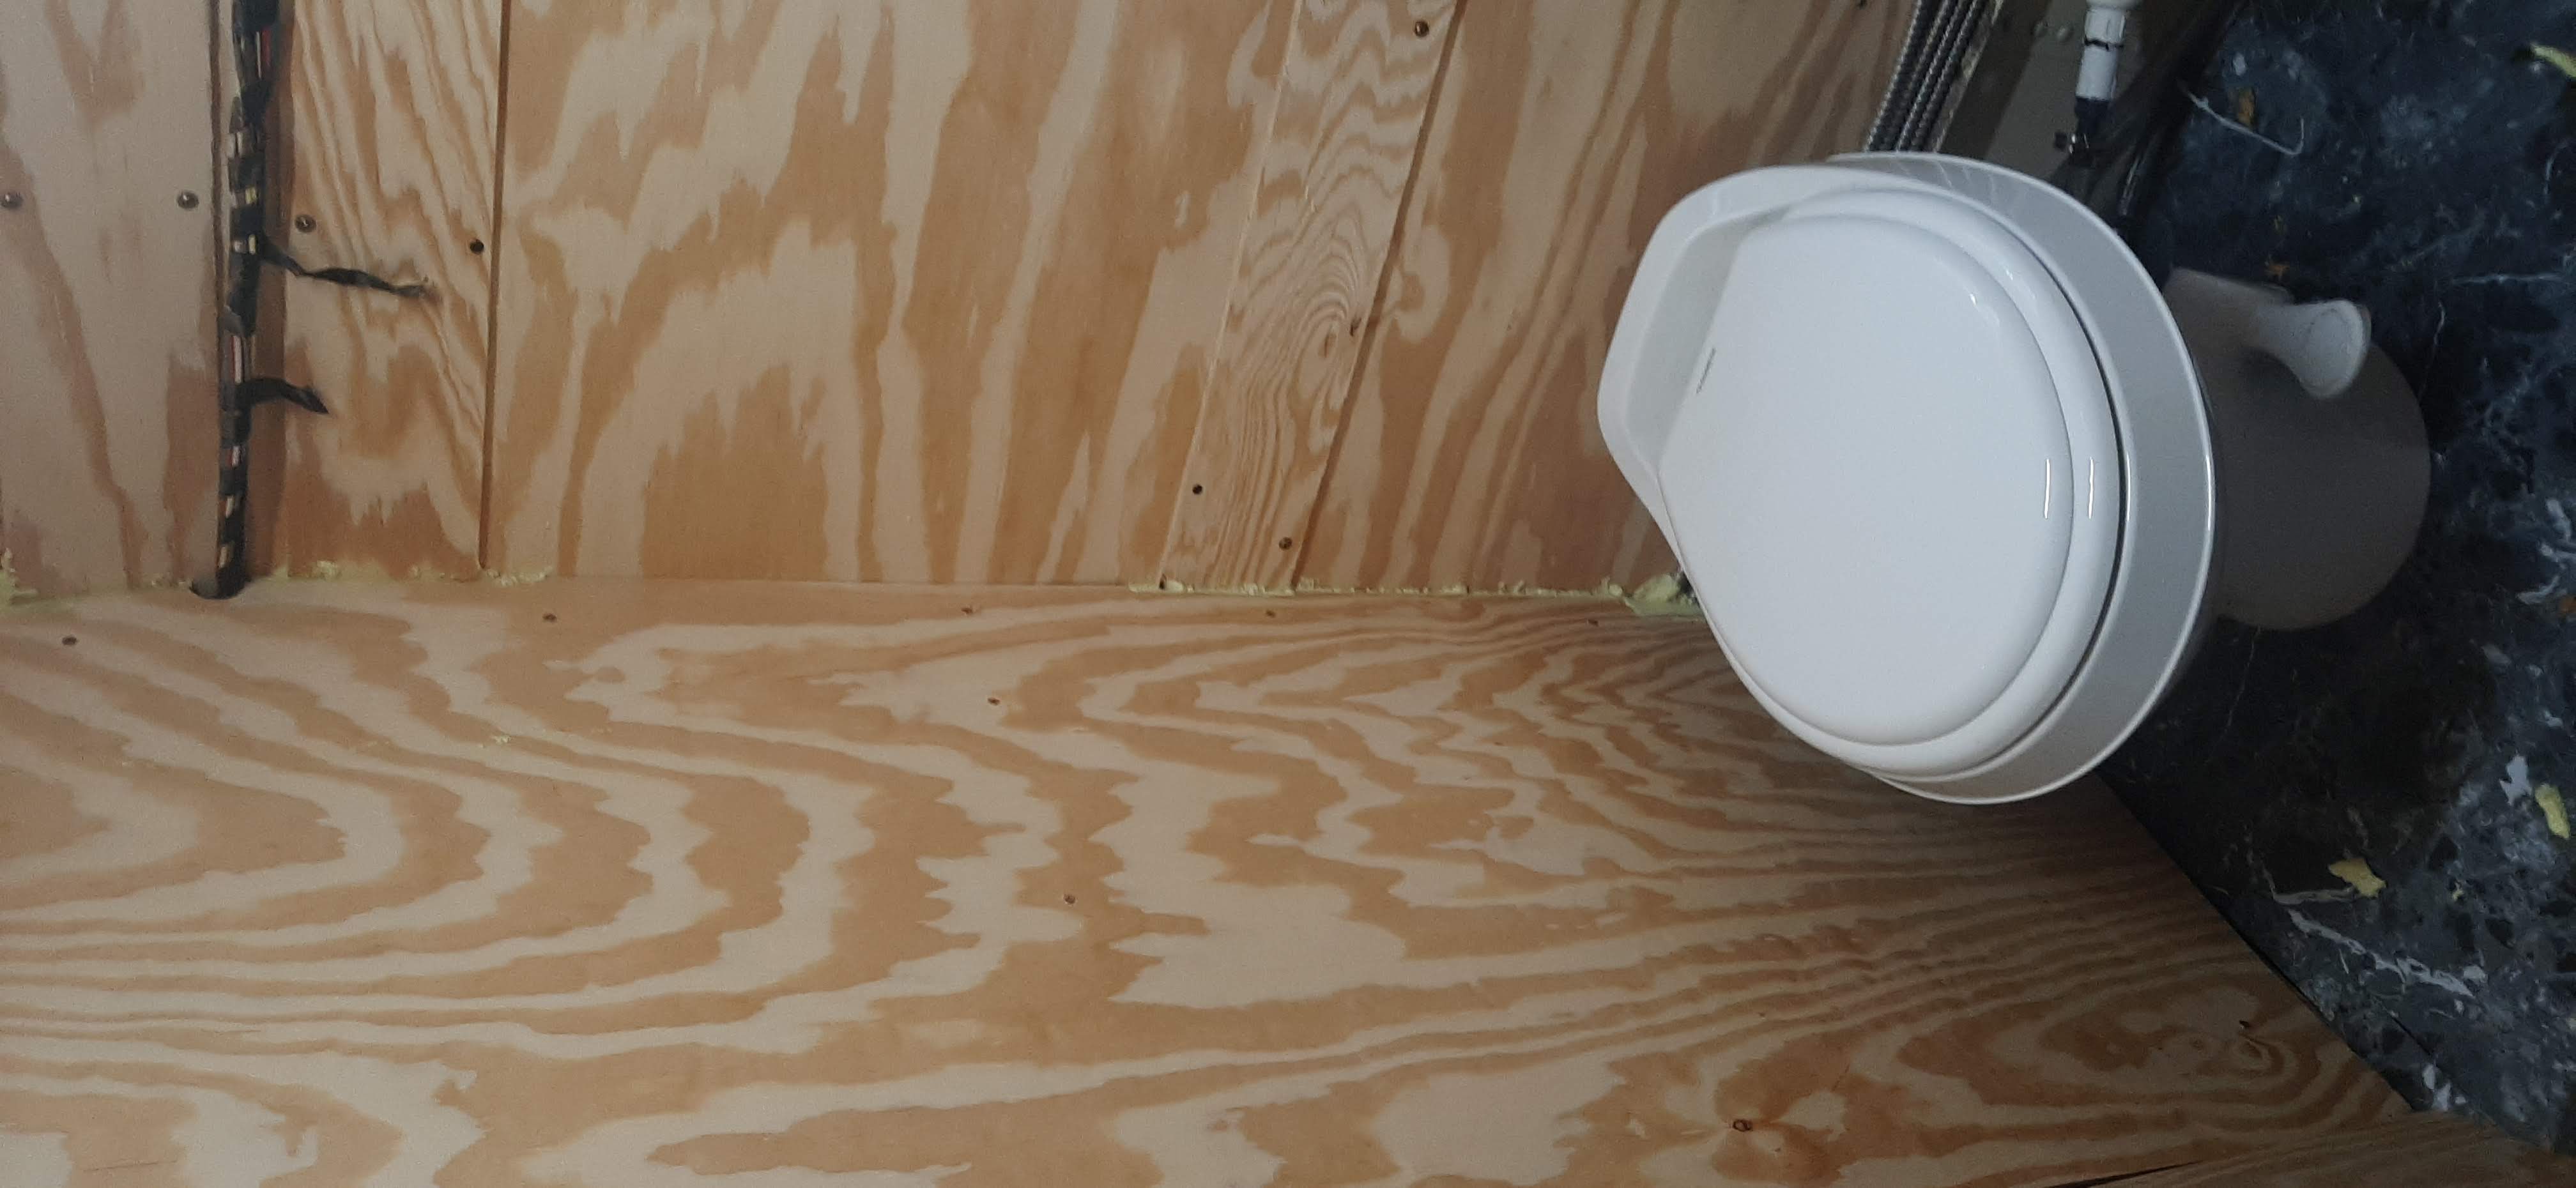
With these necessities taken care of, it was time to plan the interior! The below is my original plan. The main differences are the booth layout, the little wood burning stove, the closet behind the bathroom, and the bathroom layout. I changed the booth to be just on one side of the table and to be twice as long. I removed the wood burning stove because no one would insure me with it installed. I changed the closet to be a narrow full-height closest, giving me more space for my desk, and finally, I swapped the toilet and sink positions in the bathroom.
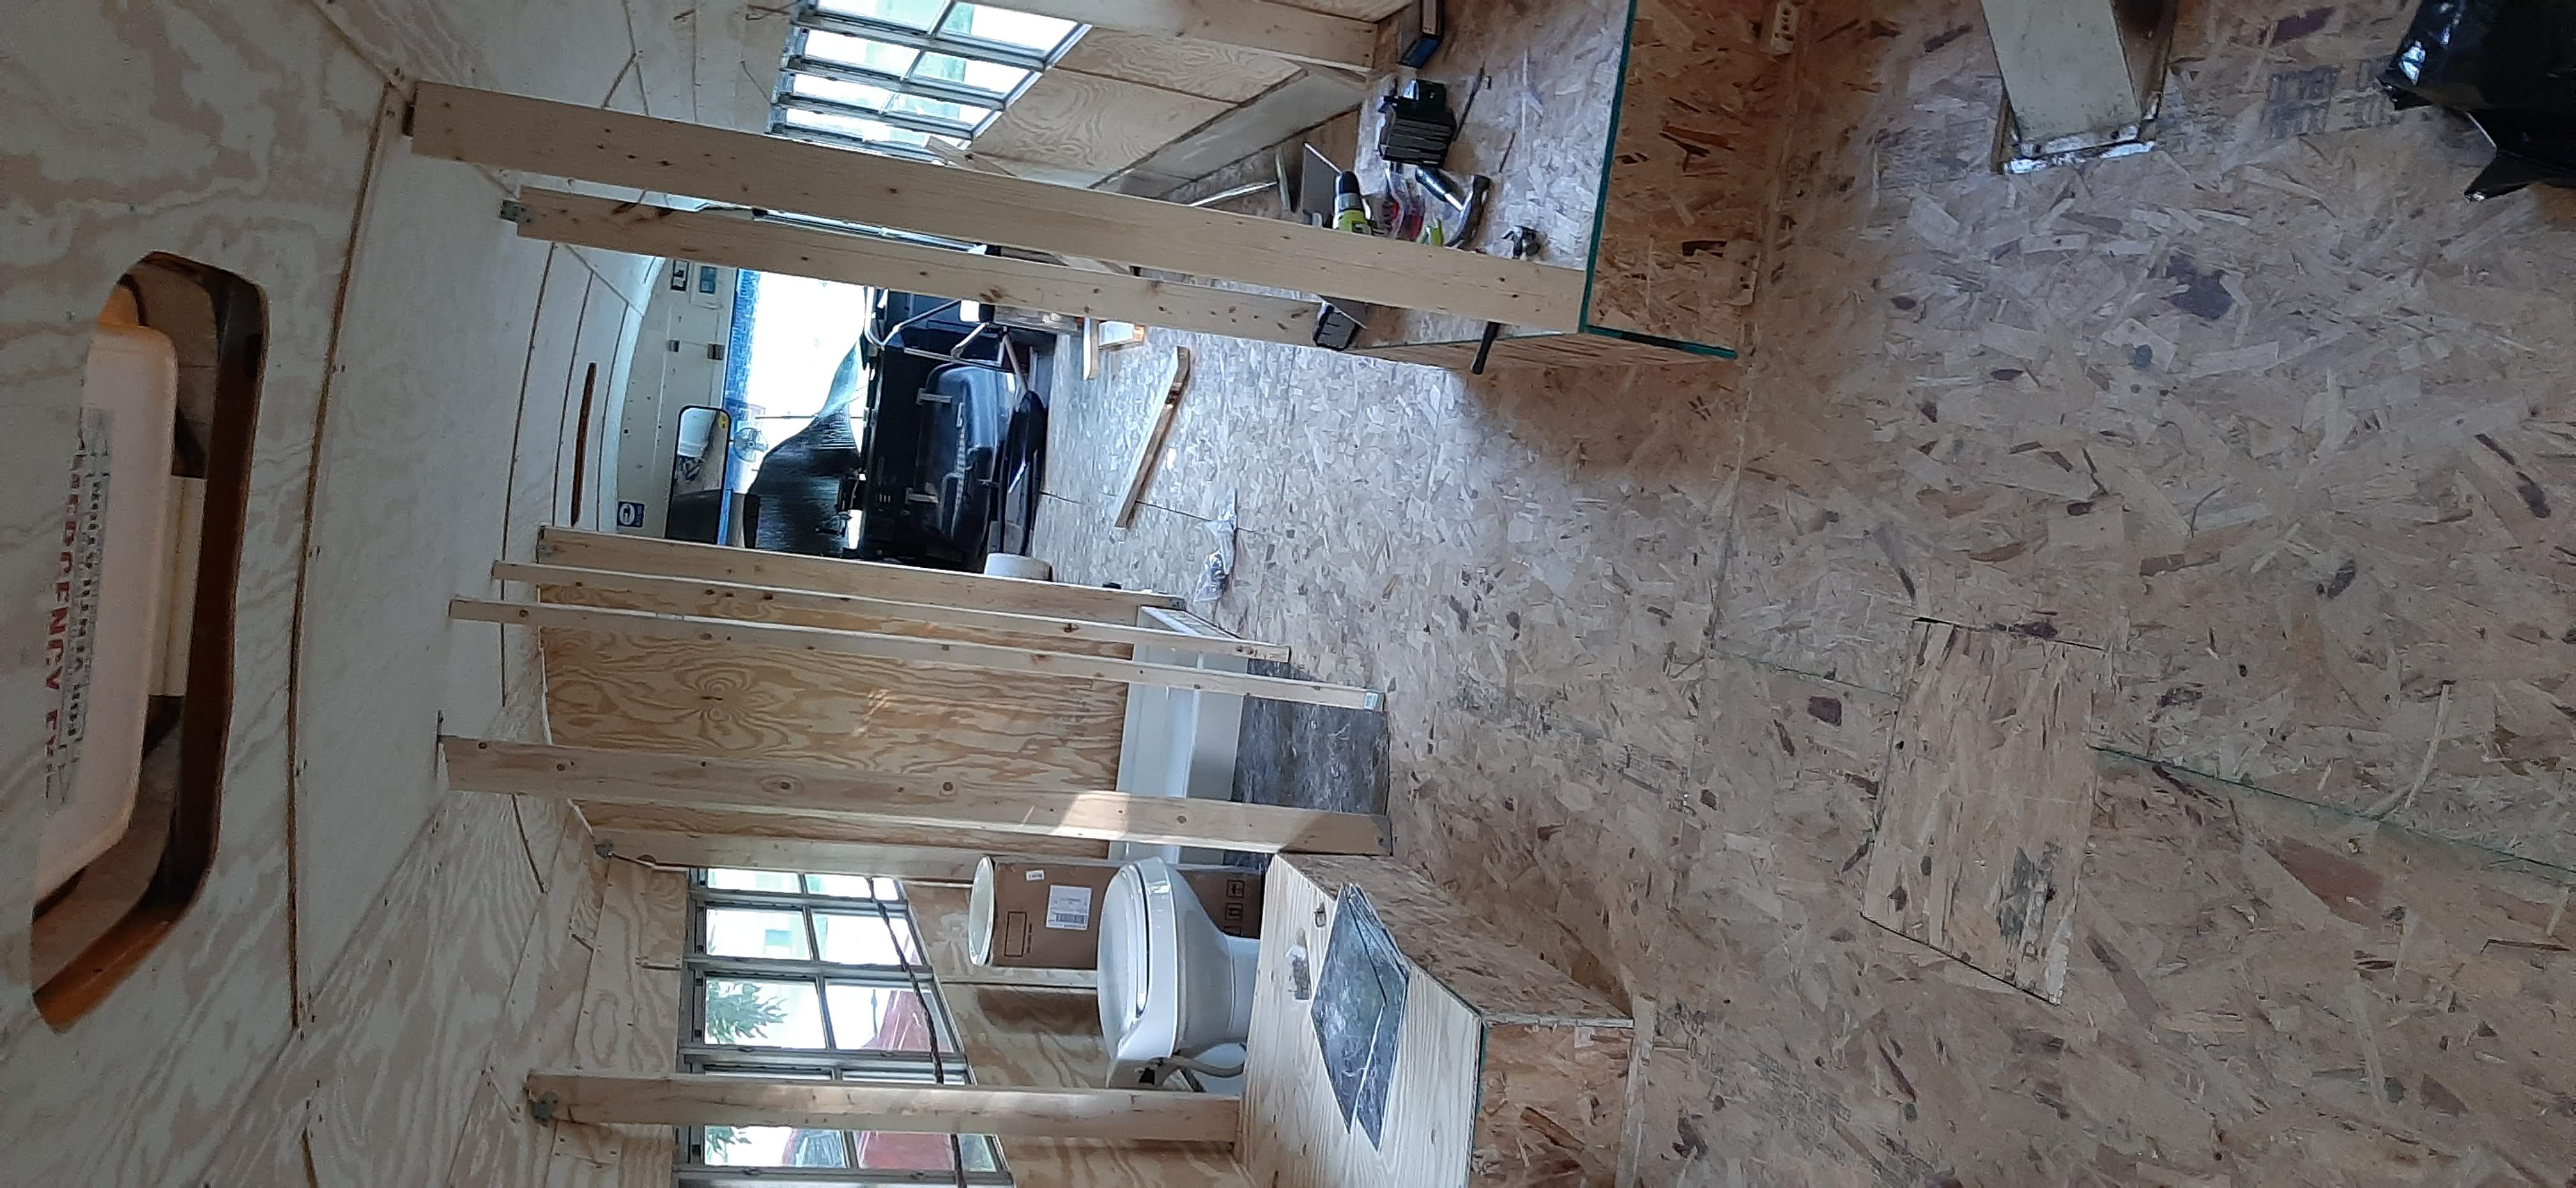
With these plans in mind, I started framing the walls. Here you can see the bathroom walls going up along with my closet over the right wheel well.
Before I finished the walls my electrician friend and his family stopped by and helped me add my electrical panel, electrical boxes, and mc cable.

Then I finished the walls! I also added some LED undercabniet lights, they're super effective. And it's nice to have actual lights to work by at night.
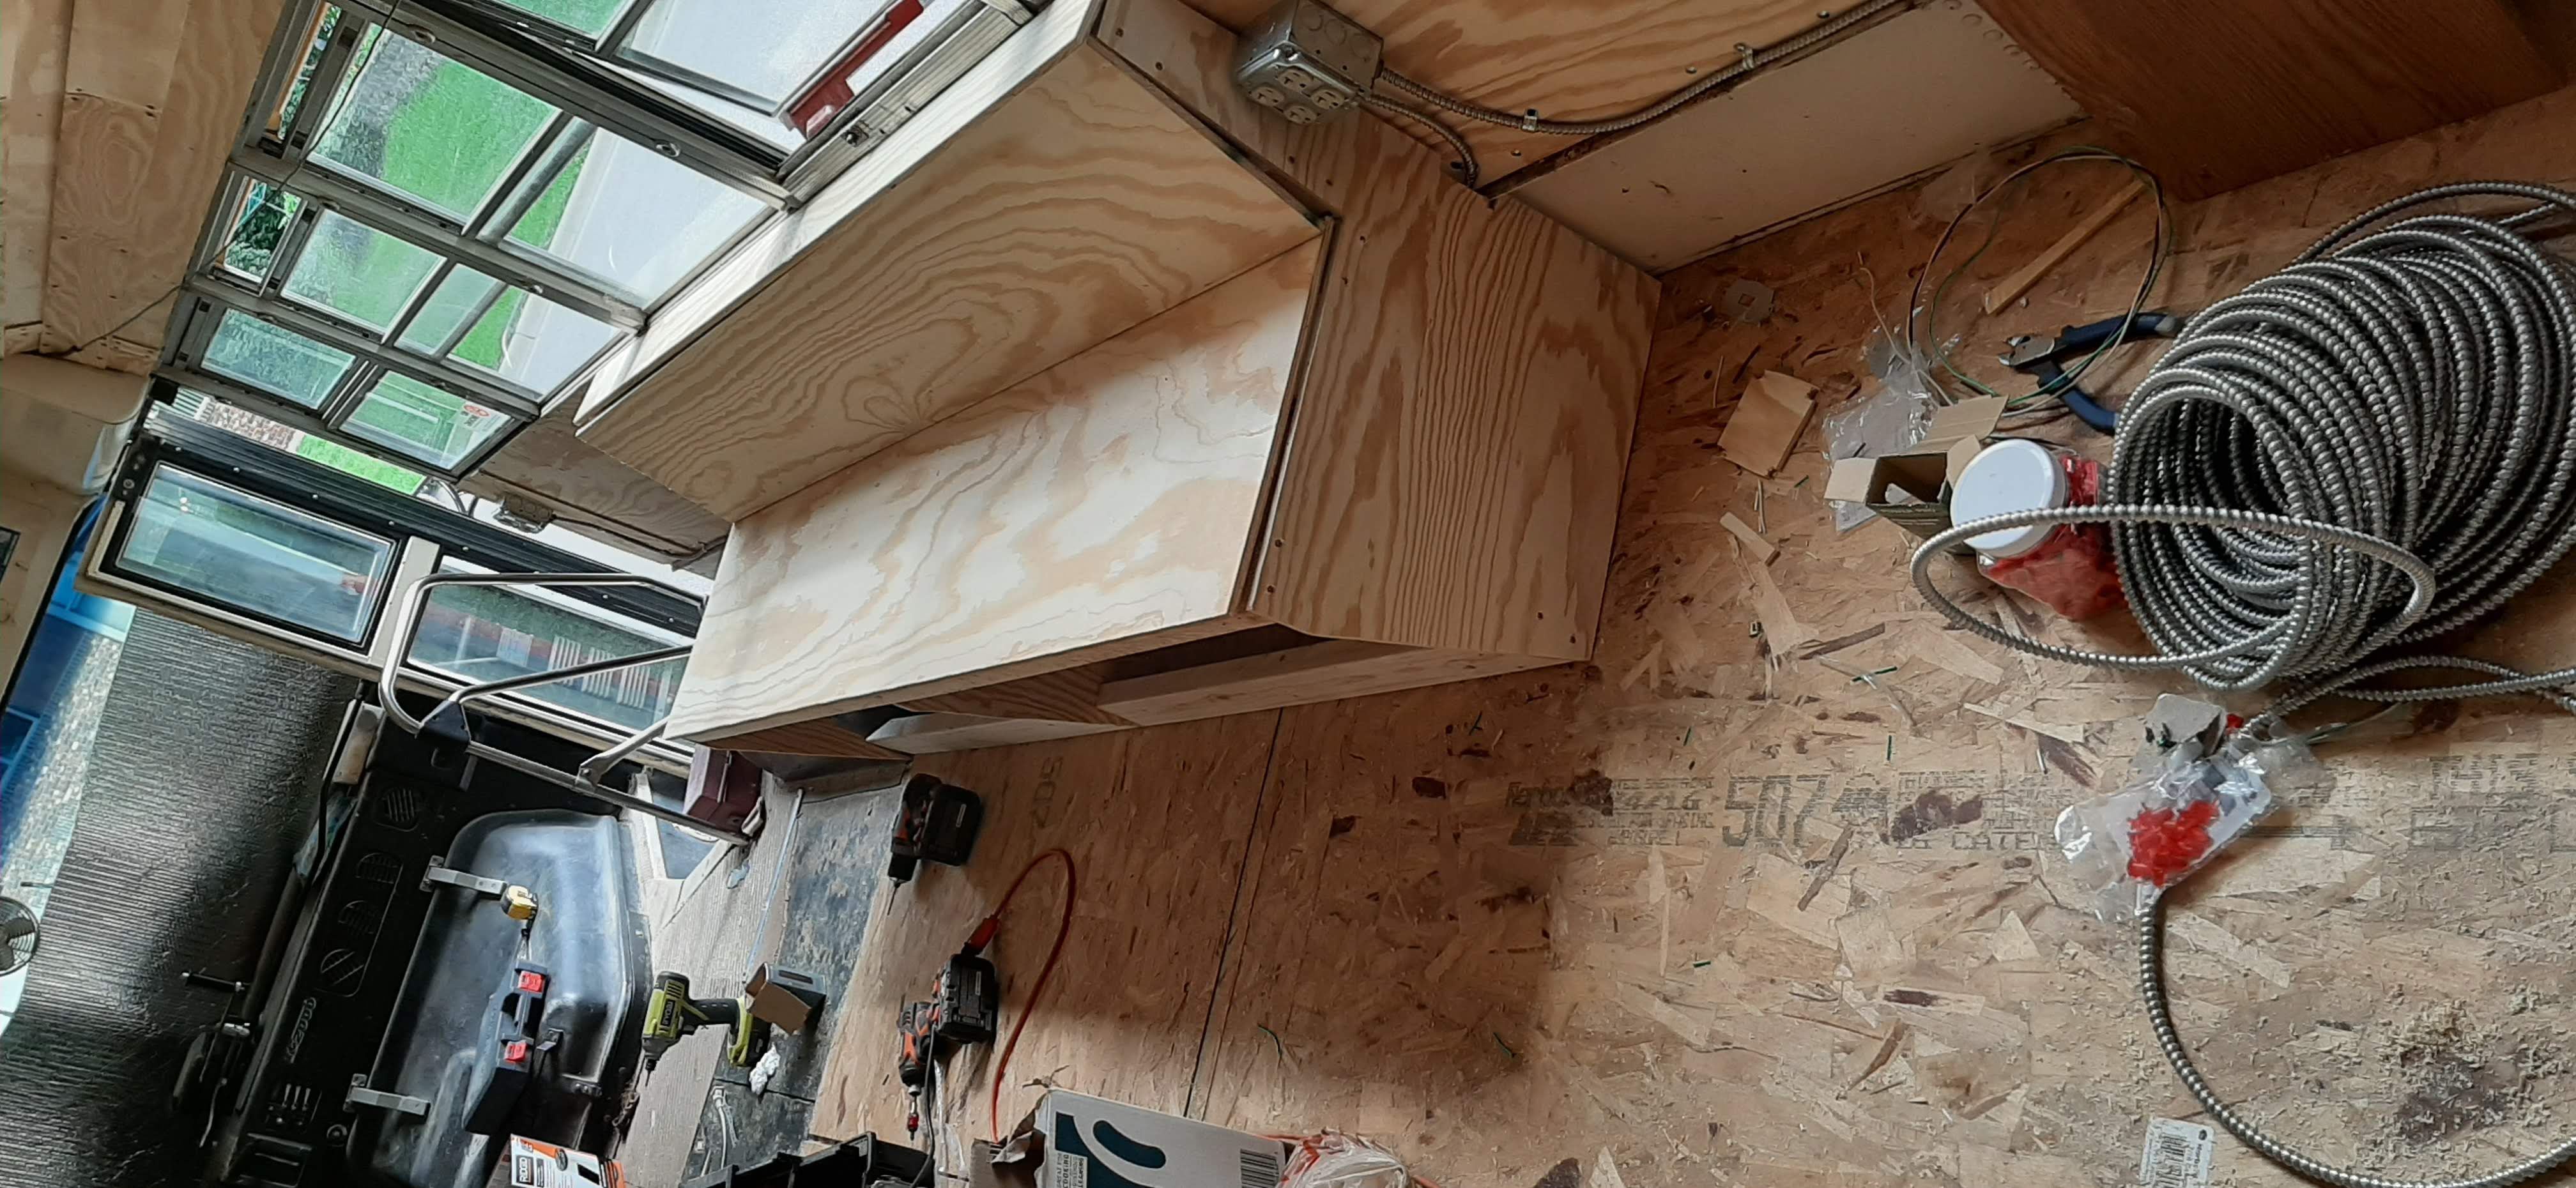
Next I added the dinette bench...
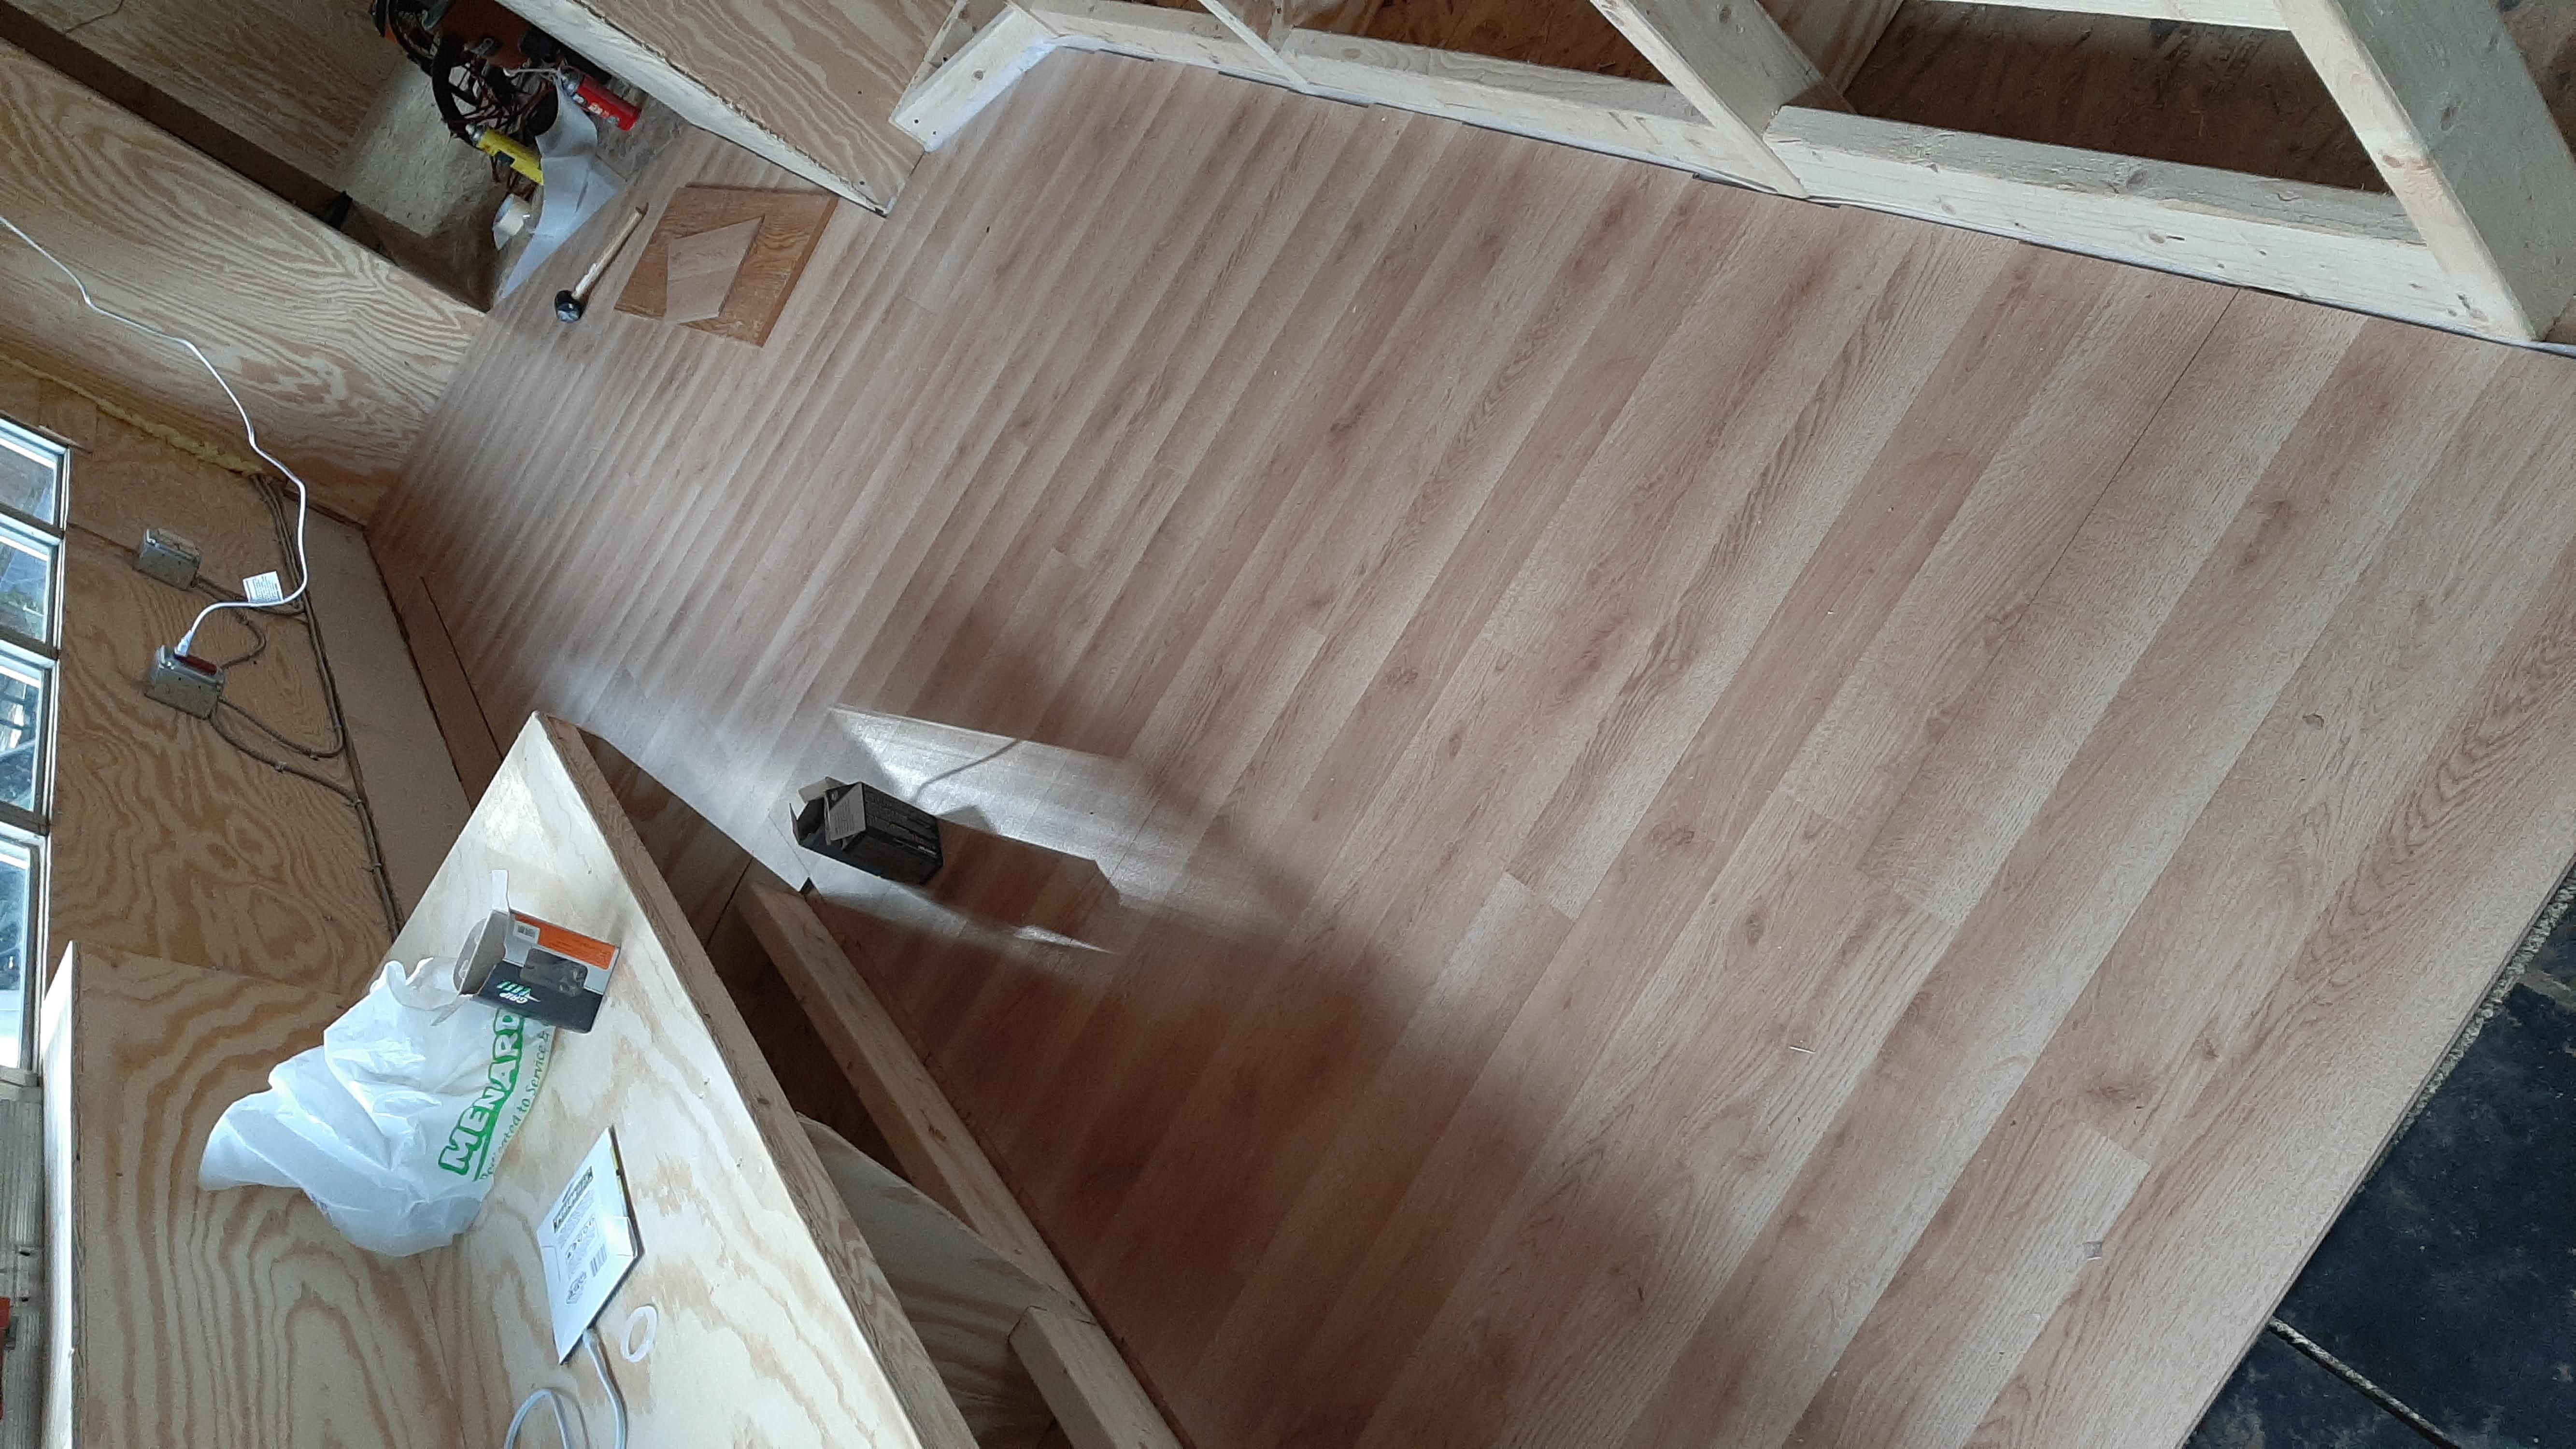
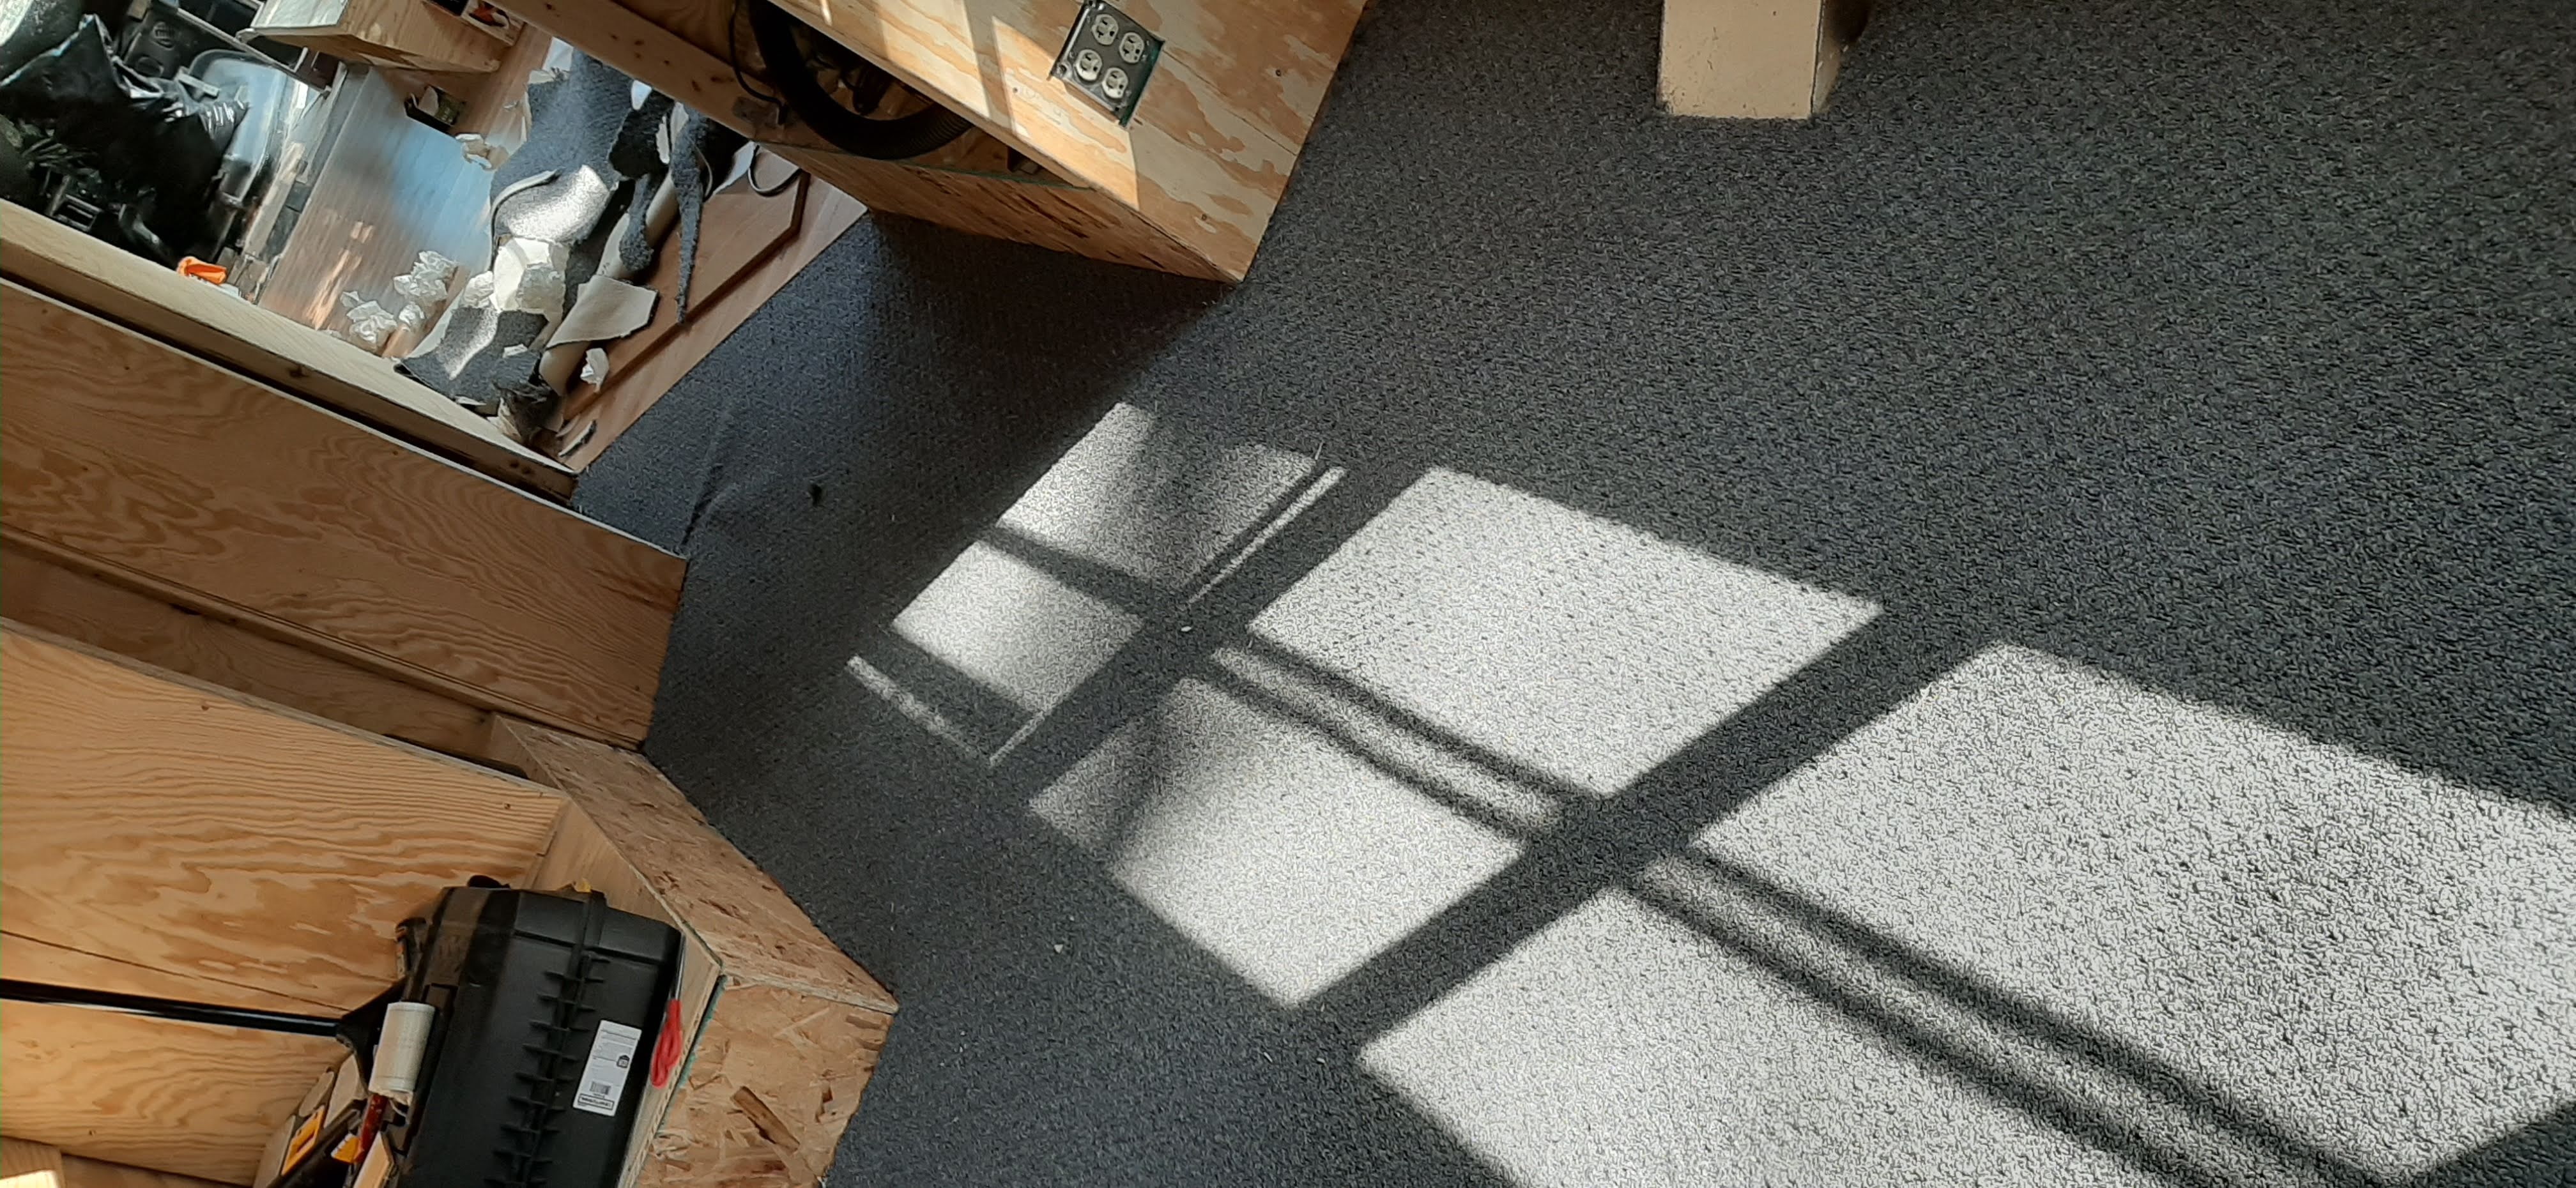
…and added the flooring! I went with an inexpensive laminate for the kitchen area and a short carpet for the bedroom. It isn’t shown here but I also added carpet along the base of the walls in the bedroom.
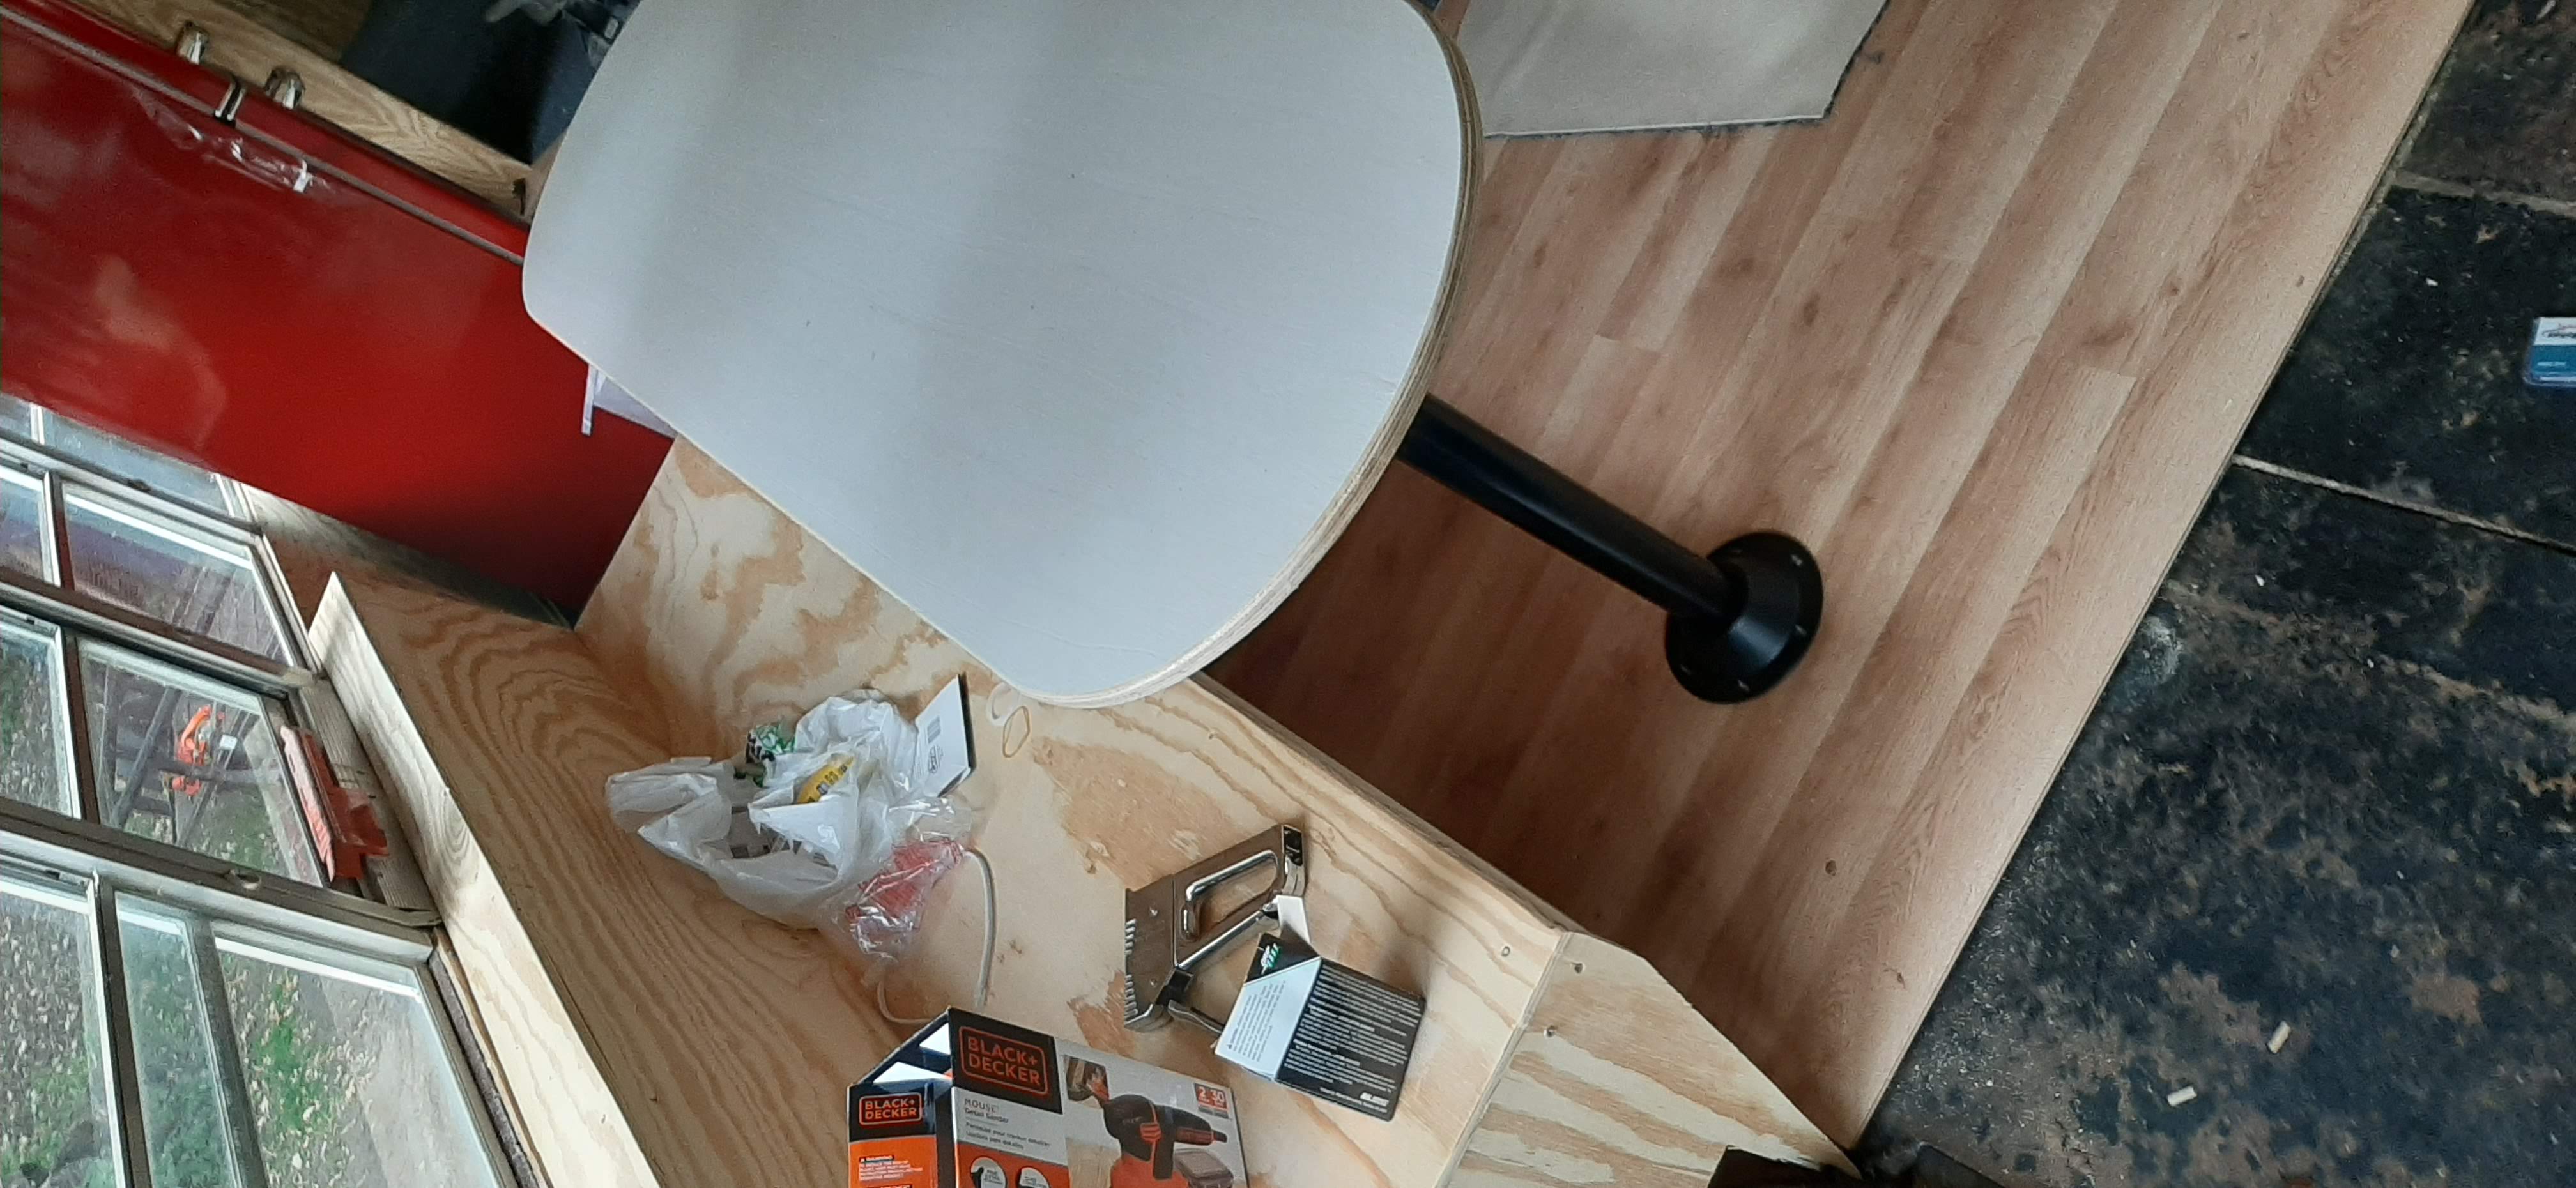
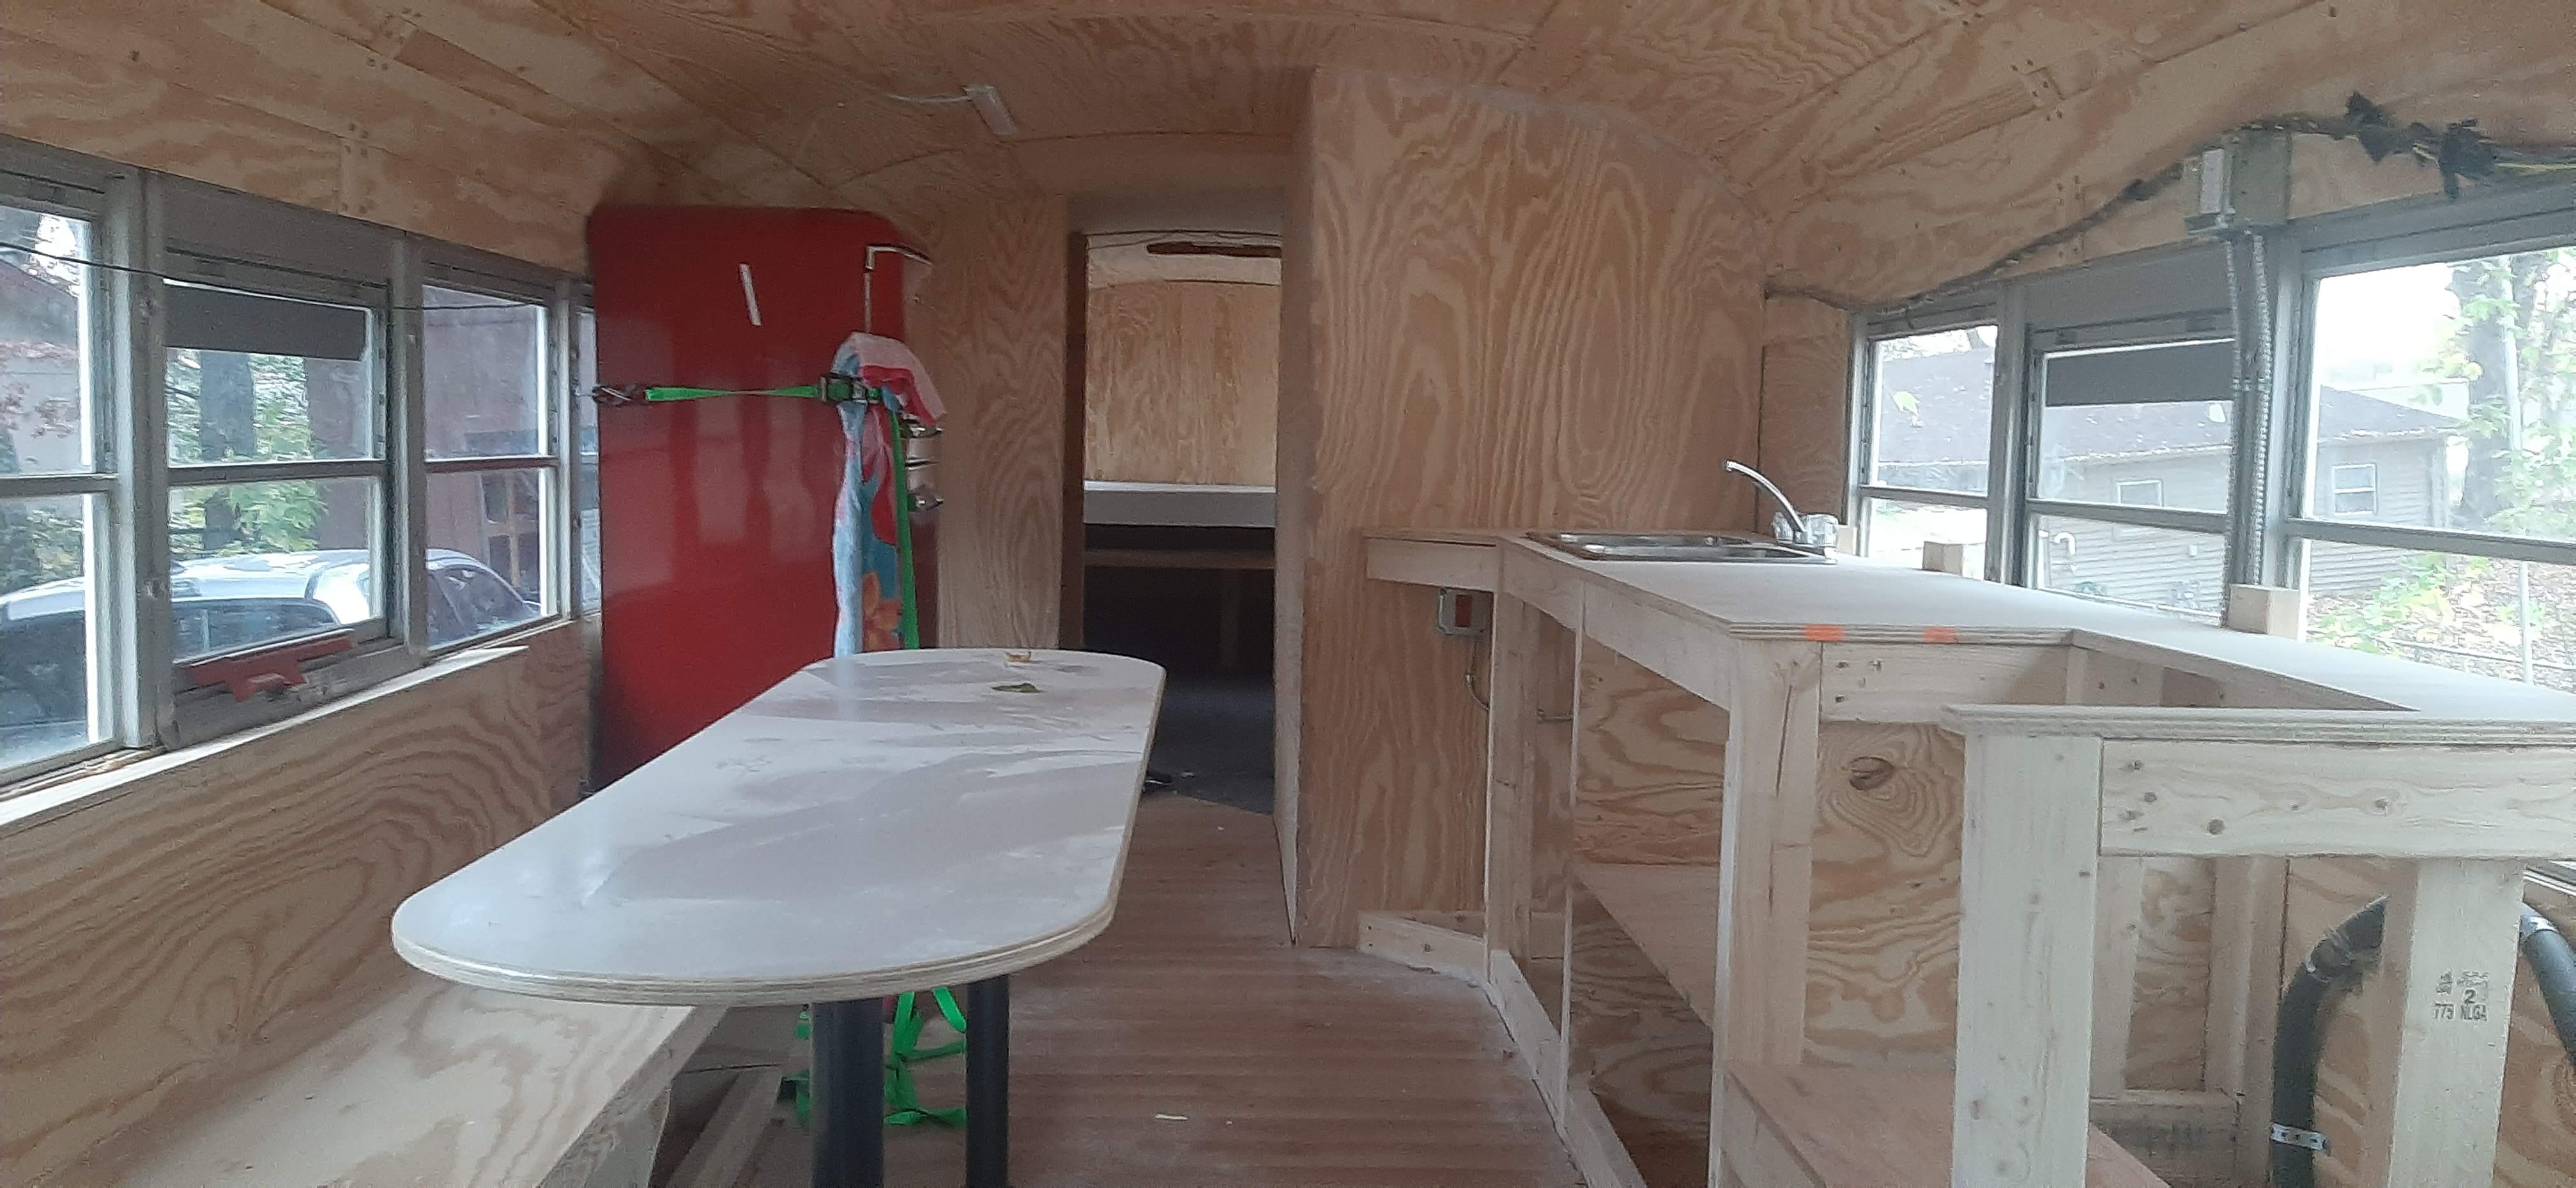
Adding the dining table and the refrigerator
I was worried that the septic system would be difficult to install, but it turned out to be fairly straight-forward. I don’t have any images of the plumbing so it’s worth mentioning here. I initially used clear vinyl hose and hose barbs, along with hose clamps. This was a bad decision. It was a huge pain to assemble, and EVERY connection leaked. I put up with it for a year before I completely ripped it out and replaced it with PVC. Gray water is combined in a large PVC pipe before emptying into a blackwater tank. I don’t plan on going or living somewhere without a sewer connection for a long period of time, so I’m not concerned about having separate black and gray water tanks.

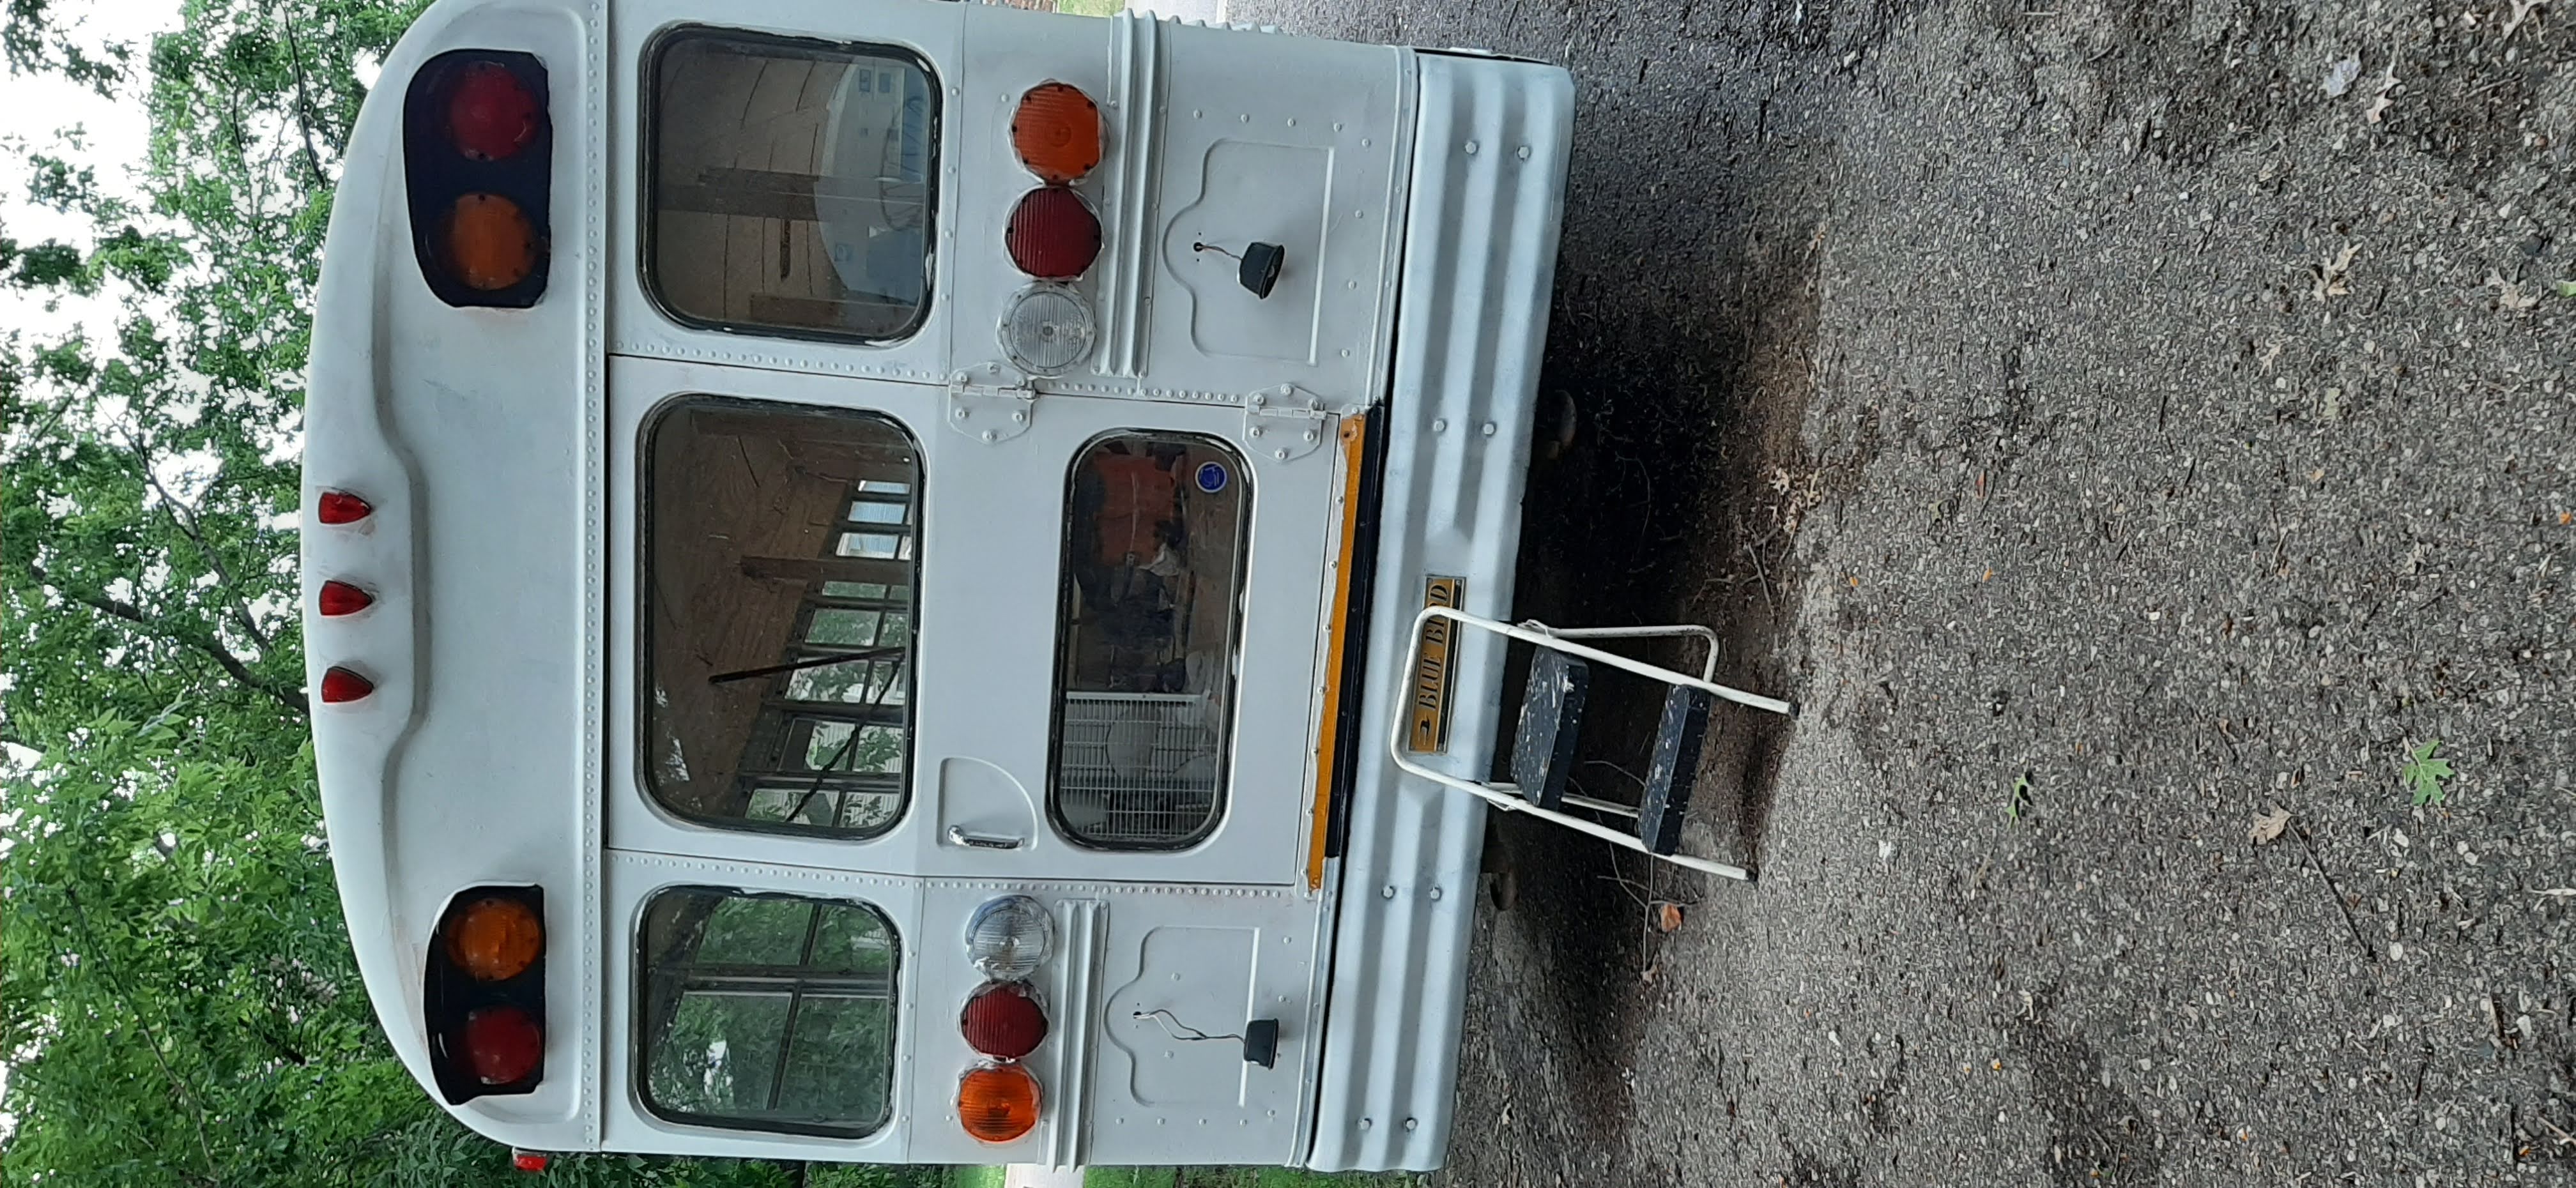
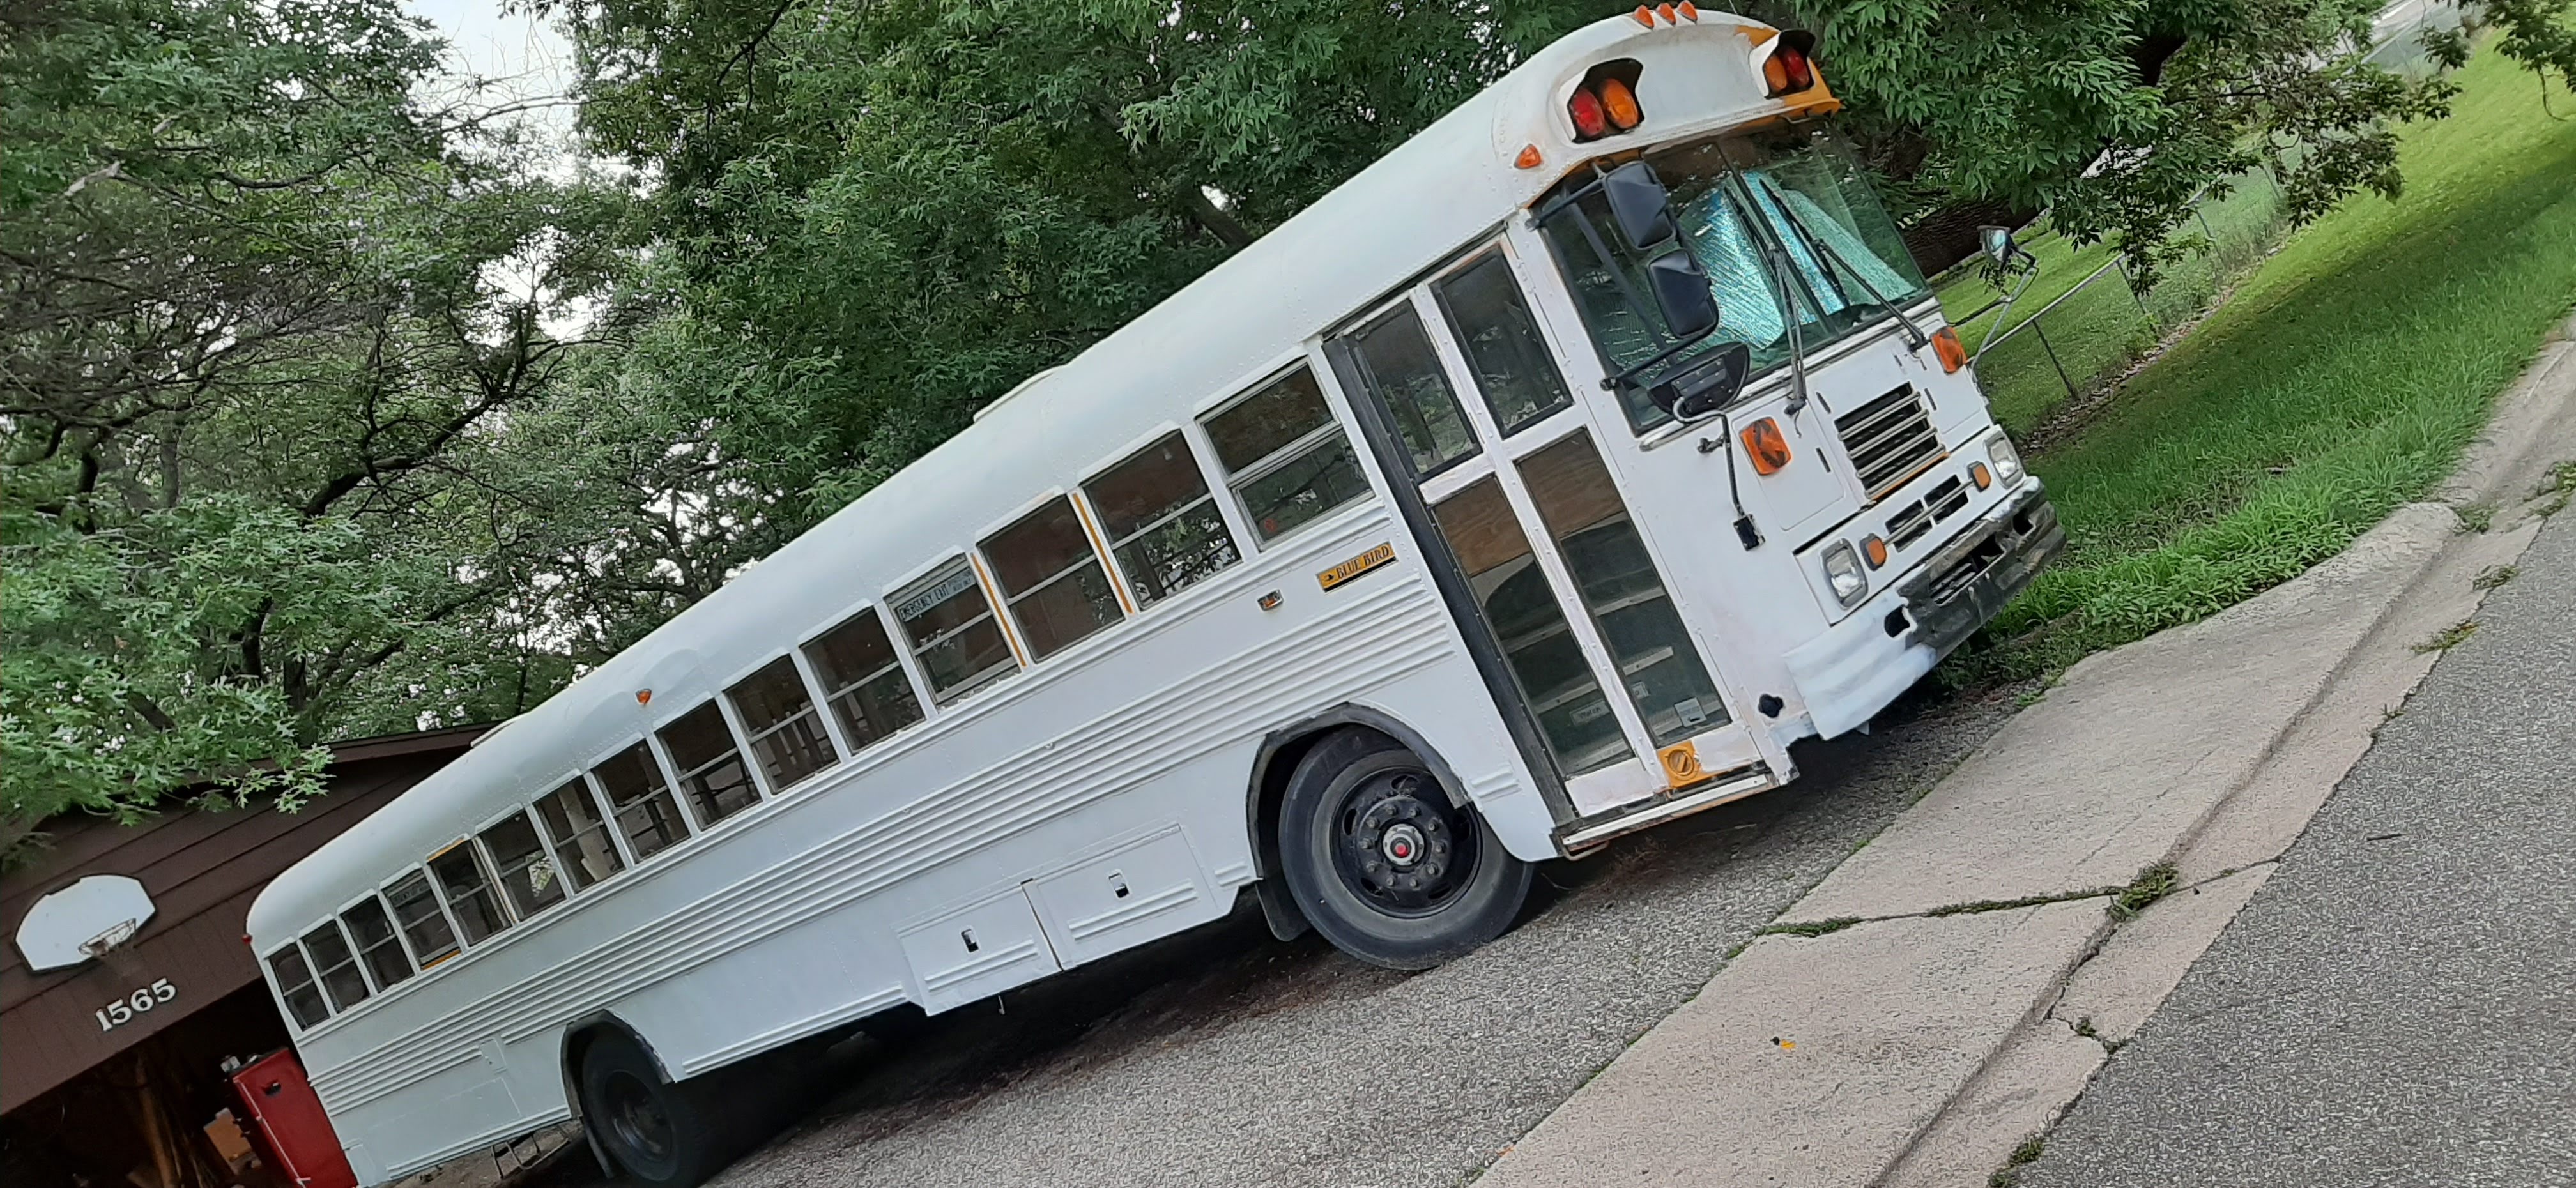
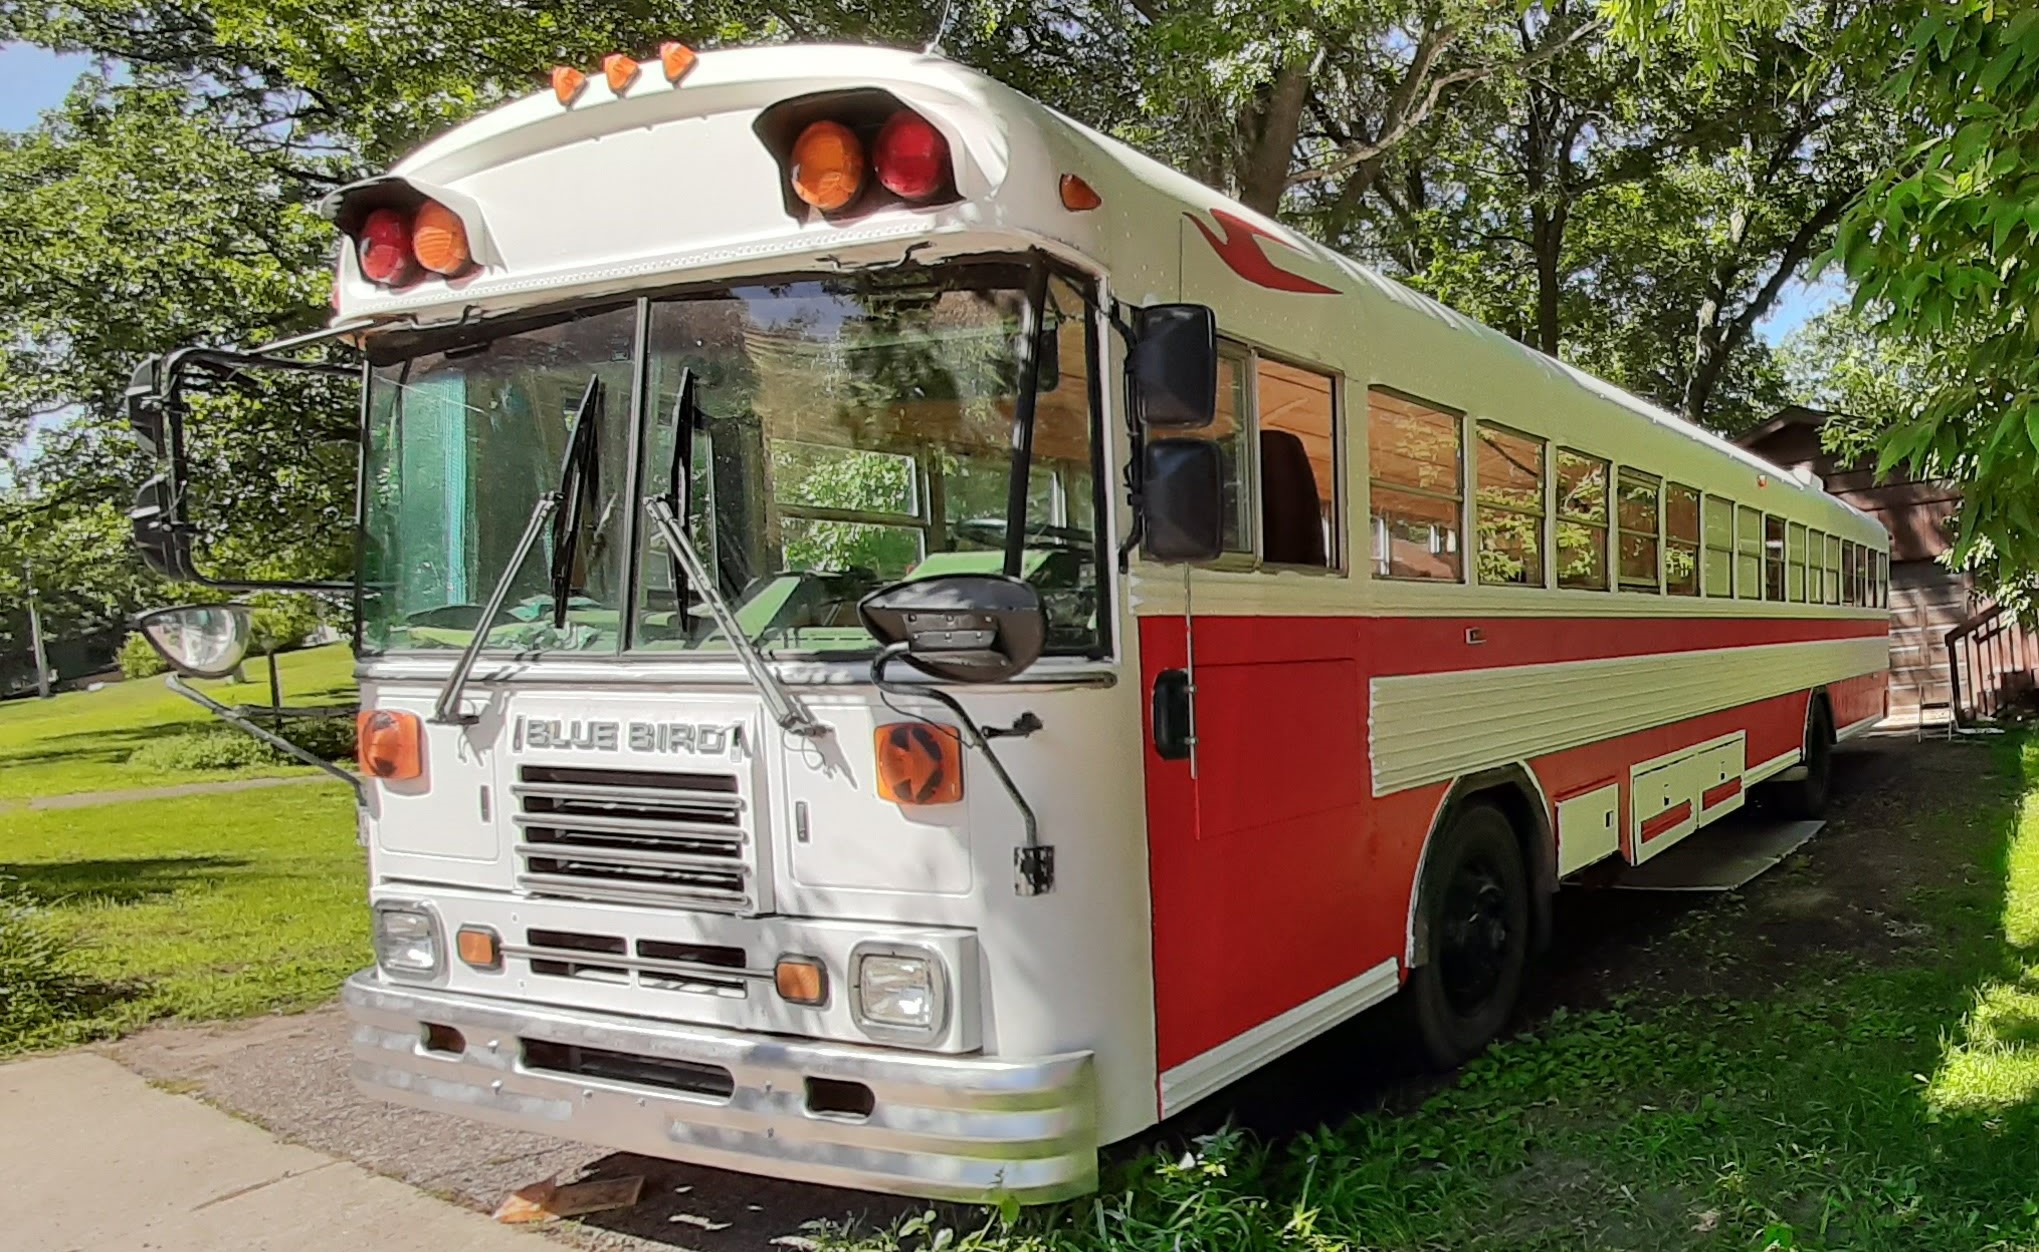
This is the "finished" bus before I moved to New Mexico looking forward.

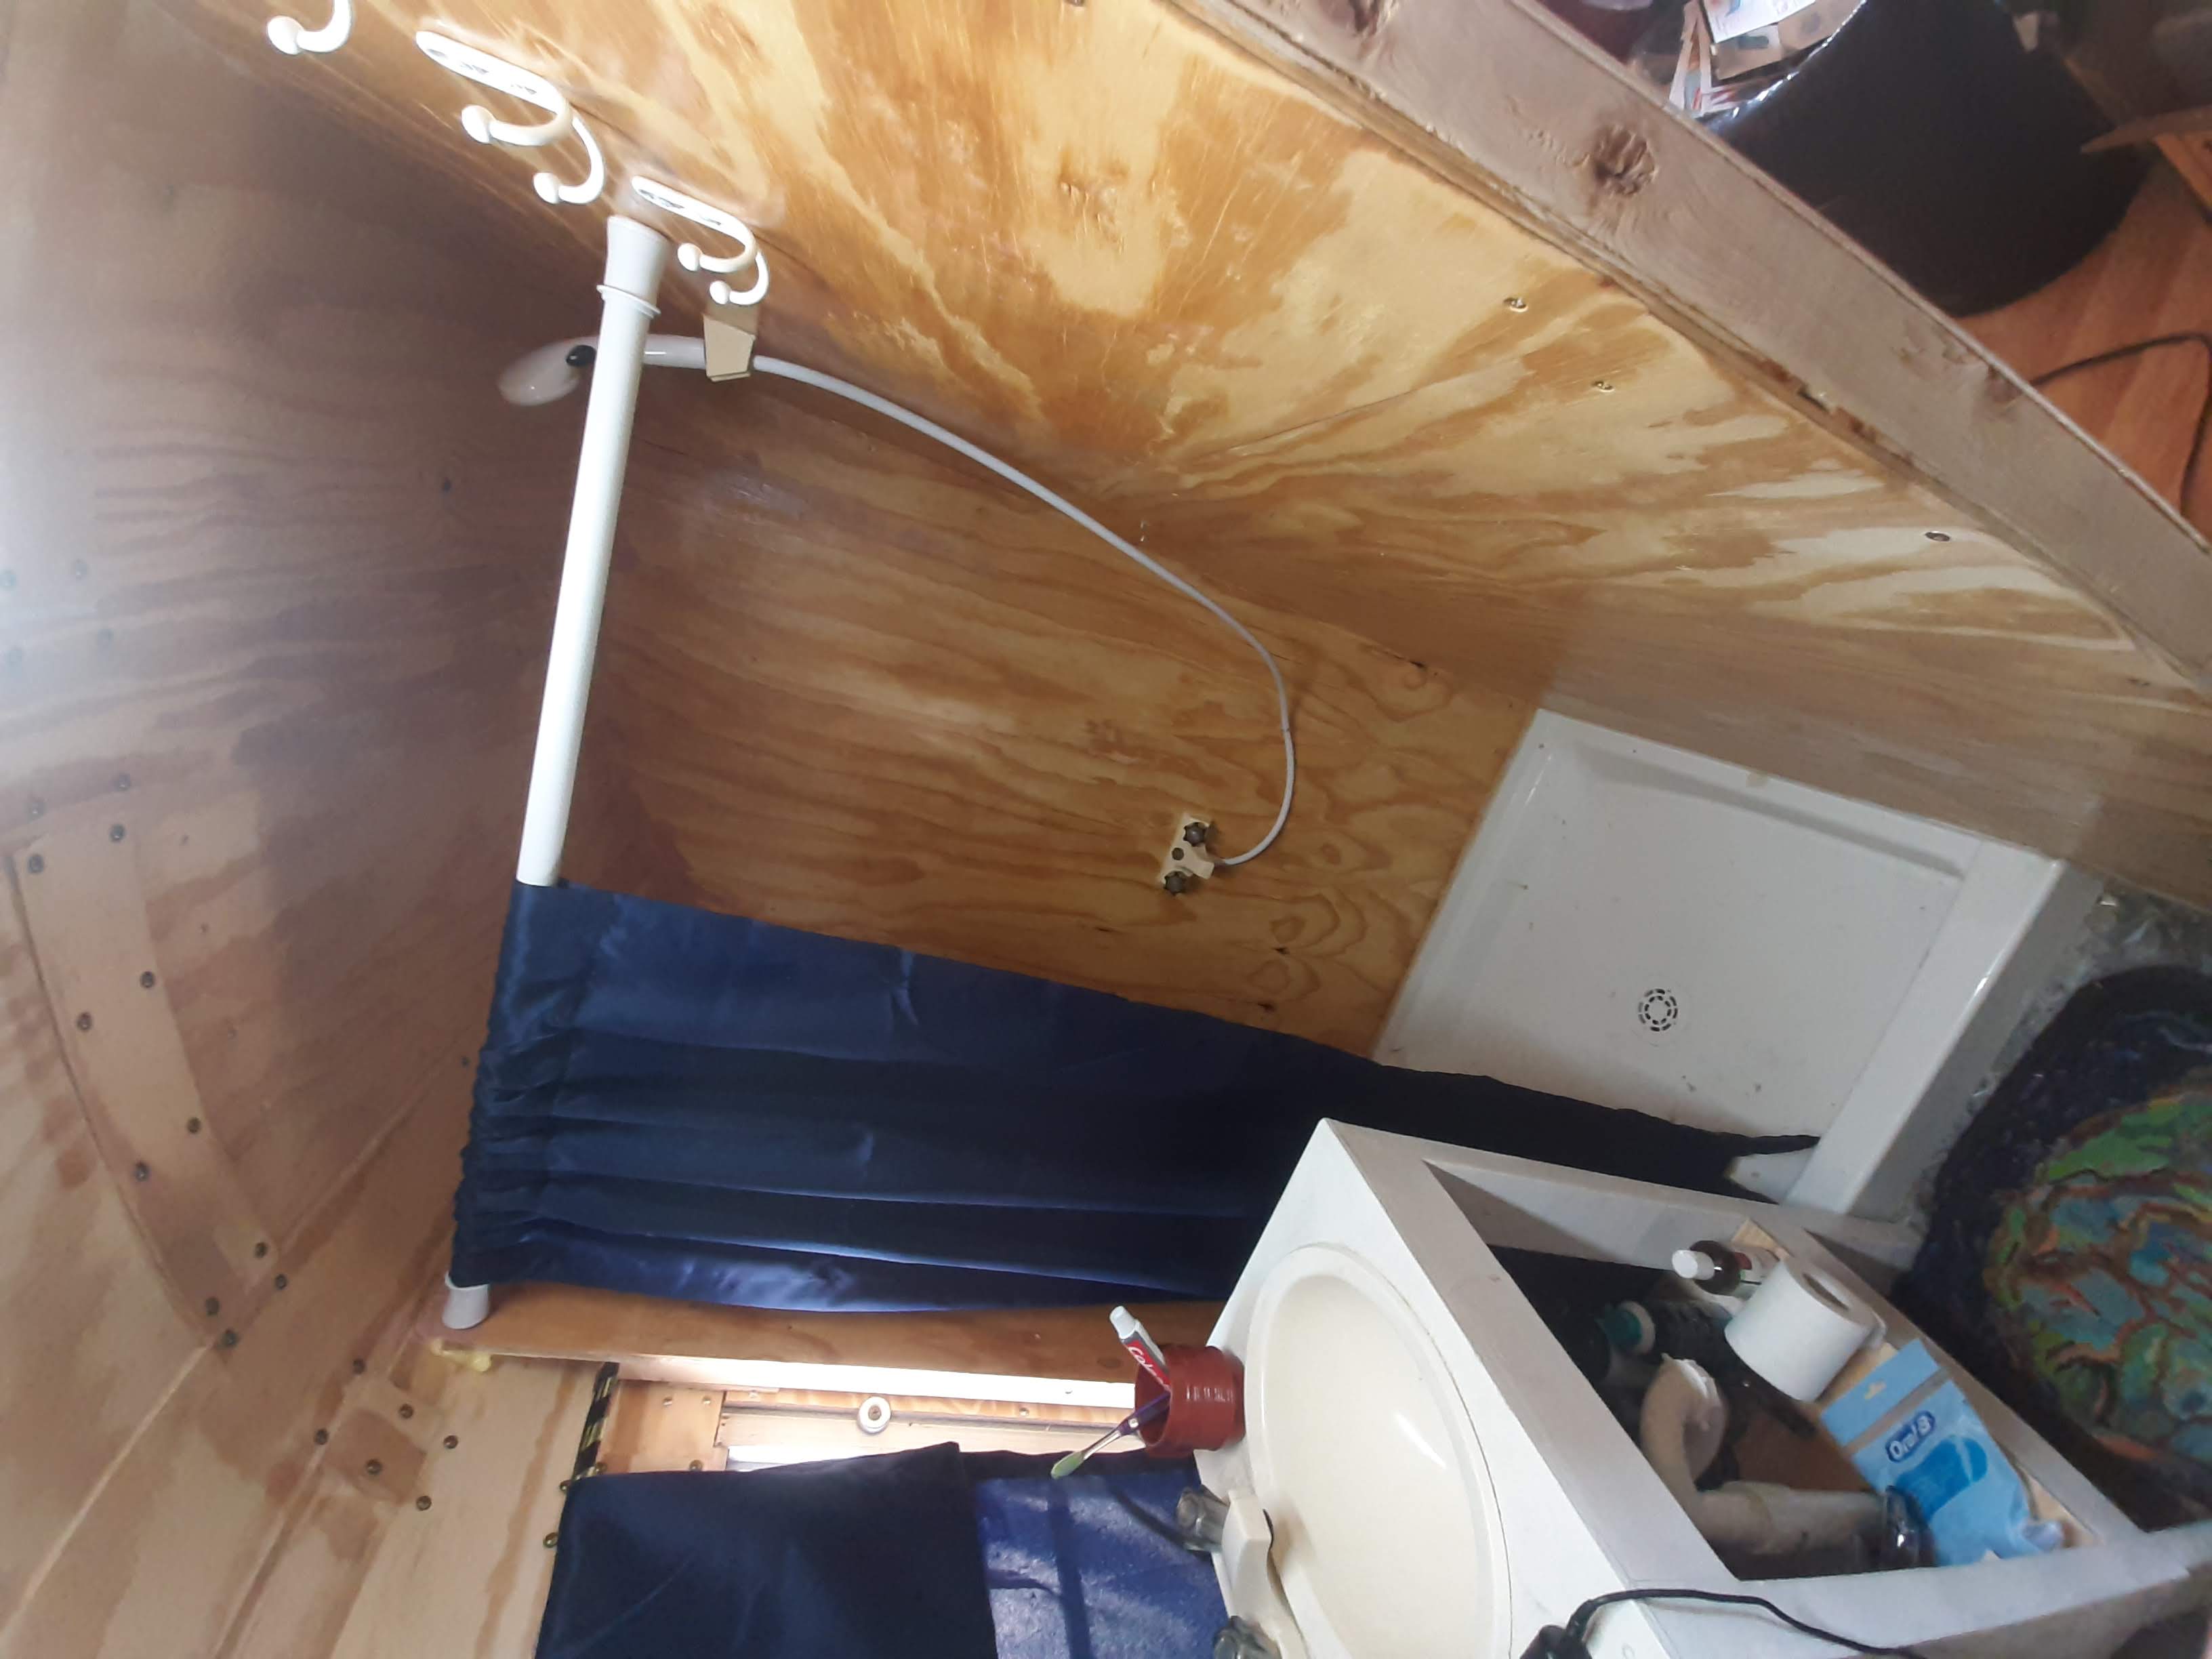
This is the "finished" bathroom. The shower walls are not bare plywood! I've sanded and sealed them as best I can, and then added a final layer of epoxy resin to coat the wood and prevent water from soaking in.
The "finished" bus looking back.
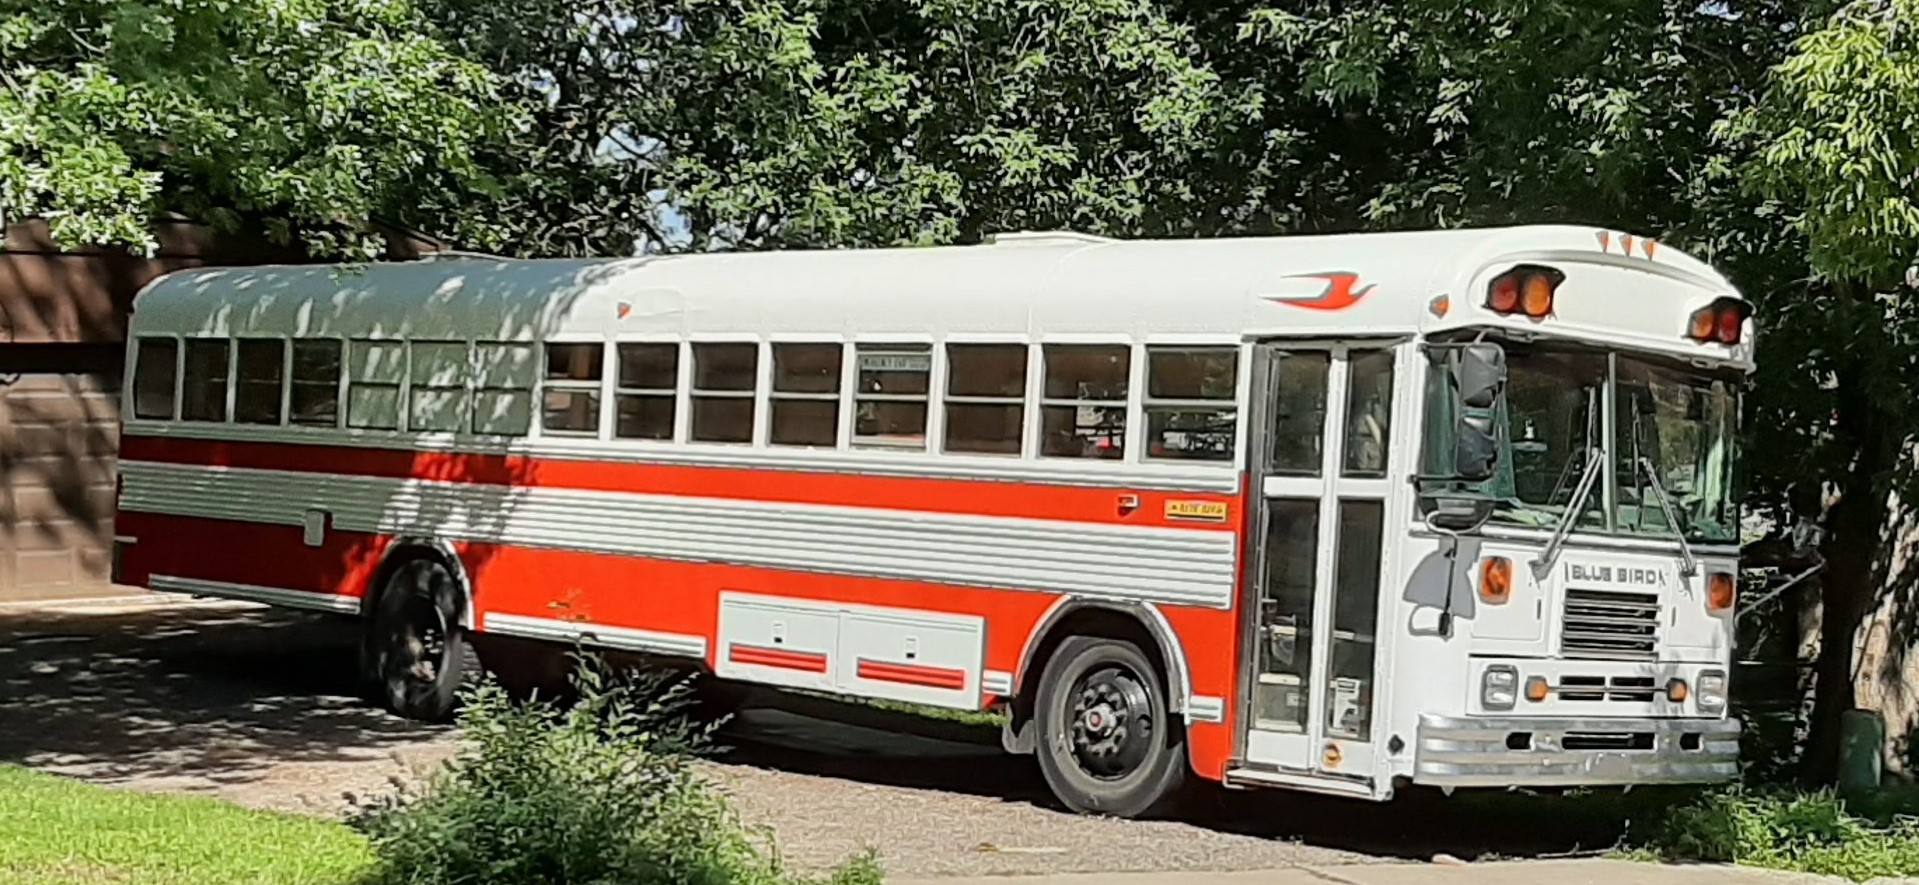
Painting the bus! A huge thank you to my mom who came up and removed all of the decals, reflective tape, and did a huge amount of primer work. The decals did NOT come off easily.
Mom, if you're reading this, thank you so much. You did a great job and I love you.
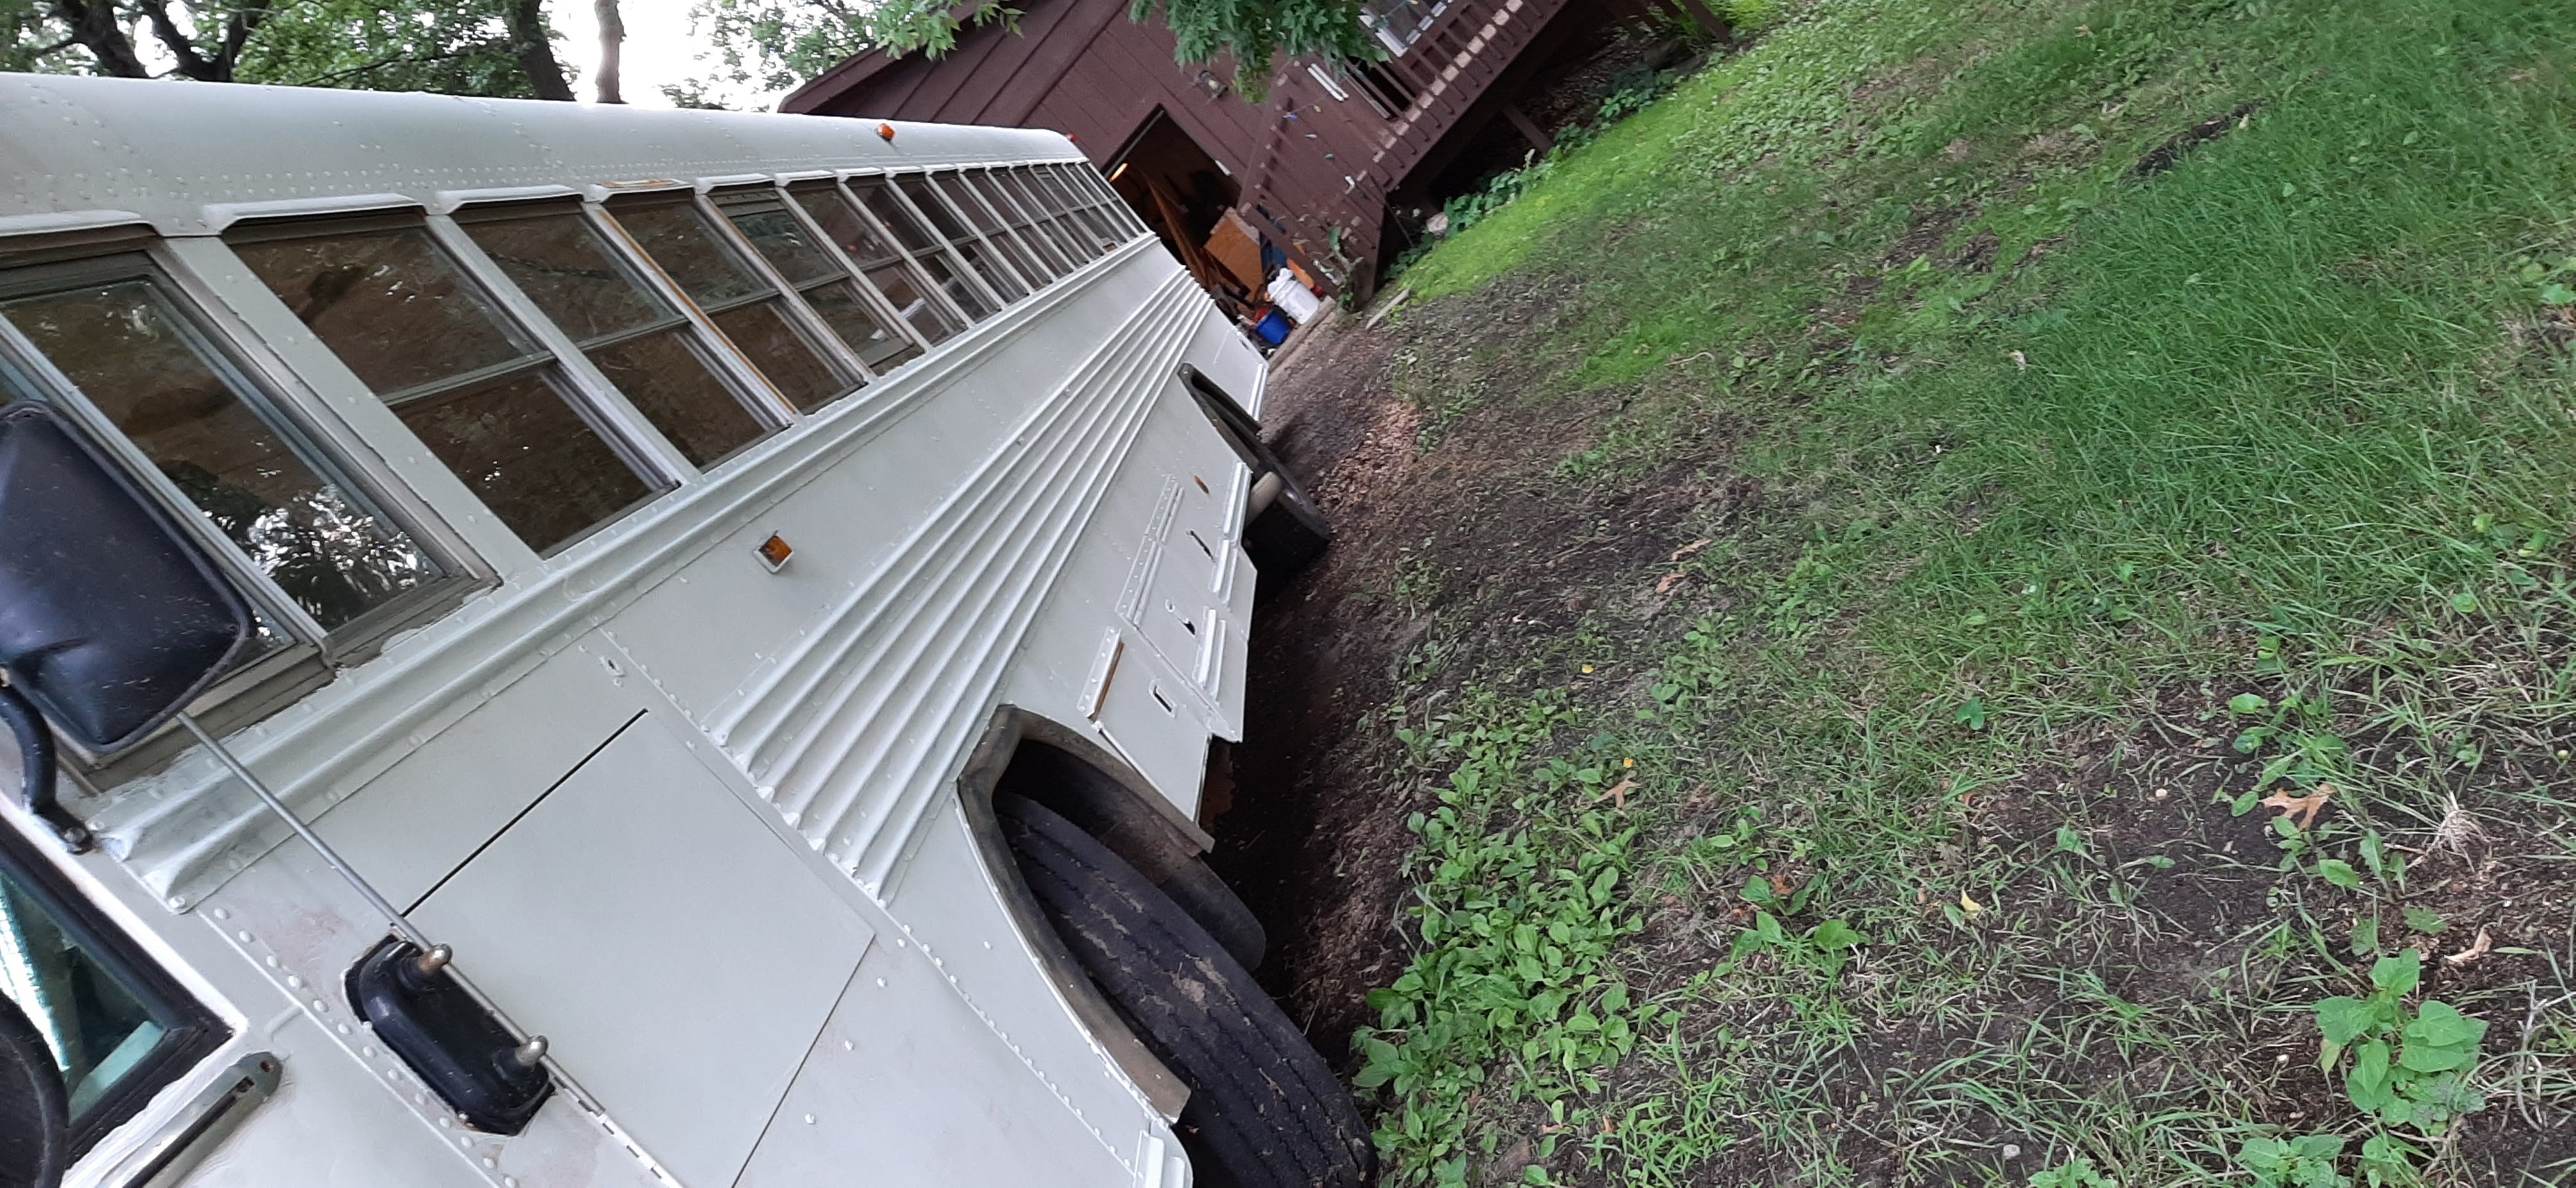
The temperature drop from painting the roof white was remarkably noticeable. My electrician-friend's family also helped out with the final coat! His sister did the white stripes down the side and the window frames.
If you guys are reading this, you guys really did such an amazing job, and I am incredibly lucky to have had your help.
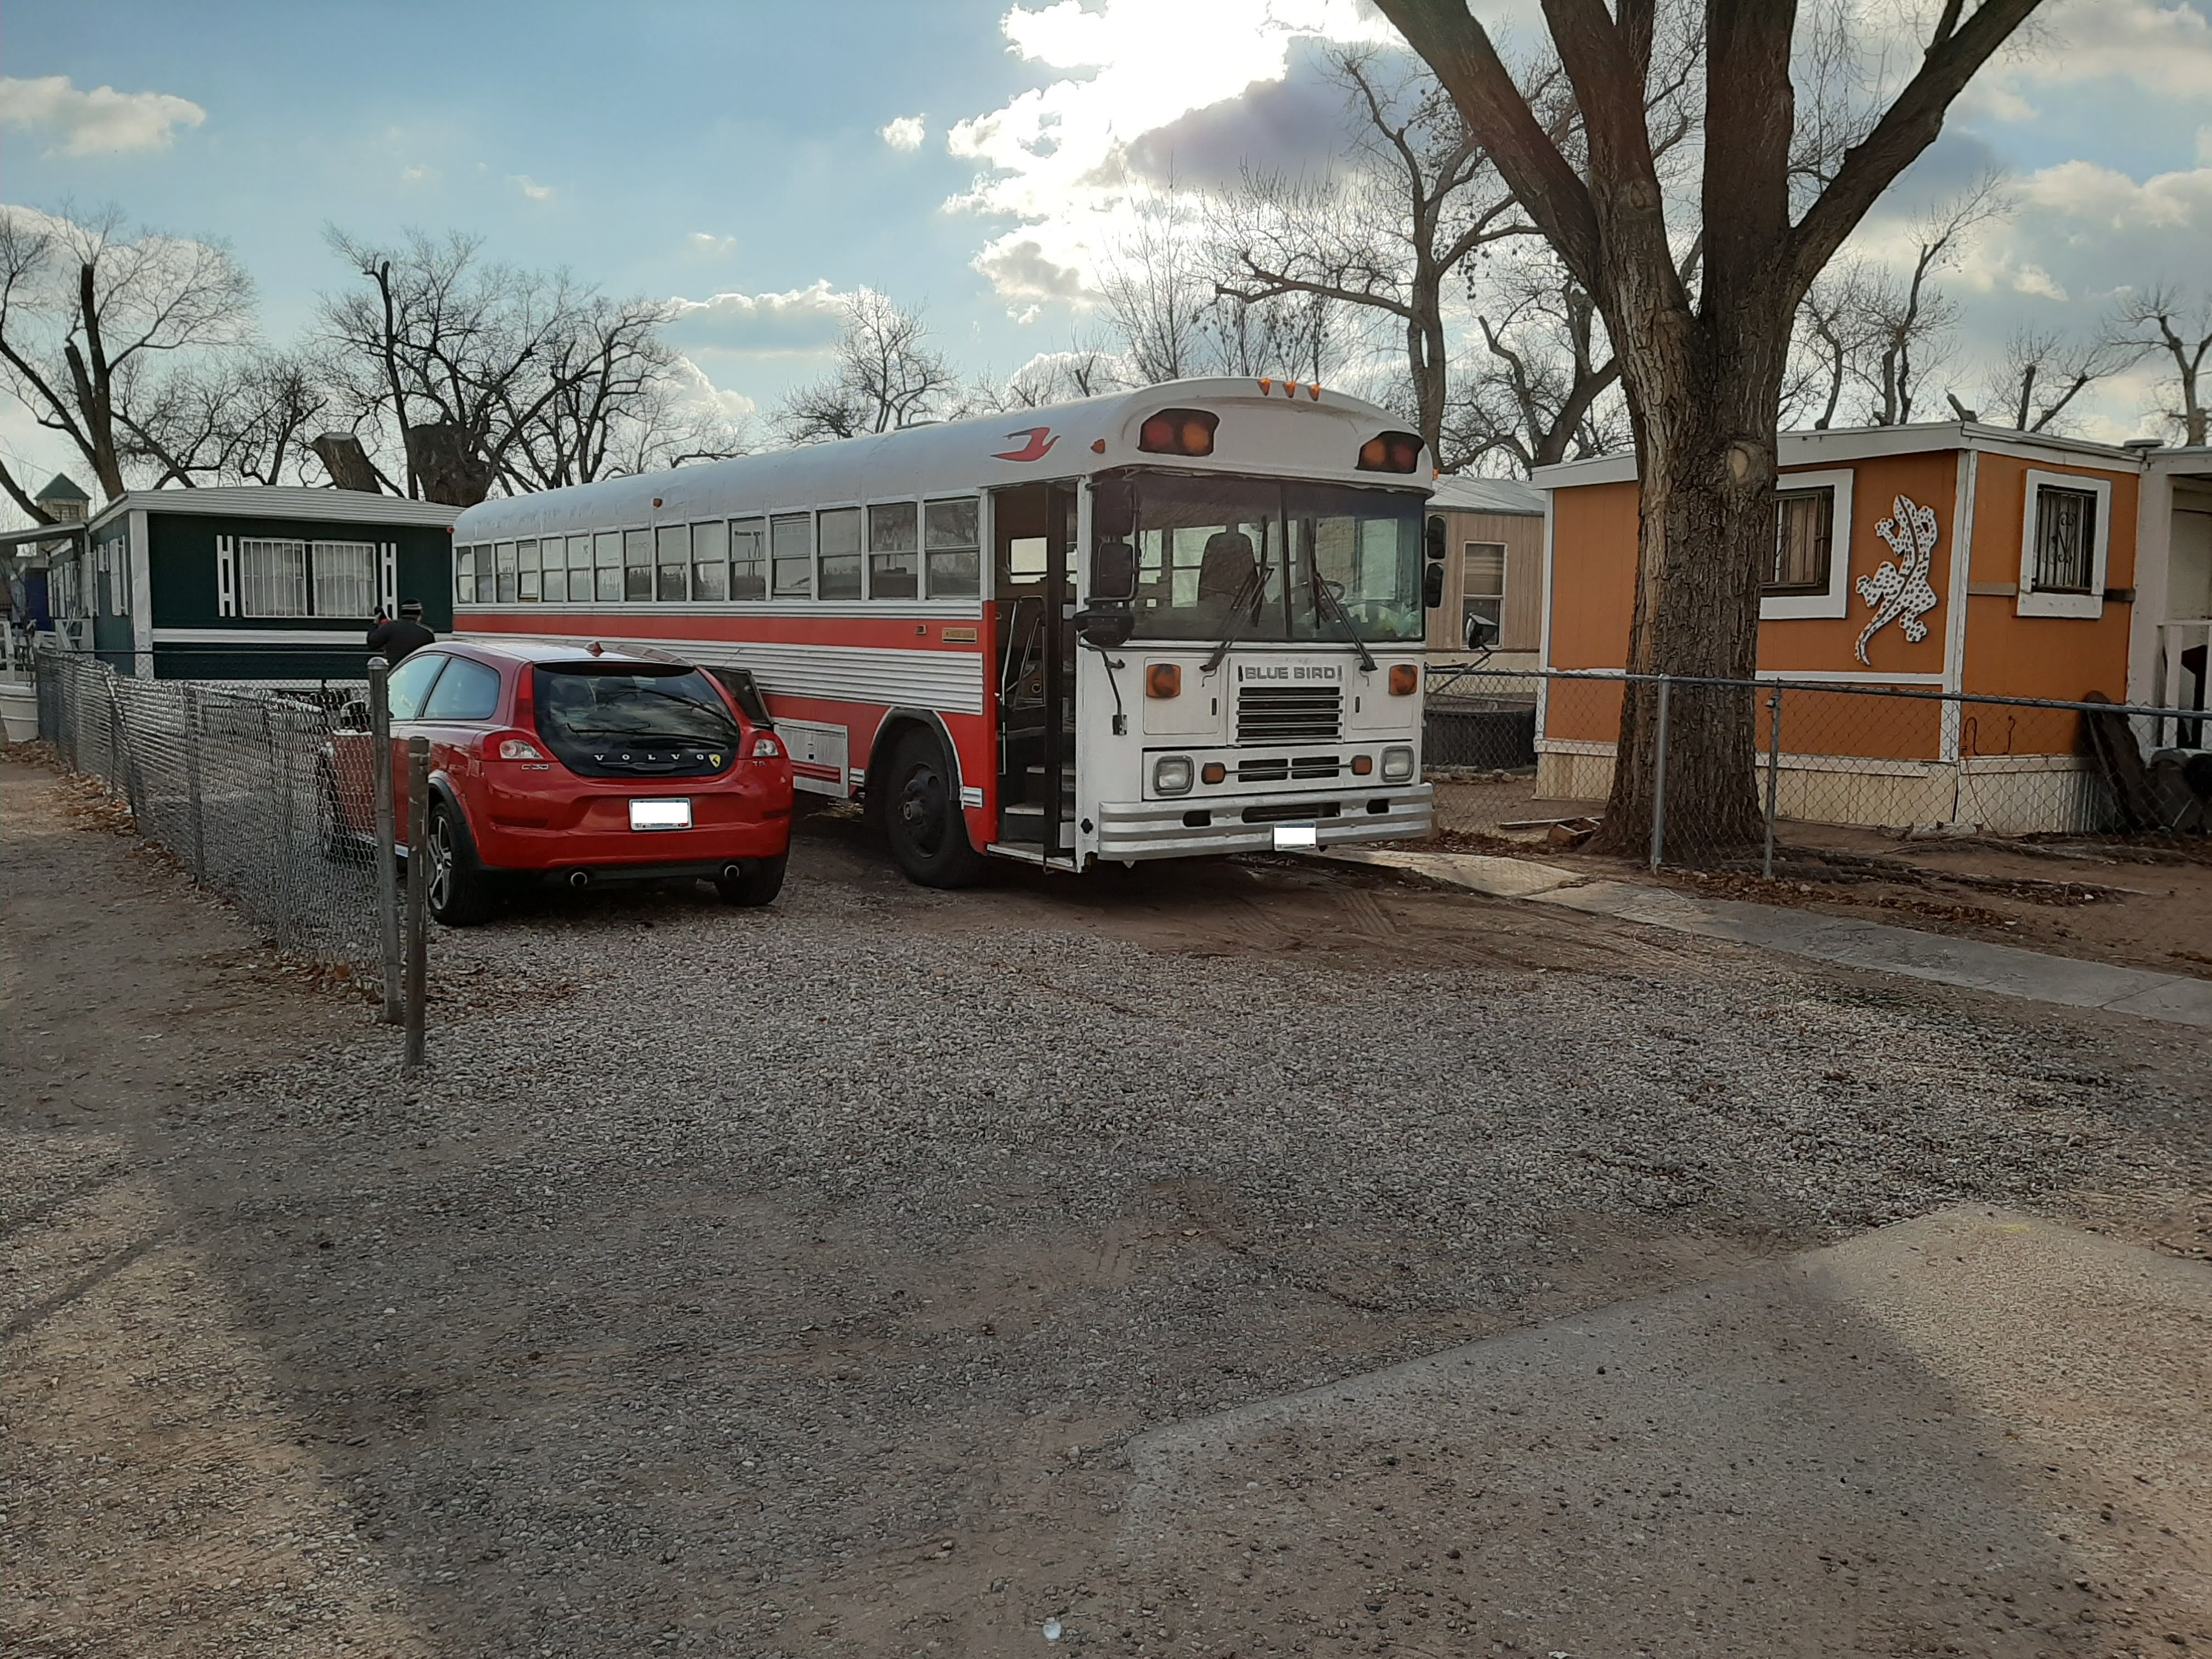
Getting Gas somewhere in southern Iowa
All moved in new New Mexico!
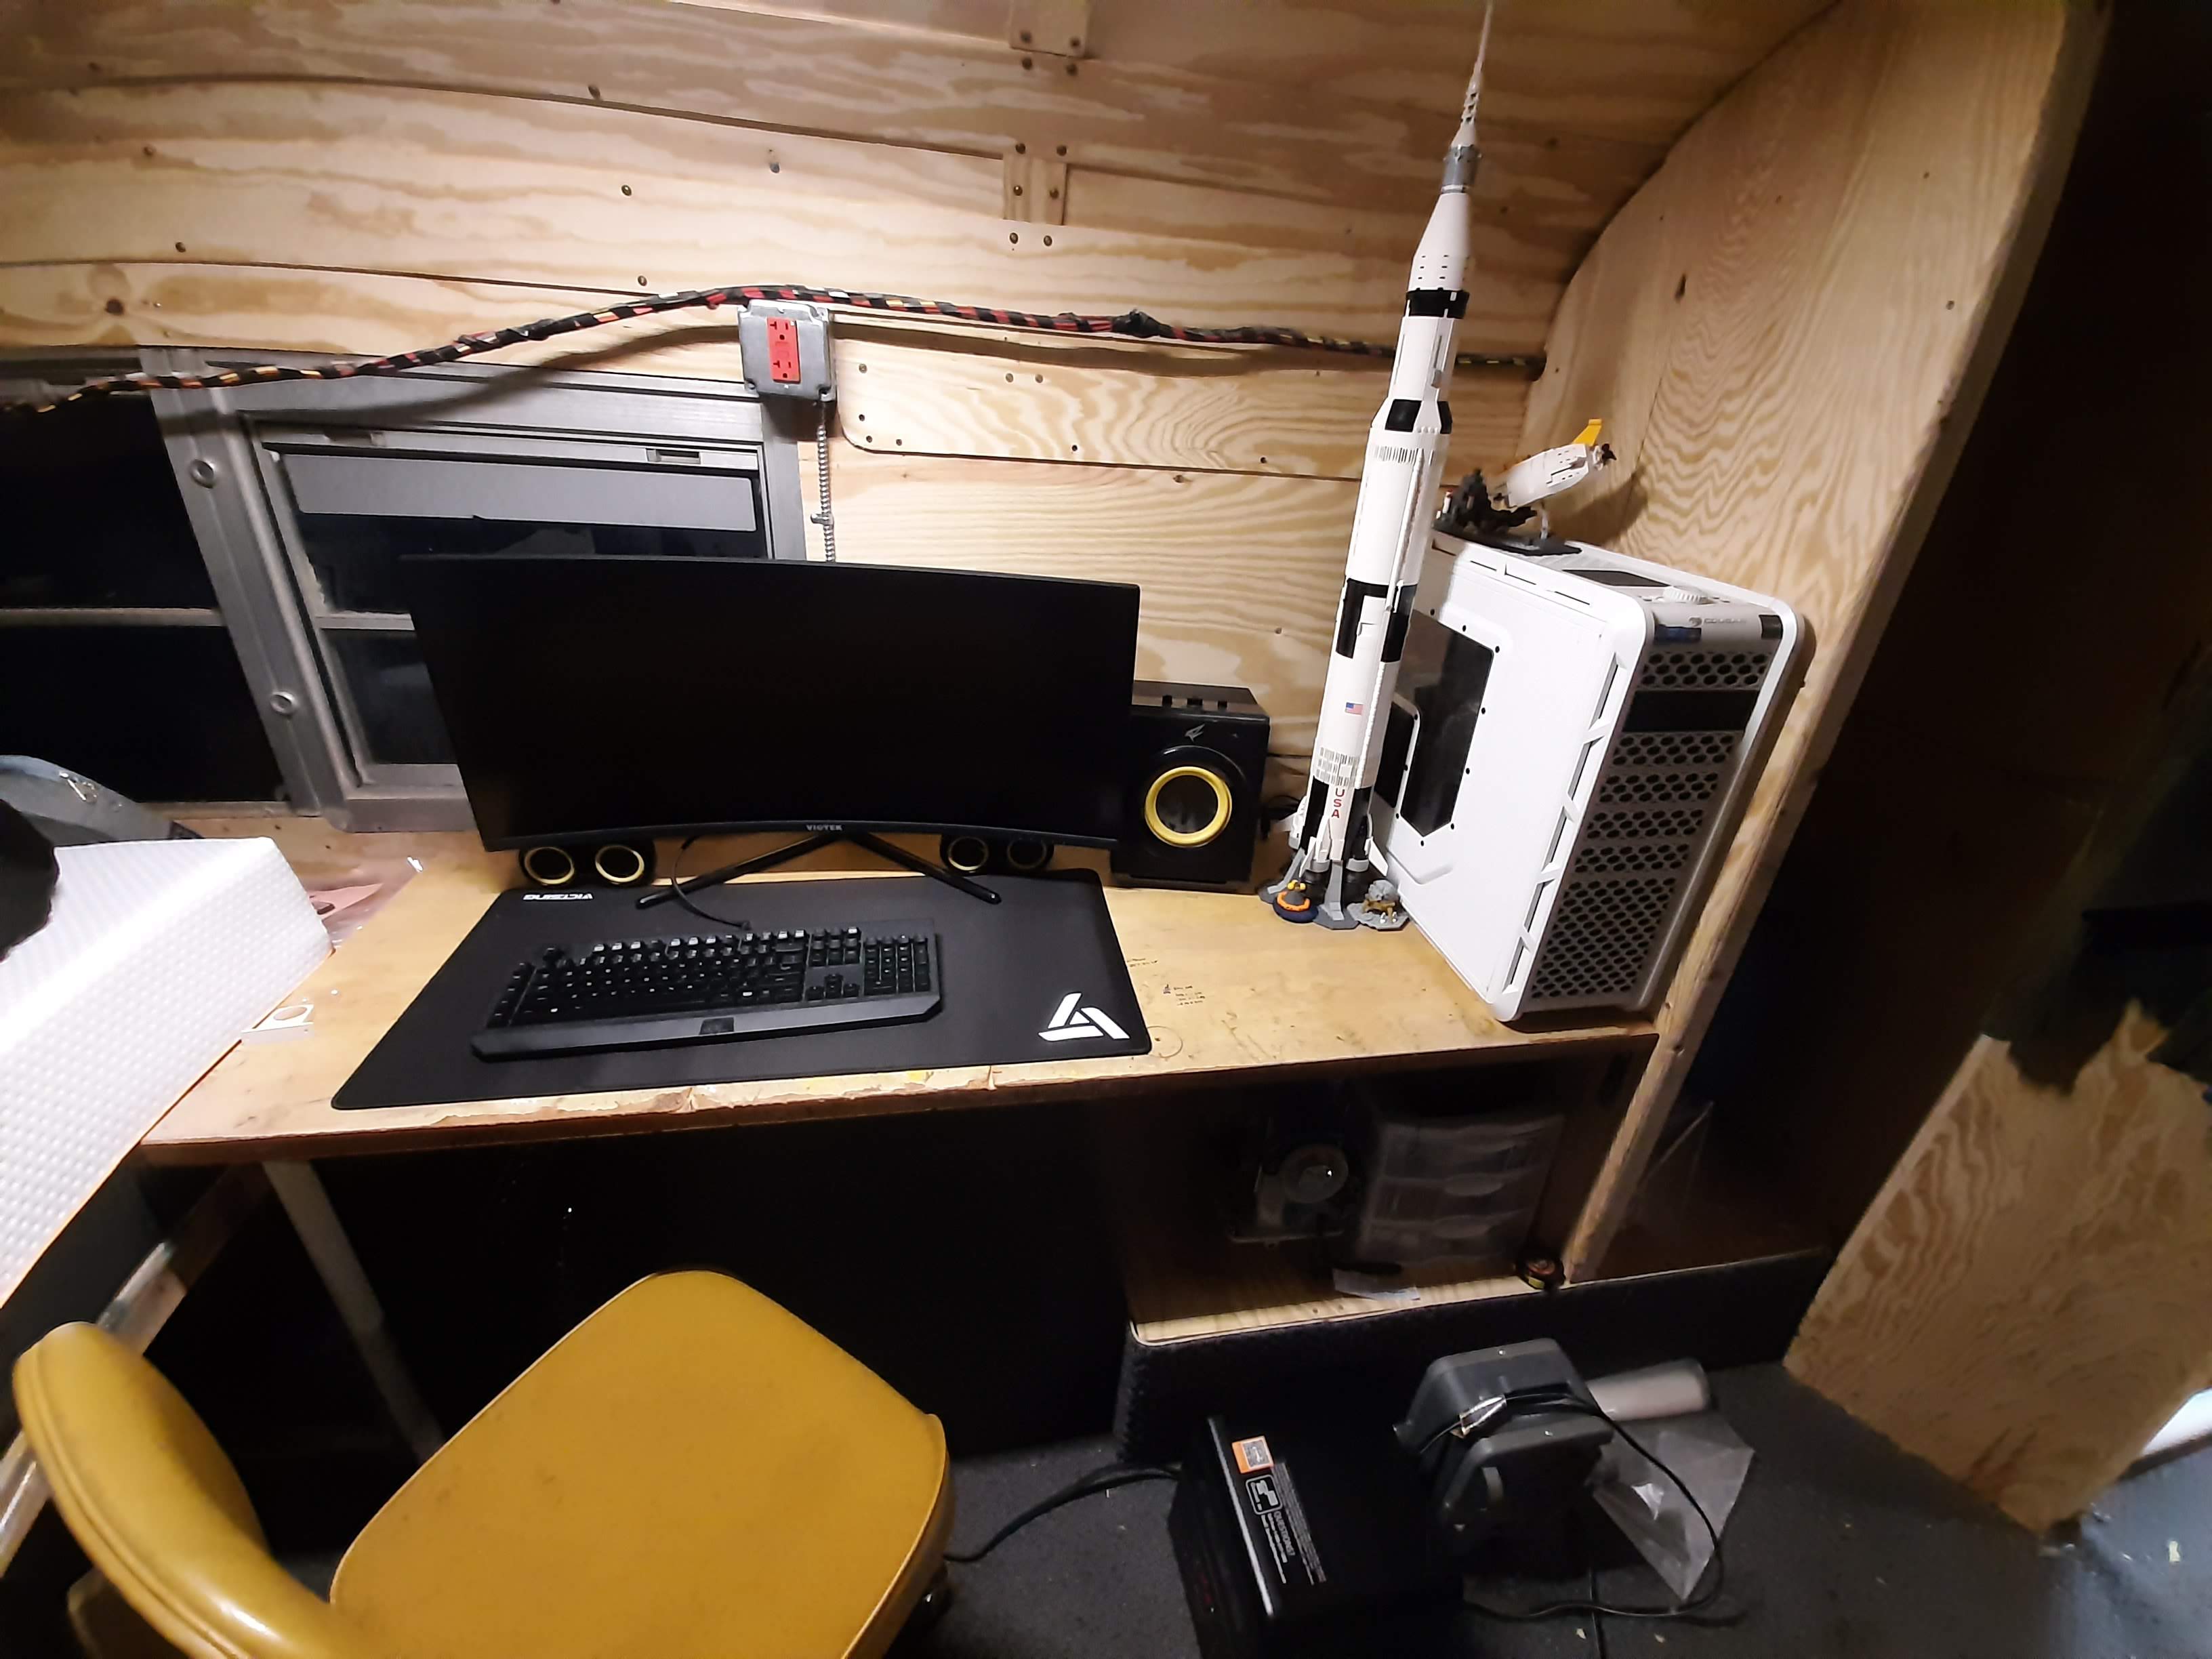
I set up my desk, and it's the cleanest it'll ever be.
The shower as it looks now